
Let’s set the scene. It’s 5:47 AM.
The rain is pounding against your studio window like a drum solo.
You’re wrapped in a cocoon of blankets, drifting in that sweet, warm spot between dreams and reality. And then… you feel it.
A nose. Cold. Wet. Poking your cheek.
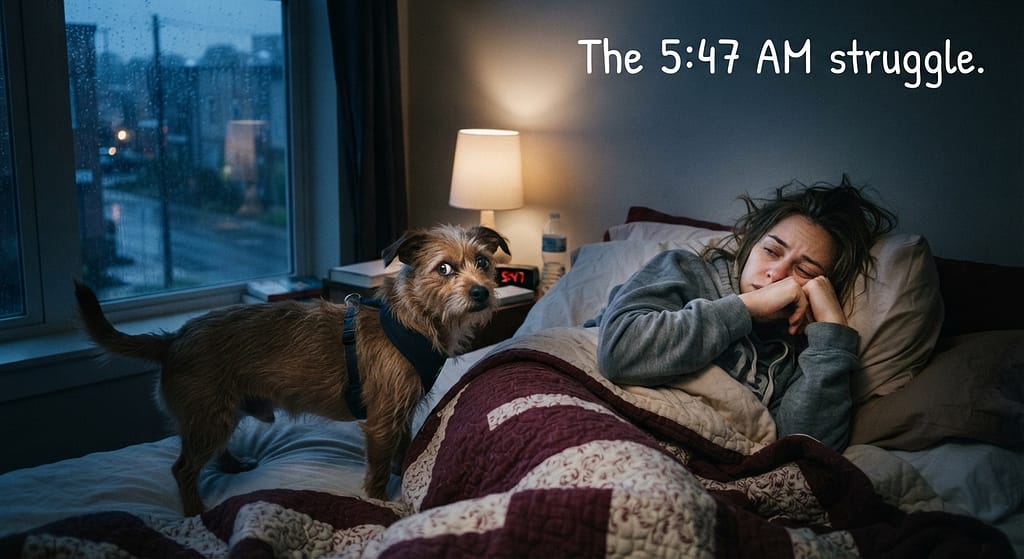
You open one eye. Your dog is standing over you, doing the “I-have-to-pee-so-bad-I-might-explode” dance.
Their eyes are wide. Their tail is tucked. The message is clear: “Get up, human. The lawn awaits. And by ‘lawn,’ I mean the 3-square-foot patch of mud three blocks away.”
You groan. You look at the rain. You look at your cozy bed.
You look at the rain again. You seriously consider just letting them go on the bathmat and dealing with the consequences later.
This, our friends, is the Studio Apartment Struggle. It’s real. It’s relentless.
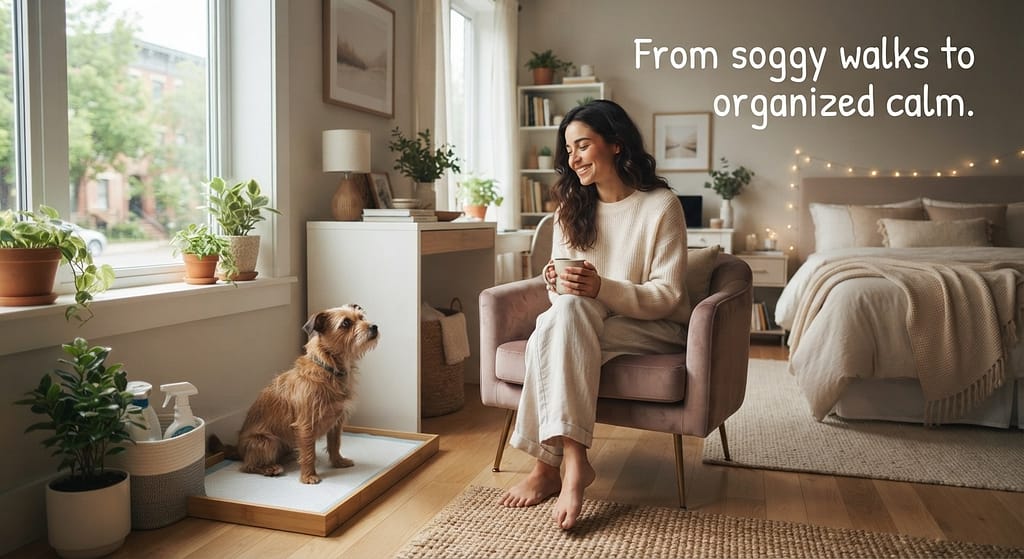
And for a long time, we thought there was no solution other than multiple soggy walks a day or a permanent urine-scented candle burning in the corner.
Until we embraced The Potty Pad.
Now, we know what you’re thinking. “Potty pads? Those flimsy paper things my puppy shredded on Day One?” Yes.
Those. But we’re not talking about just throwing a diaper on the floor and hoping for the best.
We’re talking about a strategic, odor-eliminating, space-saving system that turns your tiny studio into a functional dog bathroom that doesn’t smell like a zoo.
This guide is specifically tailored for the square-footage-challenged dog parent.
We’re going to cover everything from pad types to placement hacks to the dreaded “midnight mudslide.”
Grab a coffee (and maybe a poop bag, just for morale), and let’s turn that tiny corner into a canine convenience station.
The Interactive Quiz: Is Your Studio a Pad Candidate?
Before we redesign your floor plan, let’s see if potty pads are the right fit for your specific chaos. Score each question honestly:

1 = Hard No | 3 = Maybe | 5 = Absolutely
- The Weather Factor: Do you live somewhere with harsh winters, sweltering summers, or 200 days of rain per year?
- The Elevator Factor: Is getting outside a 10-minute ordeal (waiting for elevators, navigating hallways, dodging neighbors)?
- The Mobility Factor: Do you have physical limitations, a newborn, or simply a deep, spiritual hatred for early mornings?
- The “Tiny Bladder” Factor: Is your dog under 20 lbs, a puppy, or a senior who simply can’t hold it for the average workday?
- The Square Footage Factor: Is your studio so small that your couch and your bed are technically the same piece of furniture?
The Scoreboard:
- 20-25 (The Pad Prodigy): Pads are your destiny. You are the prime candidate. Read on and rejoice.
- 10-19 (The Swing Voter): You could go either way. Pads might be a great “emergency backup” for bad weather.
- 5-9 (The Outdoor Purist): You have a ground-floor patio or a saintly bladder-control dog. Pads might not be your primary solution, but keep reading for the “emergency” tips anyway!
The Great Pad Debate: Which One Actually Works in a Box?
Walking down the pet aisle is overwhelming.
There are giant boxes of “Super Absorbent” pads, “Scented” pads, “Washable” pads, and pads that look like they belong on a spaceship.
We’ve tried them all. Here’s the unvarnished truth.
Option 1: The Disposable “Puppy” Pad (The Classic)
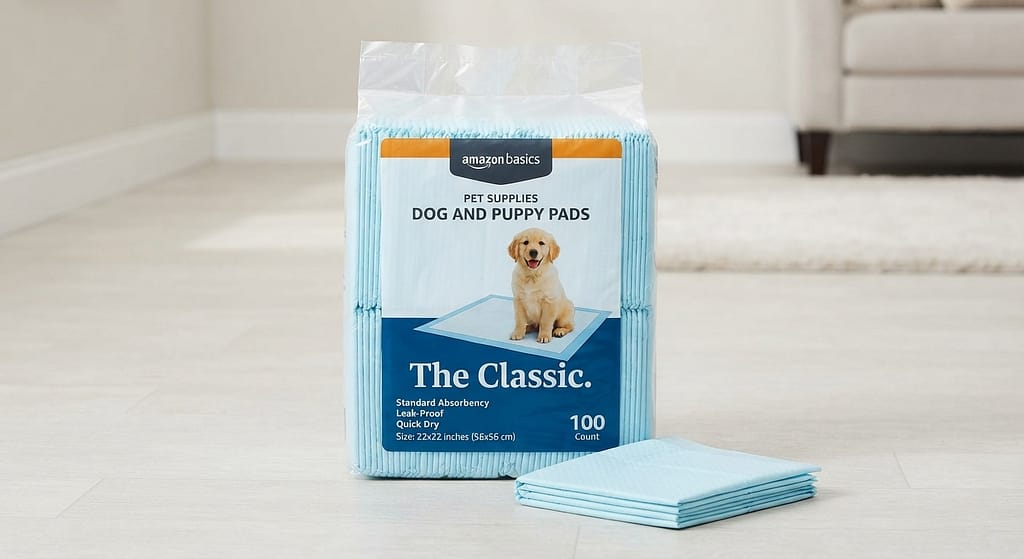
The Vibe: Lightweight, cheap, and ready to be tossed.
The Price: $15–$30 for a pack of 50–100.
The Lifespan: 1–2 uses, depending on the puddle size.
The Studio Reality Check:
The cheap ones? They are garbage. They leak through onto your floor after one use.
They tear if your dog digs. And in a studio, if they leak, that smell gets everywhere. However, the high-quality disposable pads (like Wee-Wee or Amazon Basics with the blue “quick-dry” layer) are genuinely great.
They have an attractant scent to draw the dog in and a plastic bottom to protect your precious hardwood.
The Pros: Zero cleanup. You just roll it up and toss it. Great for travel.
The Cons: Single-use plastic waste. Cost adds up. If your dog is a shredder, you’ll have confetti everywhere.
Option 2: The Washable “Reusable” Pad (The Eco-Warrior)
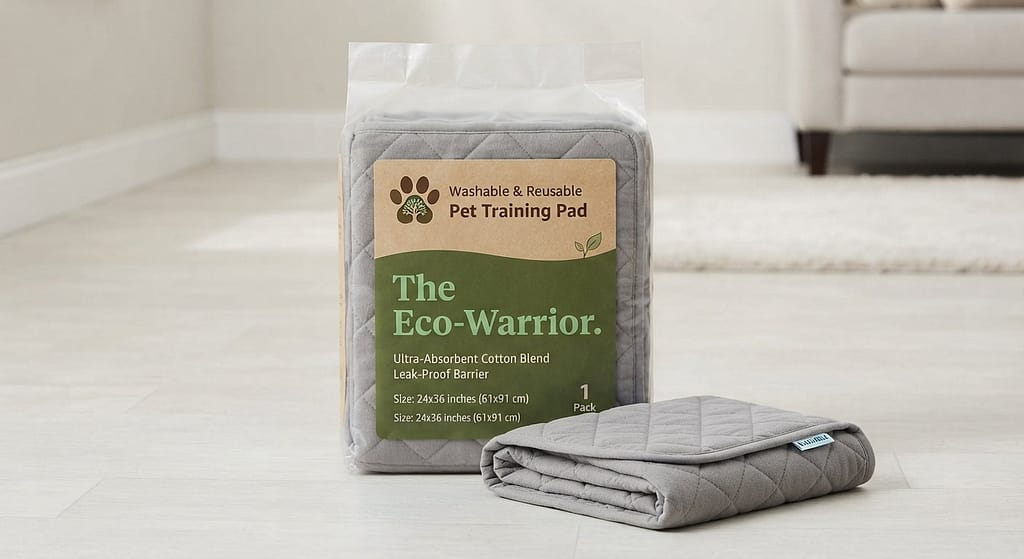
The Vibe: Fabric, quilted, machine-washable. Very “I compost and have a reusable tote bag.”
The Price: $30–$60 for a 2-pack.
The Lifespan: 2–3 years, easily.
The Studio Reality Check:
This is our personal favorite for studios.
Why?
Because they don’t crinkle. If you have a nervous dog, the crinkle of a disposable pad is terrifying.
The washable ones are quiet, soft, and much harder for them to shred. They also have a waterproof layer.
The Pros: Environmentally friendly. Cheaper long-term. Durable. No crinkle sounds.
The Cons: You have to wash them. And we mean properly.
If you just throw them in the washing machine with a splash of soap, the urine smell will bake into the fabric.
You must use a biological enzymatic cleaner in the wash.
Option 3: The “Pad Holder” Tray System (The Smart Solution)
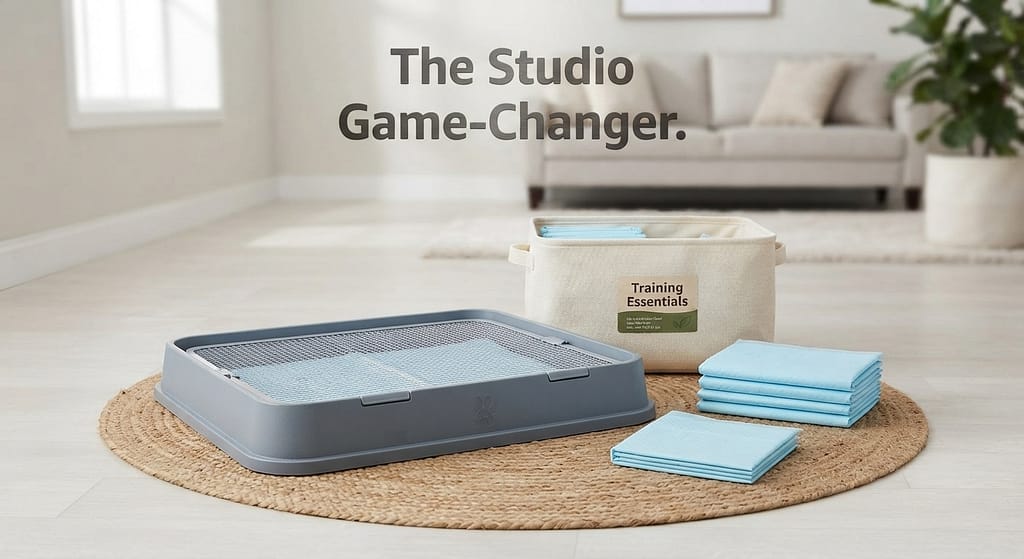
The Vibe: A plastic grid or tray that holds the pad in place.
The Price: $20–$40 for the tray.
The Studio Reality Check:
THIS IS THE STUDIO GAME-CHANGER. Listen to us. If you put a pad flat on a studio floor, your dog spins around, misses the center, and pees just off the edge onto your floor.
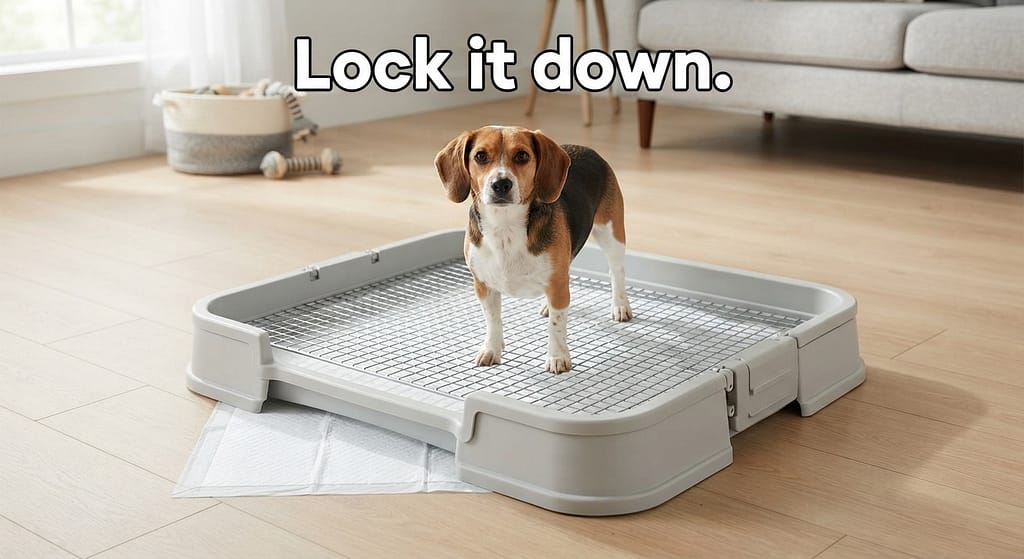
A pad holder with raised edges catches that miss. It also prevents shredding because the pad is locked under a grate.
Our Pro Tip: Place a washable pad inside the holder, and lay a disposable pad on top.
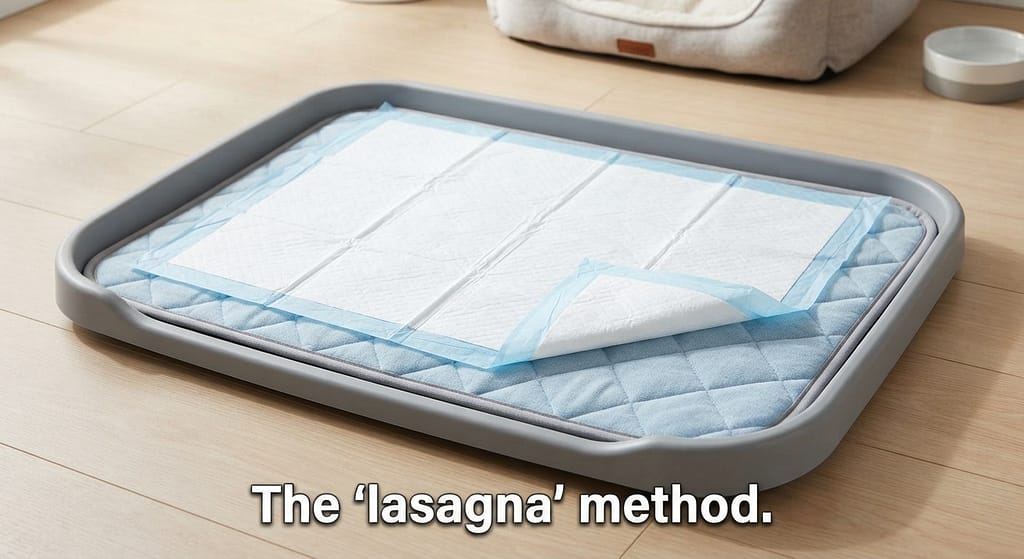
This gives you absorbency (disposable) and floor protection (washable). It’s the “lasagna” method of potty pads, and it changed our lives.
The “Studio” Setup: Where Do You Put This Thing?
This is the million-dollar question. In a 400-square-foot studio, every square inch is prime real estate.
You can’t just put a 30×30-inch pee mat in the middle of the walkway.
Our Hierarchy of Pad Placement (By Preference):
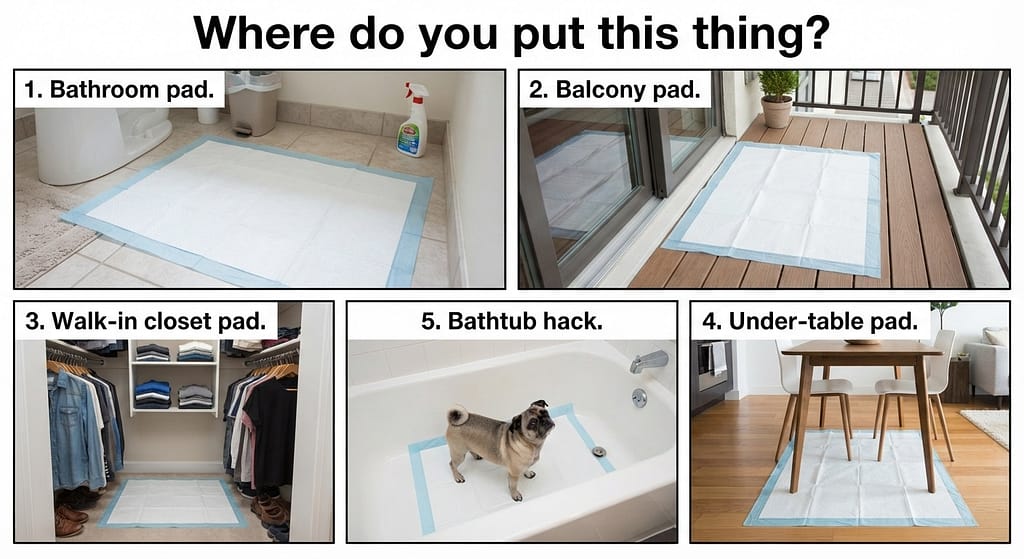
- The “Bathroom” Pad (The Winner): If your studio bathroom has floor space (not just a shower), put it next to the toilet. It’s tiled, easy to clean, and uses your own bathroom as a scent association zone.
- The “Balcony/Patio” Pad: If you have a balcony, this is heaven. The pad goes outside. You just open the slider, let them go, and close it. Zero smell inside.
- The “Walk-in Closet” Pad: If you have a closet big enough to turn around in, put the pad in the back corner. Keep the door cracked. It’s dark, quiet, and out of sight.
- The “Under the Table” Pad (The Space-Saver): Place the pad under your desk or a side table. It uses vertical space to hide the “bathroom” from plain sight.
- The “Guerrilla” Pad (The Emergency Backup): Keep a small pad folded under the sink. If it’s 3 AM and raining, whip it out, lay it in the tub, and let them go. Rinse the tub immediately. The “Bathtub Hack” is a lifesaver in a studio.
The “Rug” Warning:
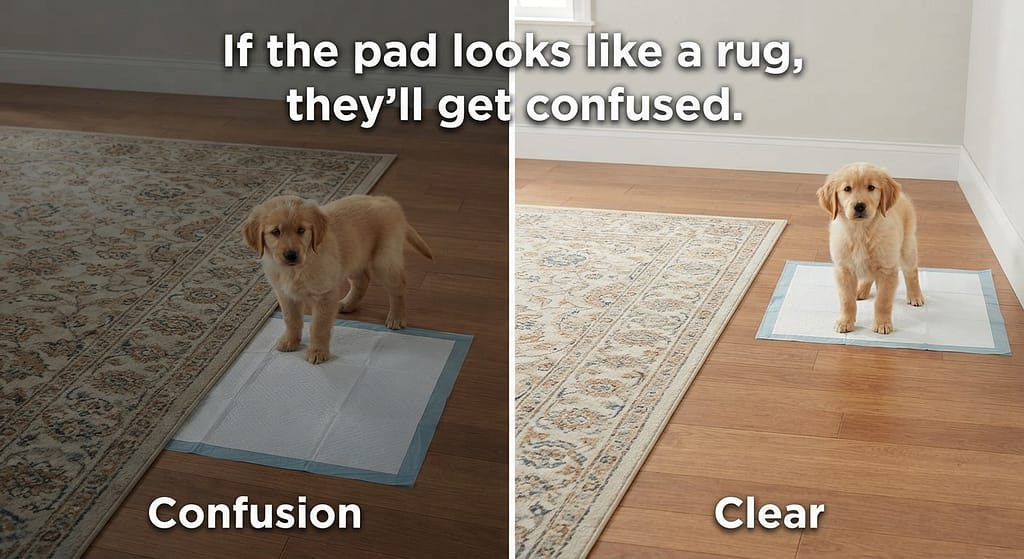
Place the pad as far away from your main rugs and carpets as possible.
Dogs are weird. If the pad looks like a rug, they might get confused and think “all soft rectangles are pee zones.”
Step-by-Step: Potty Pad Bootcamp
You don’t just toss a pad down and magically have a potty-trained dog.
You have to teach them that this specific rectangle is the “Pee Zone” and the rest of the studio is the “Living Zone.”
Week 1: The “Scent” Introduction
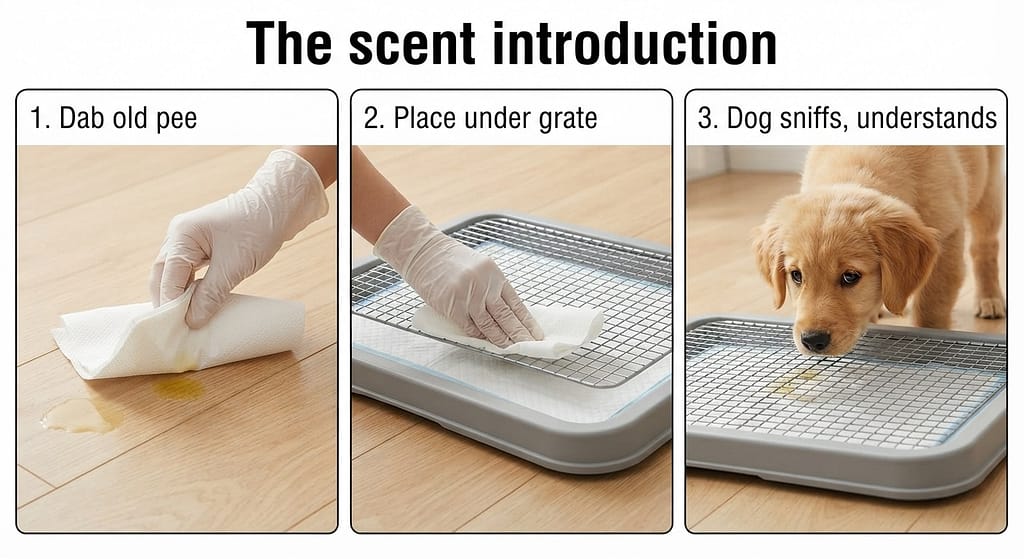
- The Setup: Put the pad in its designated spot.
- The Trick: Take a piece of paper towel and dab their previous accident (or a drop of their urine). Place this under the grate of the pad holder or on top of the pad. The scent tells them, “Ah, this is where the bathroom is.”
- The “Sniff” Command: Every hour, lead them to the pad on a leash. Say “Go potty!” in a happy voice. Wait 2 minutes. If they pee, throw a parade (treats, praise, the works!). If they don’t, bring them back and try again in 30 minutes.
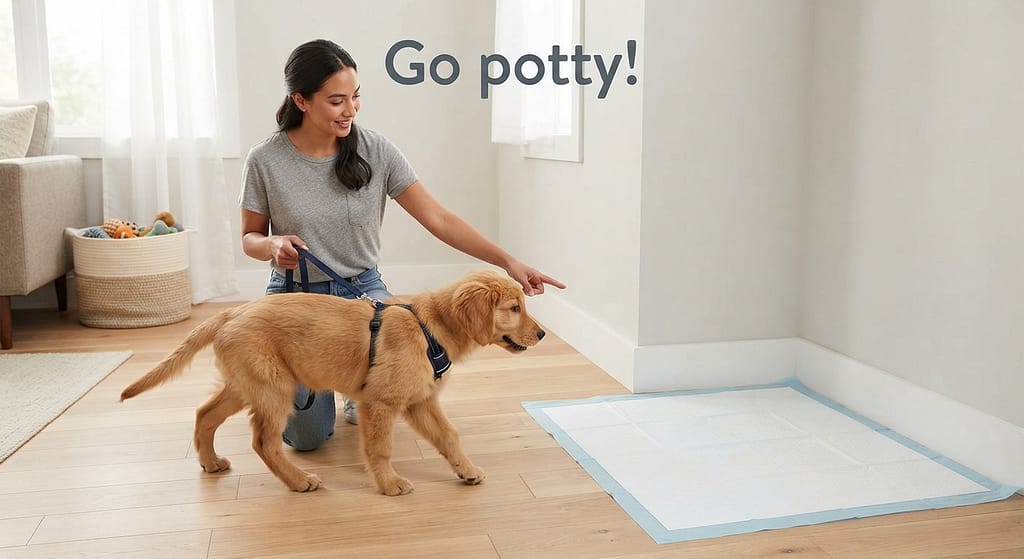
Week 2: The “Accident” Interruption
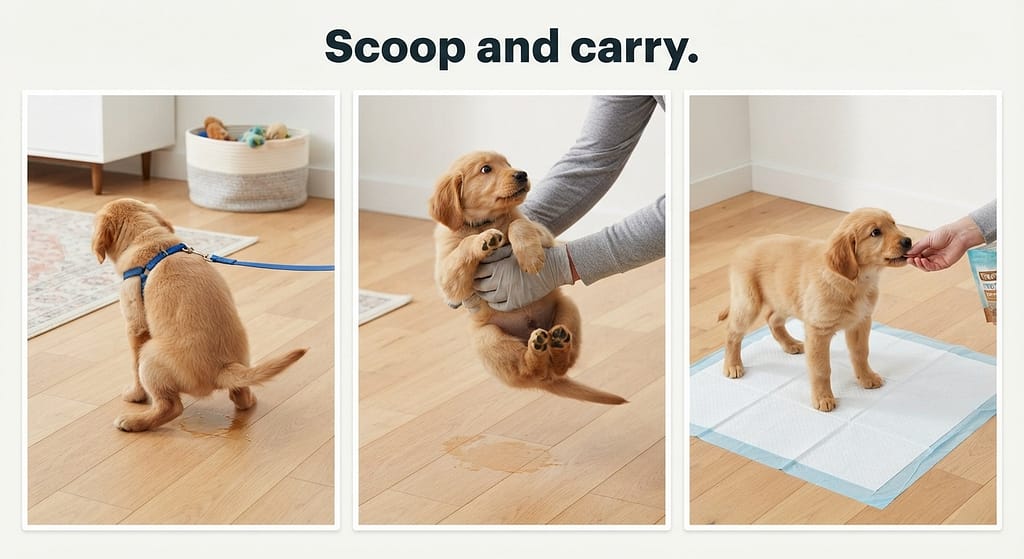
- The “No” Rule: If you catch them squatting anywhere else, do not yell. It breaks their trust. Instead, make a sudden, neutral “Ah-ah!” sound to startle them (just enough to stop the flow).
- The Carry: Immediately scoop them up (yes, even mid-stream—wear an apron if you must) and carry them to the pad. Put them down on it. If they finish on the pad, reward heavily.
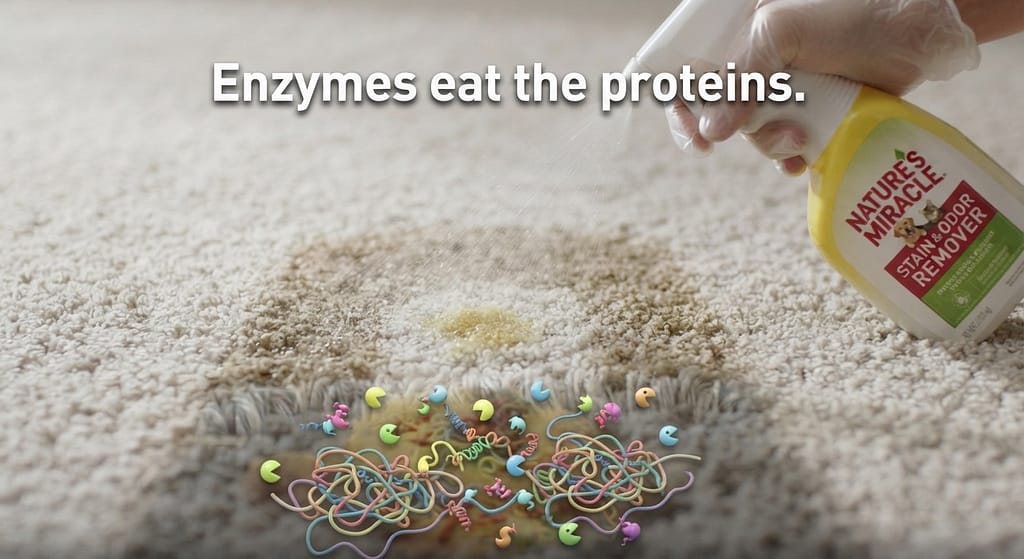
- The Cleanup: Clean the accident spot with an enzymatic cleaner (like Nature’s Miracle). If you use regular soap, the scent remains, and they’ll think that spot is a bathroom forever. Enzymes eat the proteins in the urine, eliminating the smell.
Week 3: The “Independent” Use
- The Goal: You want them to go to the pad on their own.
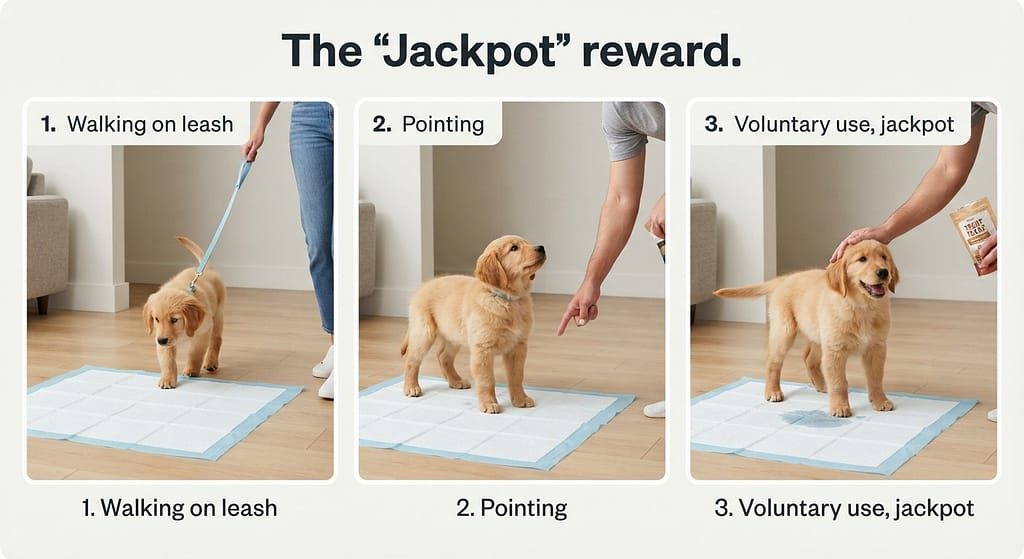
- The Strategy: Stop carrying them. Start walking them to the pad on a leash. Then, just point. Then, just look at the pad.
- The “Jackpot” Reward: When they voluntarily walk to the pad and pee without a prompt, give them a “Jackpot”—5 treats in a row, a new toy, or a smear of peanut butter. This cements the behavior.
Odor Control: The Studio Survival Kit (READ THIS)
We’re going to be brutally honest. A studio apartment is basically a closed box.
If your potty pad smells, your whole home smells. You can’t hide it behind a closed door.
We learned this the hard way when a guest asked us, “Do you have… a farm animal in here?”
Devastating.
Here is the Studio Odor Control Trinity:
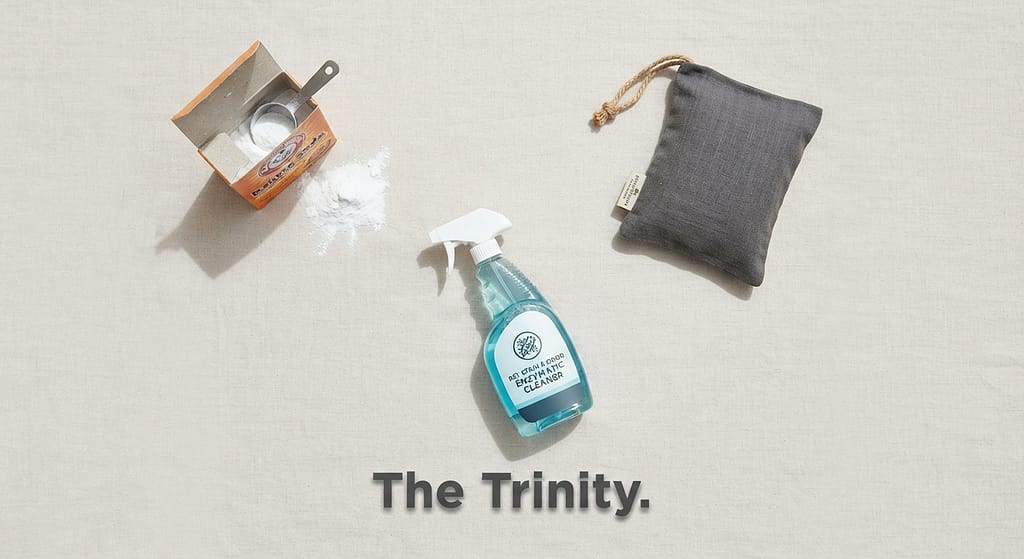
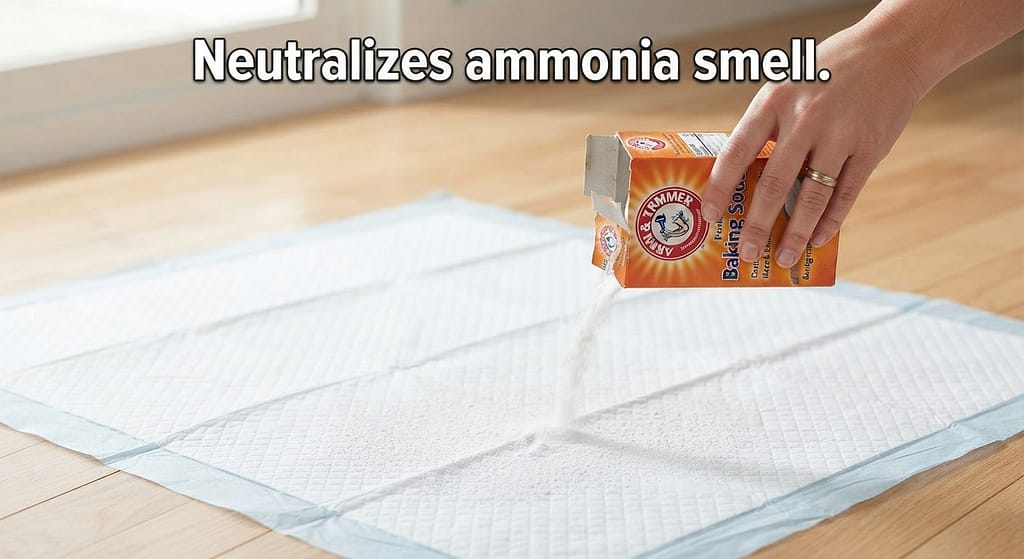
- Baking Powder Sprinkle: Every morning, sprinkle a thin layer of baking soda over the pad (if using washable) or under the grate (if using disposable). It neutralizes the ammonia smell before it even enters the air. Vacuum it up when you change the pad.
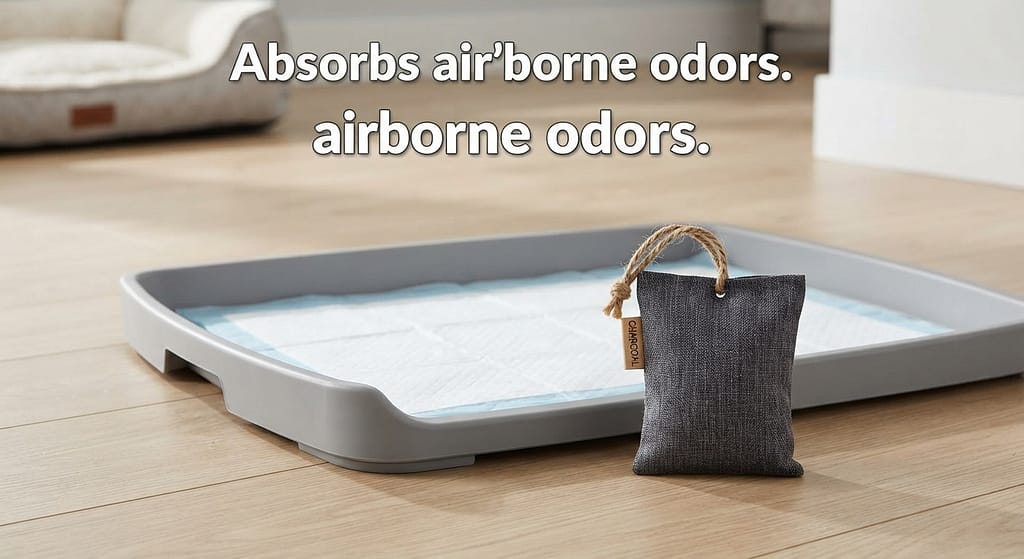
2. The Charcoal Filter: Place a small, activated charcoal odor-absorbing bag (like the ones for refrigerators) right next to the pad holder. They absorb airborne odors passively. You’d be shocked how much they help.
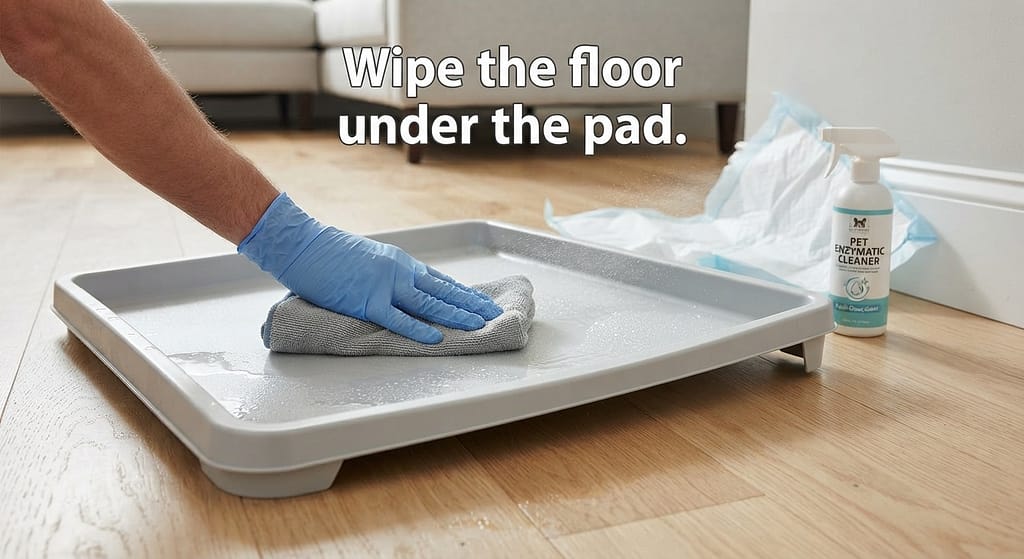
3. The “Enzyme” Ritual: Even with disposable pads, wipe down the floor under the pad with an enzymatic cleaner every time you change it. Urine droplets drip through. If you don’t clean the floor, the floor becomes the smelly pad.
4. The “Daily Swap” Rule: Do not let a soiled pad sit for 48 hours in a studio. We don’t care how “super absorbent” the box claims to be. Swap it daily. Your nostrils will thank you.
The Nightmare Zone: Troubleshooting Common Pad Problems
Let’s address the elephants (or rather, the naughty dogs) in the room.
Problem 1: “My dog shreds the pad like it’s confetti!”
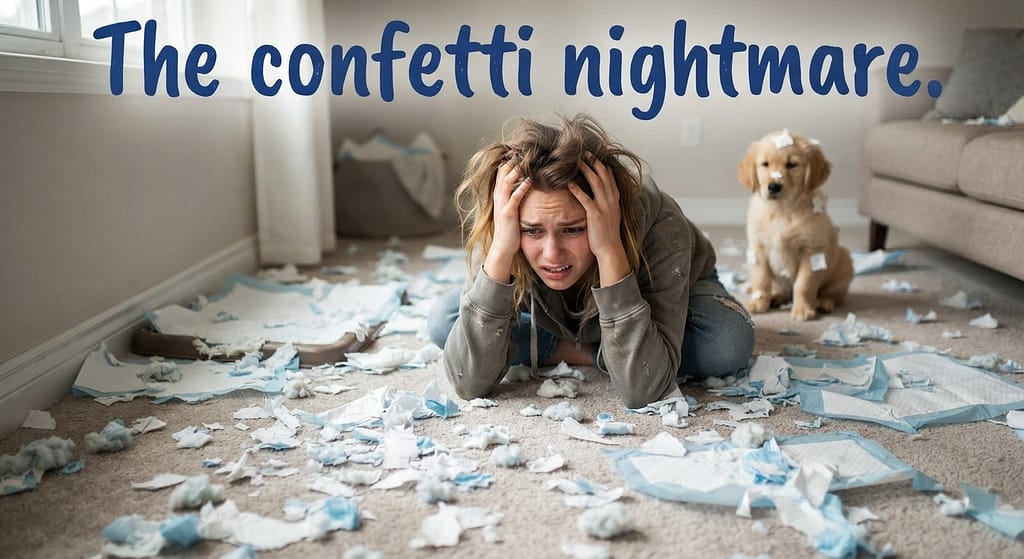
- Solution: Buy a pad holder with a grate. They can’t claw the paper if it’s locked down. Or, switch to washable pads. There’s nothing to shred.
- Distraction: If they are chewing it because they are bored, give them a chew toy only when you see them eyeing the pad.
Problem 2: “They pee ON the pad, but their aim is terrible, and it runs off the edge!”
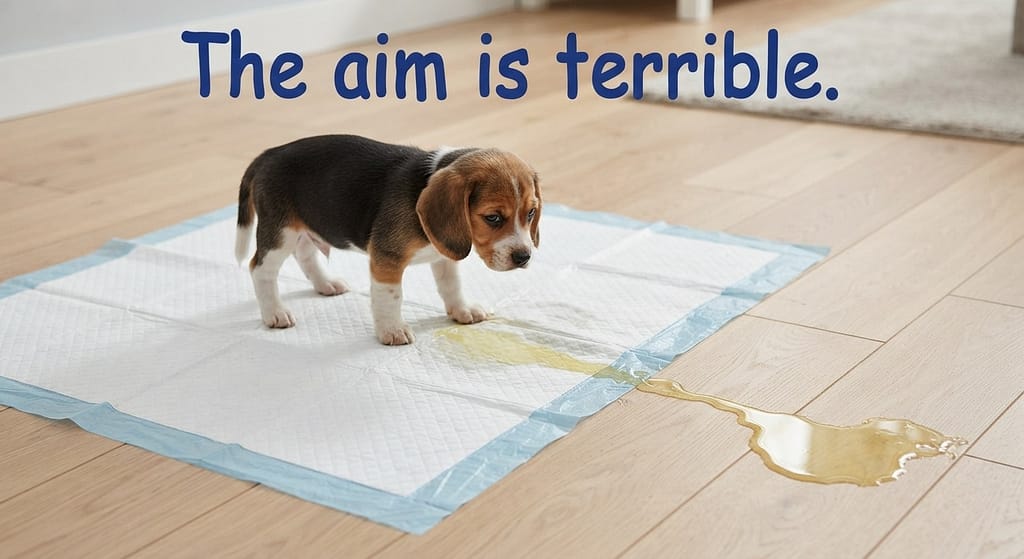
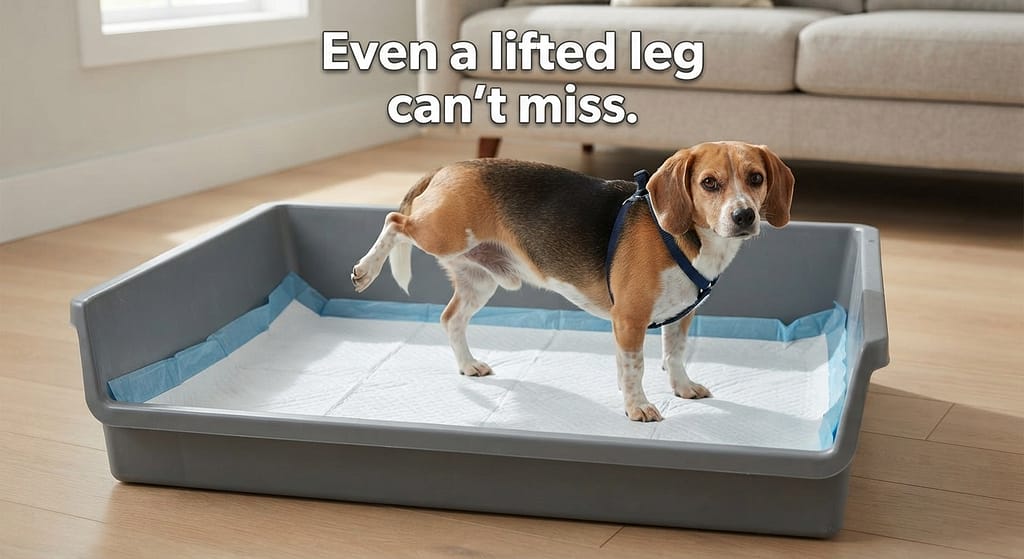
- Solution: The Tray! Buy the deepest tray you can find. Or, for a cheap DIY, buy a concrete mixing tray from the hardware store. They are cheap, plastic, and have 2-inch-high raised edges. Put your pad inside. Now, even a lifted leg can’t miss.
Problem 3: “My dog eats their poop off the pad!”
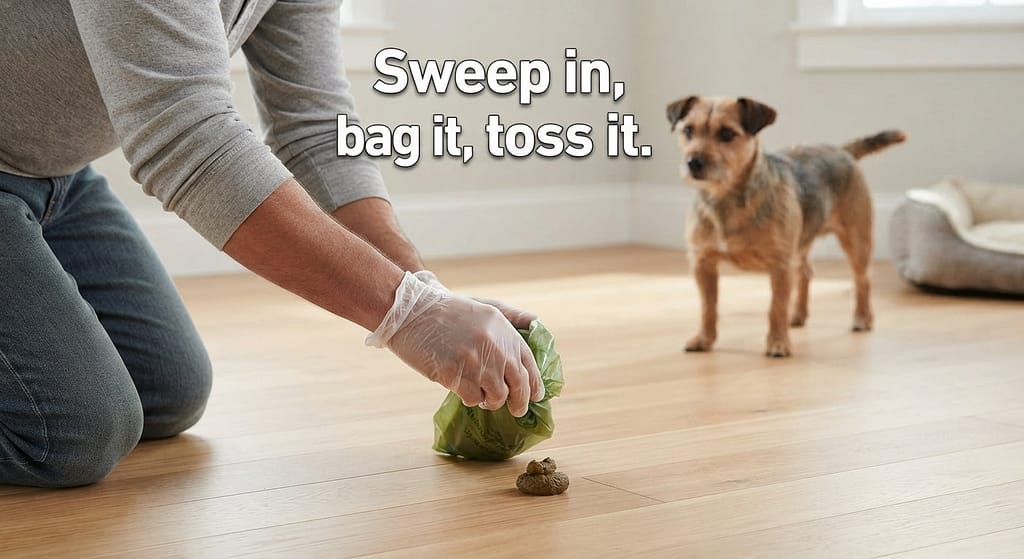
- Solution: This is called coprophagia. It’s gross, but usually harmless (if your dog is dewormed). The solution? Pick up the poop immediately. As soon as they do the deed, sweep in, bag it, and throw it away. If you give them the “poop treat” (a piece of pineapple or a special chew that makes poop taste bad), that can also help.
Problem 4: “My dog holds it all day and then pees on the pad as SOON as I get home!”

- Solution: This means they haven’t generalized the behavior yet. They think the pad is “only for when mom is home.” Practice the “Flitting” method (from our last post) but with the pad! Walk out the front door for 2 seconds. Come back in. If they haven’t gone to the pad? Wait. Walk out again for 5 seconds. Eventually, they’ll realize the pad is accessible without you in the room.
The Transition: From Pads to Outside (If You Want)
A lot of people worry that potty pads will “ruin” a dog for outside pottying. They think, “If they learn to pee inside, they’ll never pee outside.”
This is a myth.
Dogs are masters of context. They know the difference between “inside floor” and “outside grass” perfectly well. You can absolutely use pads as a temporary solution and transition later.
The Transition Schedule:
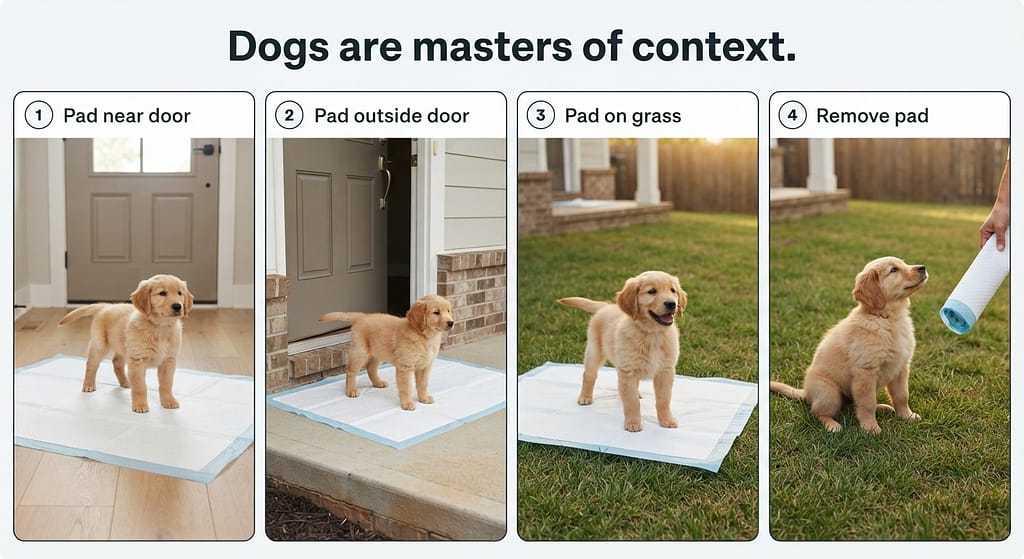
- Phase 1: Move the pad closer and closer to the front door over a week.
- Phase 2: Move the pad outside the front door (in the hallway, if allowed).
- Phase 3: Put the pad on the grass outside. Wait for them to pee on it.
- Phase 4: Remove the pad. The grass smells like the pad. They pee on the grass.
The “Forget” Strategy:
If you are fully transitioning to outside, stop buying pads. Deal with the 2-3 days of accidents.
Just take them out every hour. They will eventually get the hint that pads are gone and outside is the only option.
The Verdict: The “Studio Stink” Ends Here
Here is the bottom line, from our tiny apartment to yours:
The indoor potty pad is not a sign of failure. It’s not a lazy substitute. It is a strategic tool for urban living.
It respects your time, your dog’s biology, and the reality of a 5 AM thunderstorm.
Our Hard-Earned Studio Pad Rules:
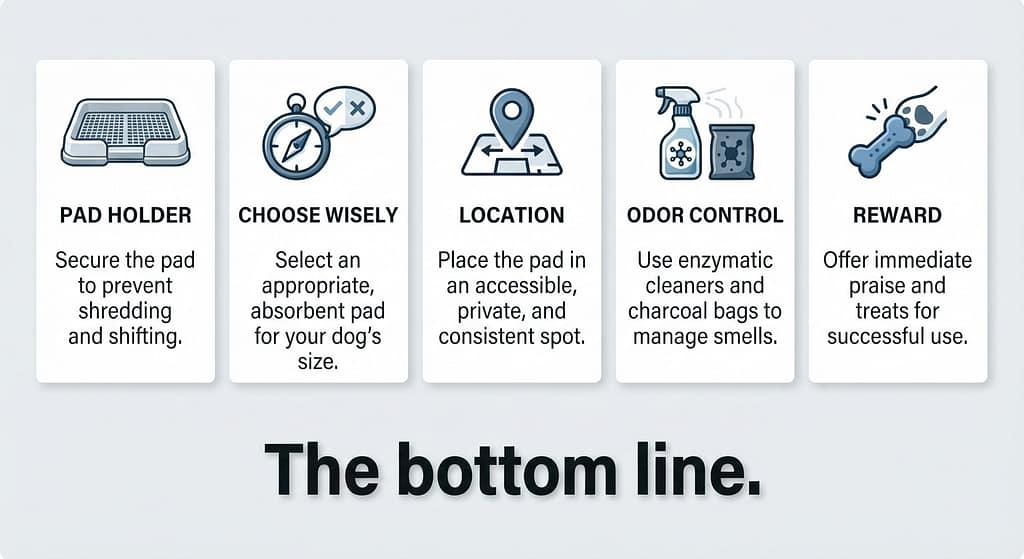
- Invest in a Pad Holder. Do not skip this. It protects your floor and your sanity.
- Choose your pad type wisely: We prefer Washable + Tray for long-term savings, but Disposables are great for travel or extreme laziness.
- Location, Location, Location: Bathroom > Balcony > Closet > Under the table. Never in the kitchen.
- Odor Control is a Daily Ritual: Baking soda + Enzymatic cleaners + Daily swaps. You cannot skip this step in a studio.
- Reward Heavily, Clean Neutrally. Make the pad the most exciting place on earth. Make accidents boring and forgettable.
Your “Studio Pad” Daily Checklist
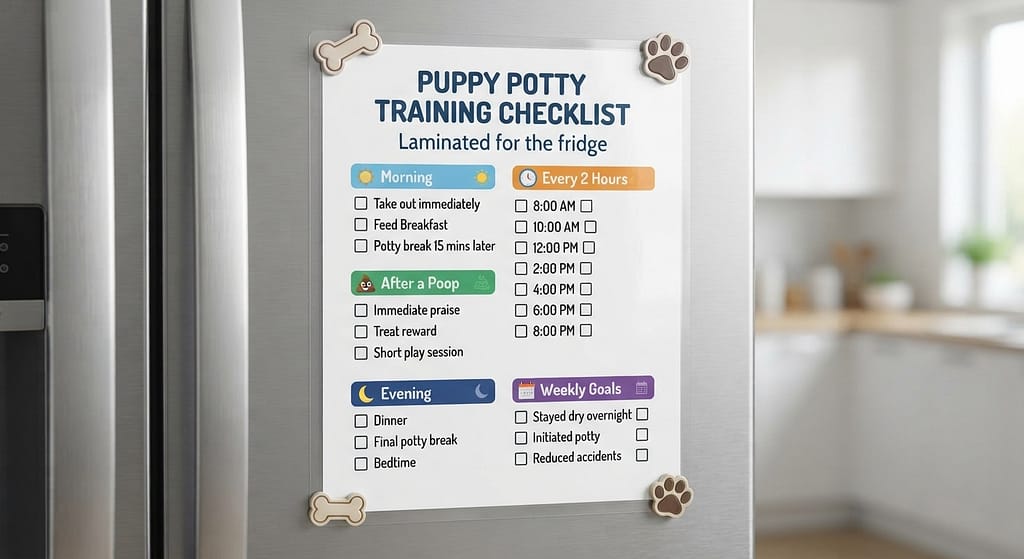
We know it feels overwhelming. Here is your laminated checklist for the fridge.
- □ Morning: Lift the grate. Sprinkle baking soda. Replace the pad (if soiled). Wipe the tray with enzyme cleaner.
- □ Every 2 Hours: Lead them to the pad. Say “Go Potty!” Reward immediately if they go.
- □ After a Poop: Bag it immediately. (Do not let it sit!).
- □ Evening: Swap the pad for a fresh one. The overnight soak is the biggest odor culprit.
- □ Weekly: Deep clean the tray with hot water and bleach (diluted) or enzyme cleaner. Let it dry in the sun (UV kills lingering bacteria).
The Final Word: We’ve All Picked Up Poop at 6 AM
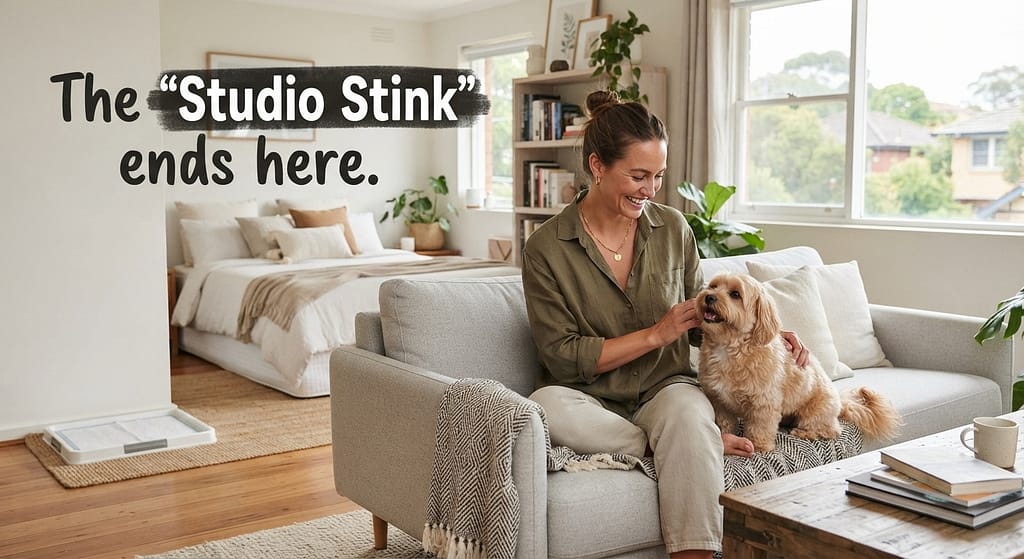
Look, we know this isn’t glamorous.
There is nothing aesthetic about a pee pad in the corner of your beautifully curated studio. It is a humble, functional, slightly embarrassing piece of your daily life.
But you know what’s more embarrassing? Your neighbor complaining about the smell in the hallway.
Your dog getting a UTI from holding it too long. You crying in the rain at 6 AM because you’re sleep-deprived and cold.
The potty pad is an act of love. It says, “I see that you need to go, and I’m making it safe and comfortable for you to do so.”
So, embrace the pad. Stick it in the corner of the bathroom. Cover it with a cute little mat if you have to.
But most importantly, use it. Train it. Clean it.
Your dog will be happier. Your sleep schedule will be happier.
And your nostrils?
They will finally be at peace.
Now, go buy a pad holder. We promise it’s the best $25 you’ll spend this year.
🐾 — Apartment Dog Guide (ADG)
Living large in small spaces, one paw at a time. That’s the apartment dog life—see you in the next guide!.


