
Picture this:
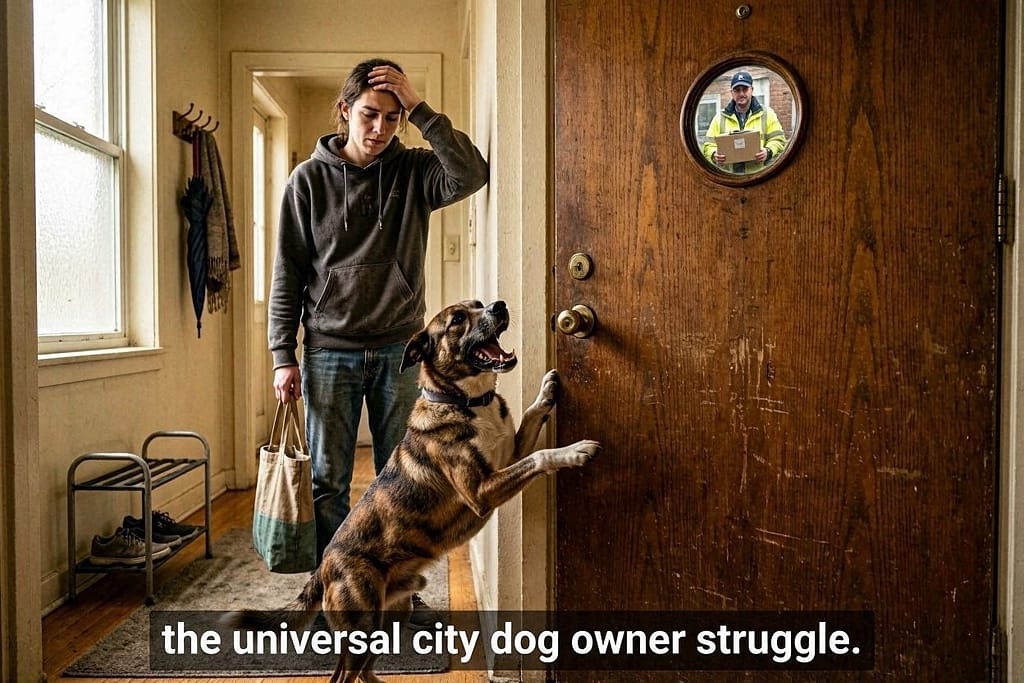
You’re in your apartment when the delivery person rings the doorbell.
Your dog erupts into frantic barking.
Or you’re on a peaceful evening walk when a skateboarder whizzes by, triggering a vocal protest. In that moment, you wish for a magic button to press that would bring instant silence.
What if you actually had one?
The “quiet” command isn’t just a party trick—it’s an essential urban survival skill for dogs and their owners.
In close-quarters apartment living and on crowded city streets, having a reliable way to politely ask your dog to stop barking can mean the difference between peaceful coexistence and neighborly tension.
But here’s what most trainers won’t tell you:
The “quiet” command isn’t about suppression or punishment.
It’s about teaching your dog an alternative behavior and giving them clear communication about what you want.
When done correctly, you’re not creating a silent, repressed dog—you’re creating a polite, responsive companion who understands how to behave in complex urban environments.
We’ve trained this command with many of our own readers, reactive city dogs, and through working with countless urban pet owners.
The difference it makes isn’t just about noise reduction—it’s about confidence, control, and creating a calmer life for both of you in the bustling city.
Ready to build your own “magic button” for peace?
For the complete barking solution, see our urban silence protocol
Let’s begin the journey to quieter urban living.
Why the “Quiet” Command is Different in the City
First, let’s understand why urban environments make this command both more challenging and more essential.
City-Specific Barking Triggers:
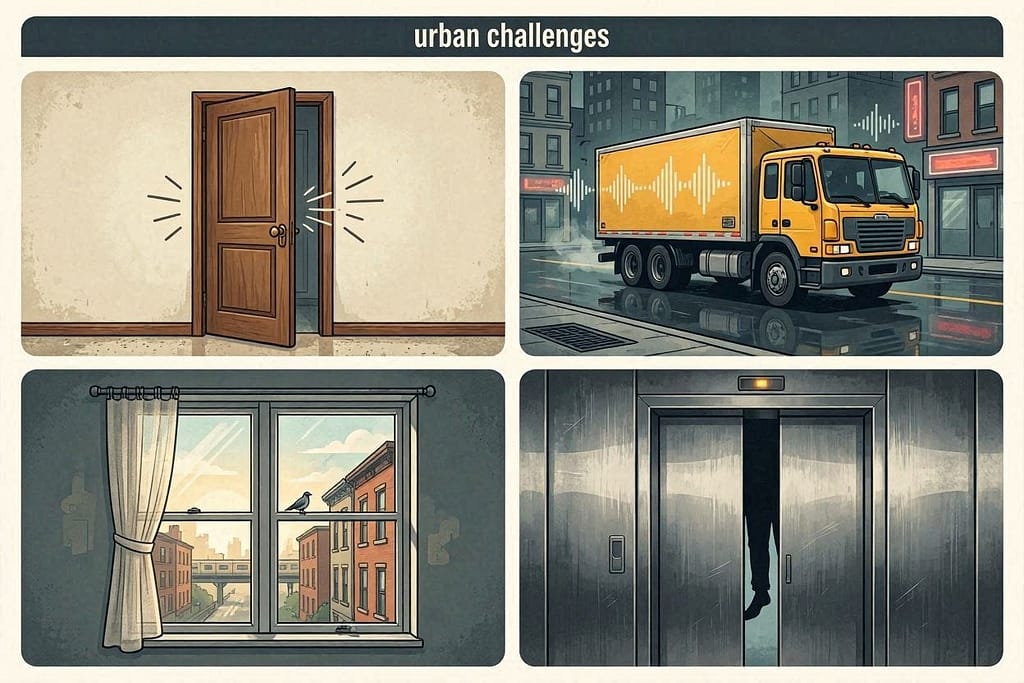
- Hallway noises (neighbors, elevators, deliveries)
- Street sounds (sirens, construction, loud conversations)
- Visual stimuli from windows (other dogs, pigeons, moving shadows)
- Close encounters in tight spaces (elevators, stairwells, narrow sidewalks)
For apartment barking triggers, see our apartment barking triggers guide
Unlike demand barking (which we’ve covered), much urban barking is reactive or alert barking—your dog’s natural response to novel or perceived threats in their environment.
The “quiet” command addresses this beautifully by acknowledging their concern while teaching an alternative response.
Before we can teach “quiet,” we need to understand what comes first.
Here’s the surprising truth…
The Secret First Step: You Must Teach “Speak” First
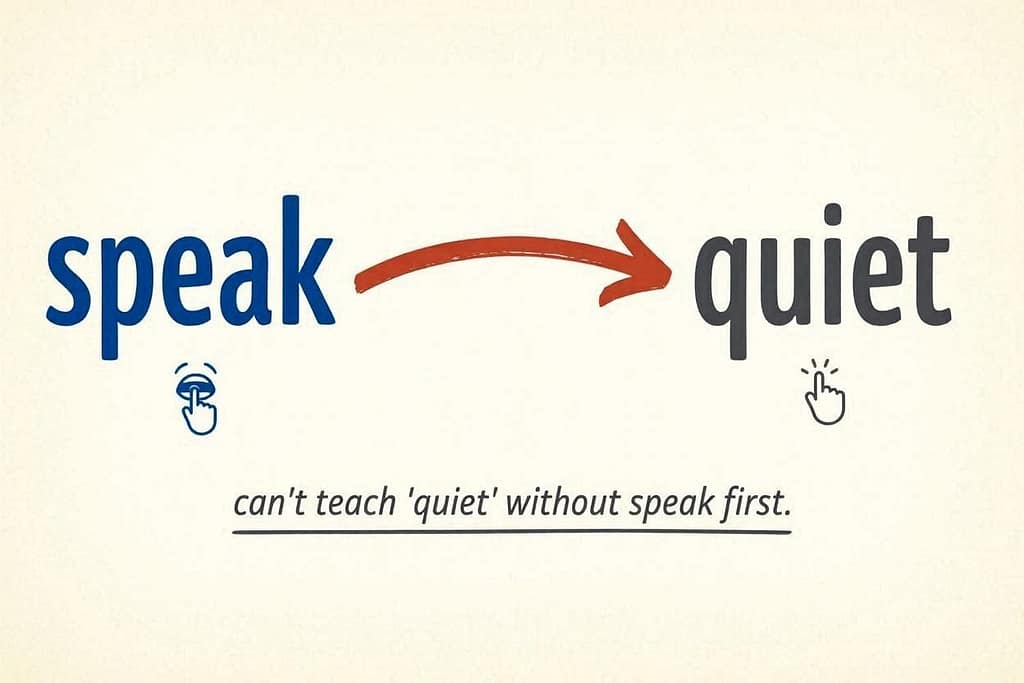
This counterintuitive step is why many people fail at teaching “quiet.” You can’t teach a dog to stop doing something on command unless they’re actually doing it consistently for you during training sessions.
Why “Speak” First Works:
- It puts barking on cue, giving you control over when it happens
- It transforms barking from an involuntary reaction to a voluntary behavior
- It creates clear training opportunities instead of waiting for random barking
How to Teach “Speak” (The City-Friendly Way):
Step 1: Find Their Bark Trigger
What reliably makes your dog bark with minimal intensity? Common city-friendly triggers:
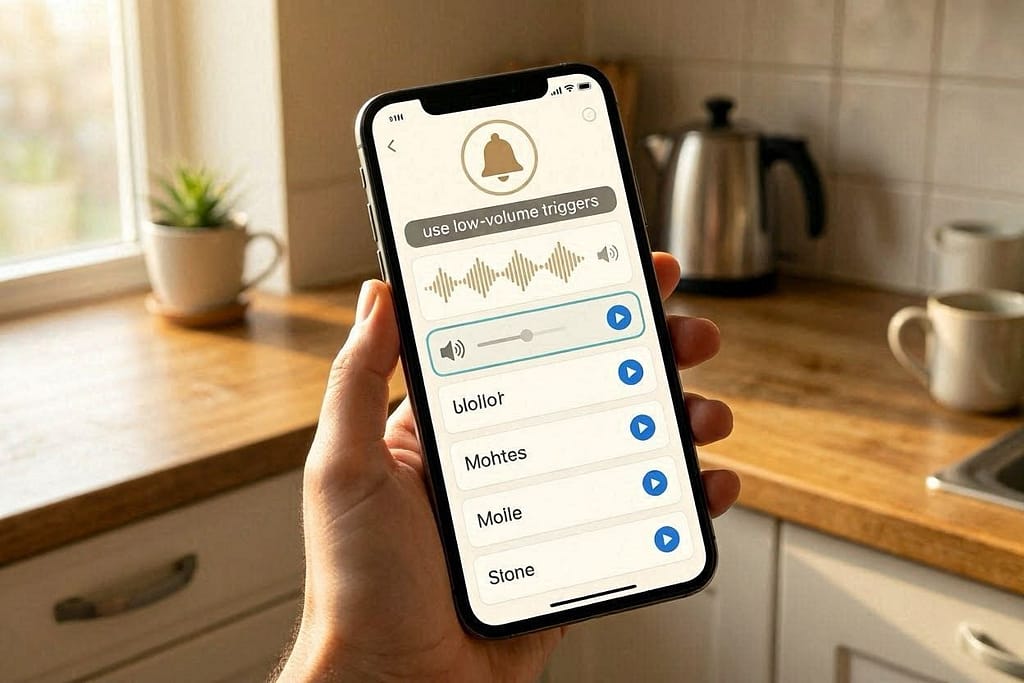
- Doorbell sounds from your phone (at low volume)
- A knock on the wall (not the door)
- Seeing another dog through the window (from a distance)
- You’re making a funny noise or movement
Step 2: Mark and Reward the Bark
- Trigger a single bark
- The MOMENT they bark, mark it with a clicker or “Yes!”
- Immediately toss a high-value treat
- Repeat 5-10 times per session, keeping sessions short
Step 3: Add the Cue
- Just BEFORE triggering the bark, say “Speak” clearly
- Trigger the bark
- Mark and reward
- Repeat until they begin to associate the word with the action
Pro Tip: If your dog won’t bark for you, try getting them excited with a toy, then suddenly stopping play. Often, a frustrated “woof” will emerge—mark and reward that!
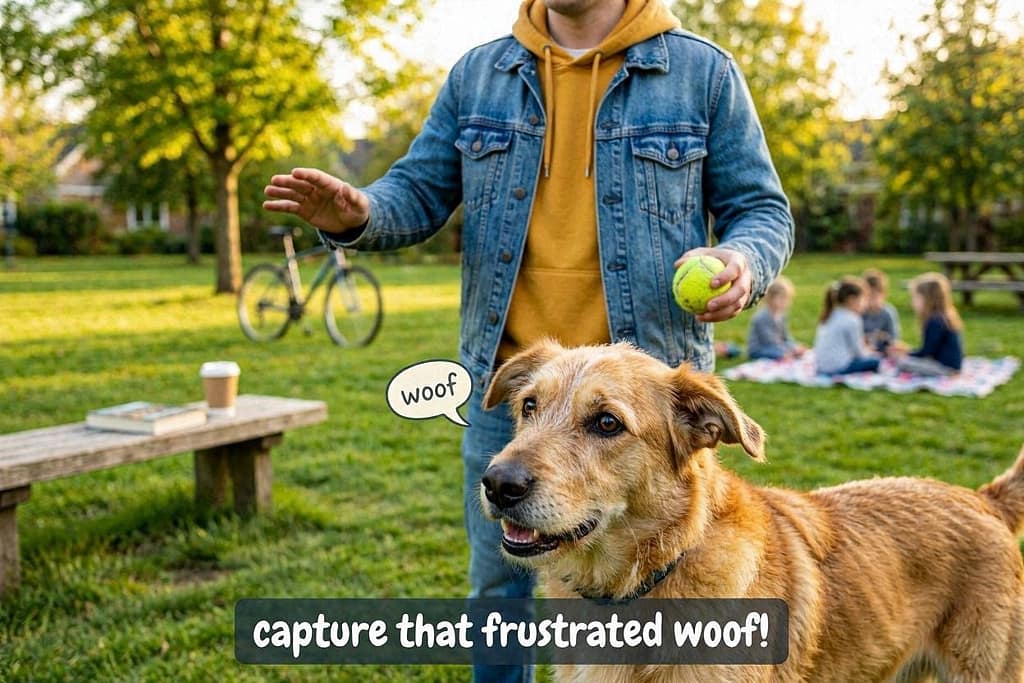
Now you’ve got barking on command.
This is where the magic happens—teaching the “off switch.”
The Core Training Protocol: Teaching “Quiet” Step-by-Step
This is your main training sequence. Plan for 5-minute sessions, 2-3 times daily.
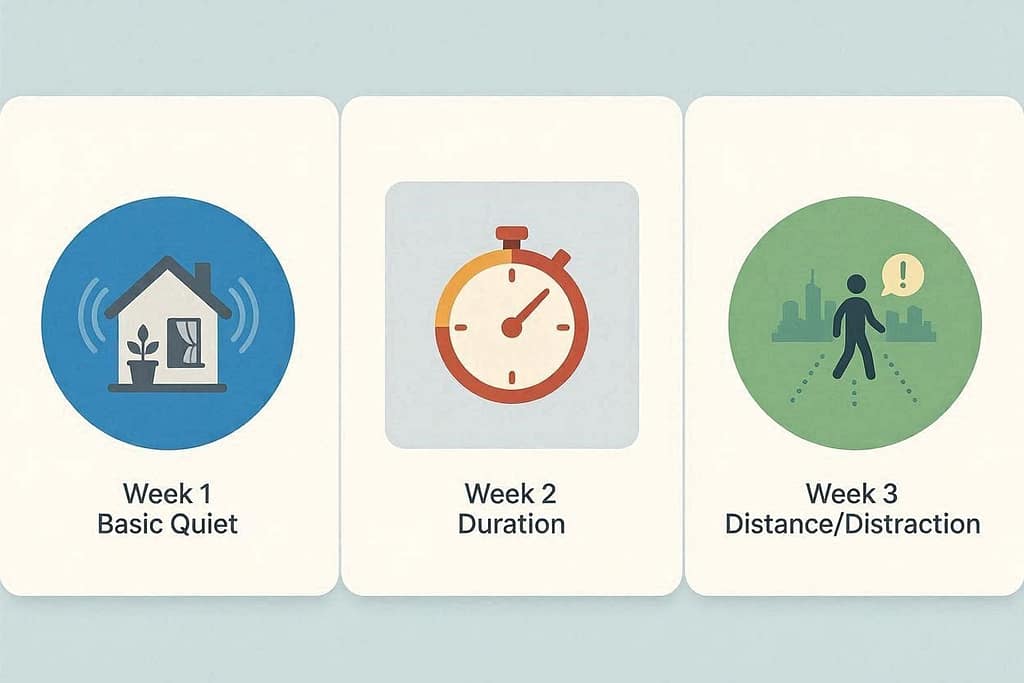
Phase 1: The Basic “Quiet” (Week 1)
- Ask for “Speak” – Get one or two barks using your newly trained cue.
- Show the Treat – Immediately after the bark, show a high-value treat in your closed hand right in front of their nose.
- Wait for the Pause – Your dog will likely stop barking to sniff the treat. The SECOND their mouth closes and they’re silent…
For demand barking management, see our guide to stopping demand barking
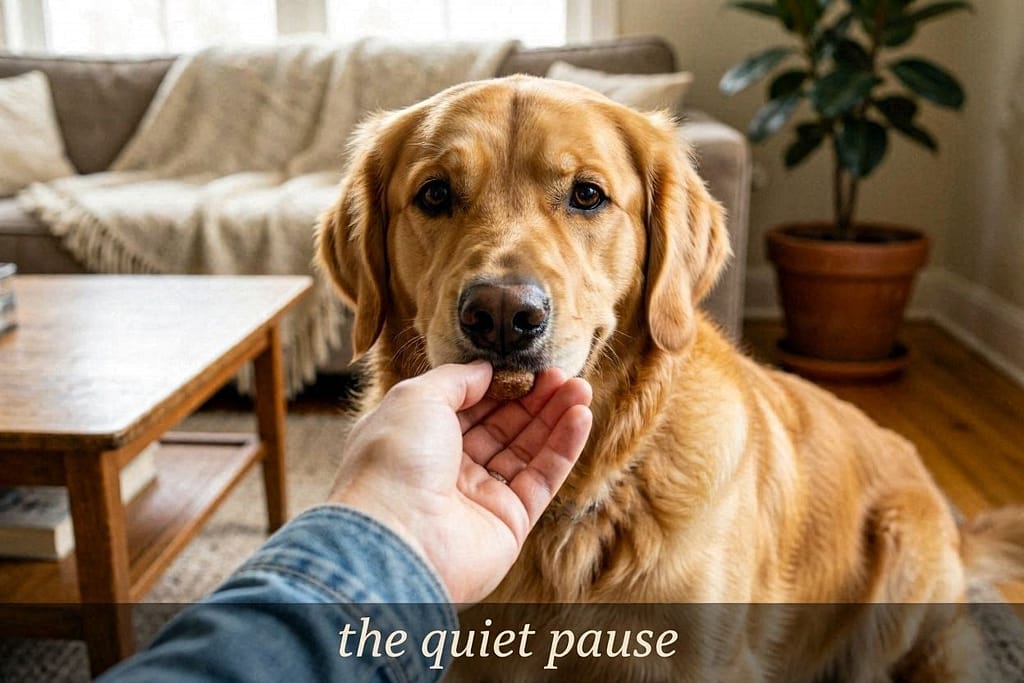
- Mark and Reward – Say “Yes!” or click, then give them the treat.
- Add the Cue – After several repetitions, say “Quiet” clearly just as you show the treat (before they stop barking).
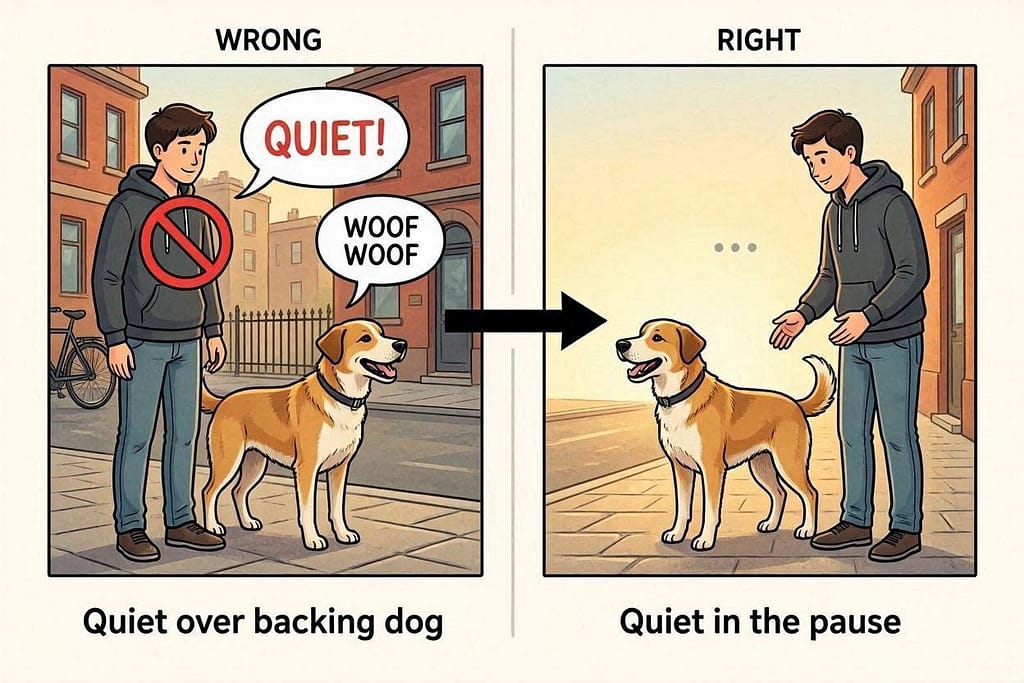
Common Mistake: Don’t say “Quiet” while they’re barking—they can’t hear it clearly. Say it in the brief pause or just before you think they’ll stop.
Phase 2: Increasing Duration (Week 2)
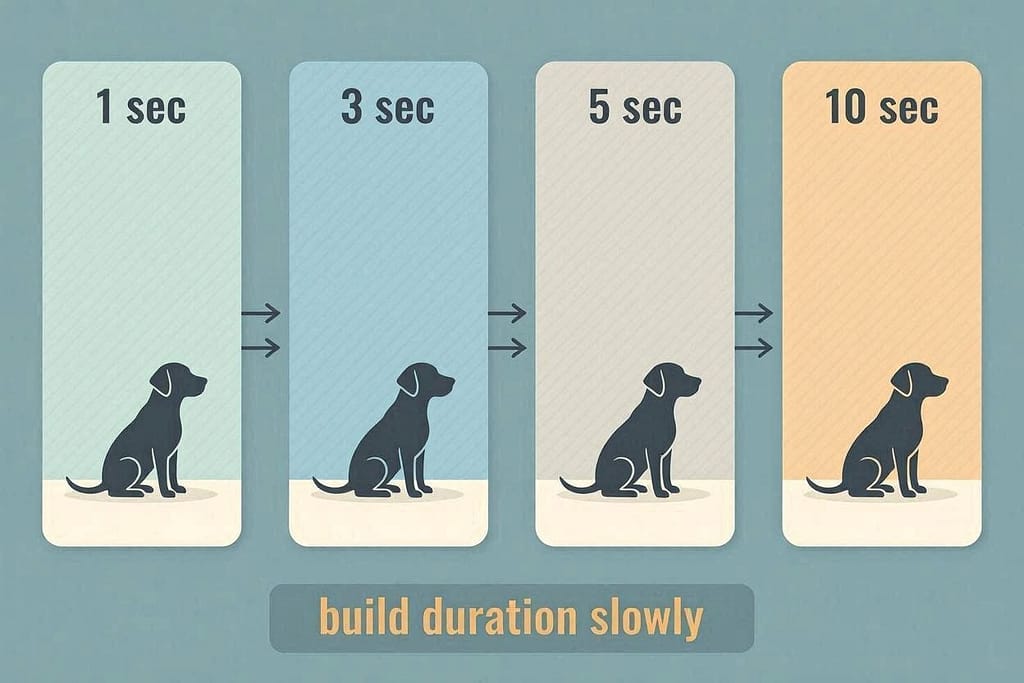
- Ask for “Speak,” then cue “Quiet.”
- When they stop barking, wait ONE second before marking and rewarding
- Gradually increase the quiet time (1 second, then 3, then 5, then 10)
- Vary the duration randomly, so they learn to wait for your release
Phase 3: Adding Distance and Distraction (Week 3)
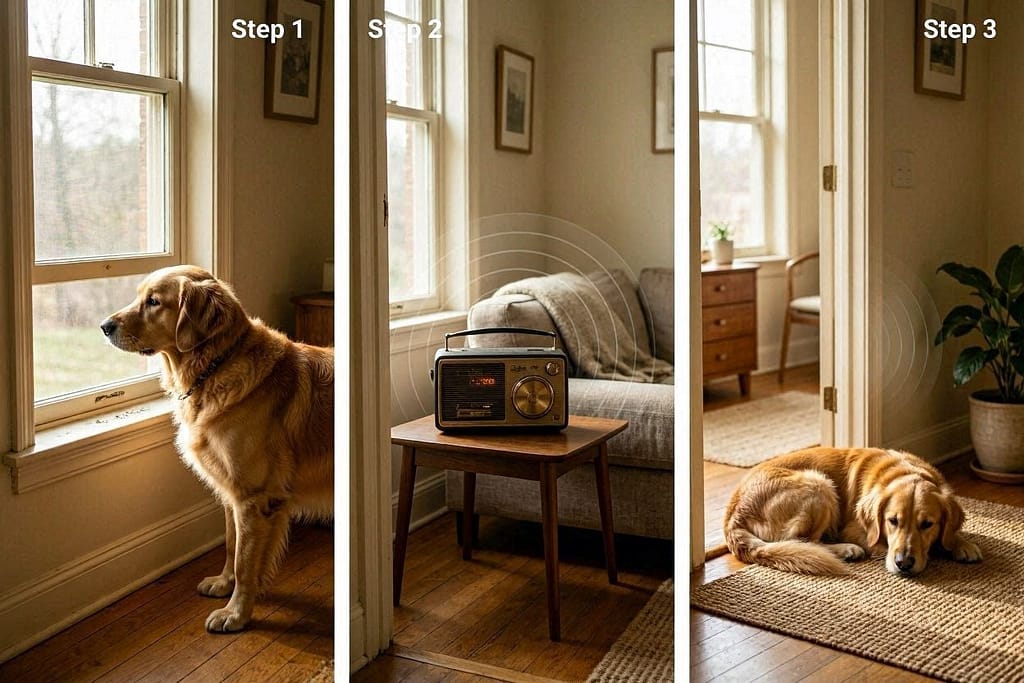
Start adding mild city distractions:
- Practice near a slightly open window
- Practice with quiet street sounds playing in the background
- Take a step back after giving the “quiet” cue
- Practice in different rooms of your apartment
The training is working in sessions, but what about real-world city scenarios?
Time for practical application.
City-Specific Application Scenarios
Scenario 1: The Delivery Person/Doorbell
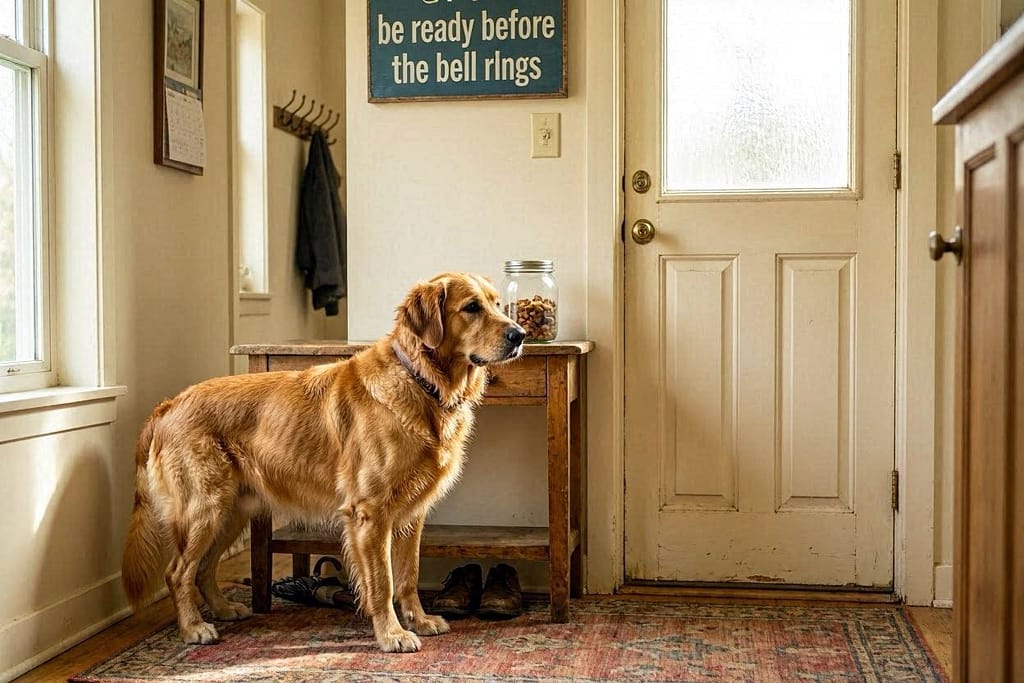
- Set up: Have treats stationed by the door
- Action: When the bell rings and your dog barks, calmly say “Quiet.”
- If they pause (even briefly): Mark and reward IMMEDIATELY
- Progression: Eventually ask for “Quiet” BEFORE you open the door
Scenario 2: The “Window Warrior” Syndrome
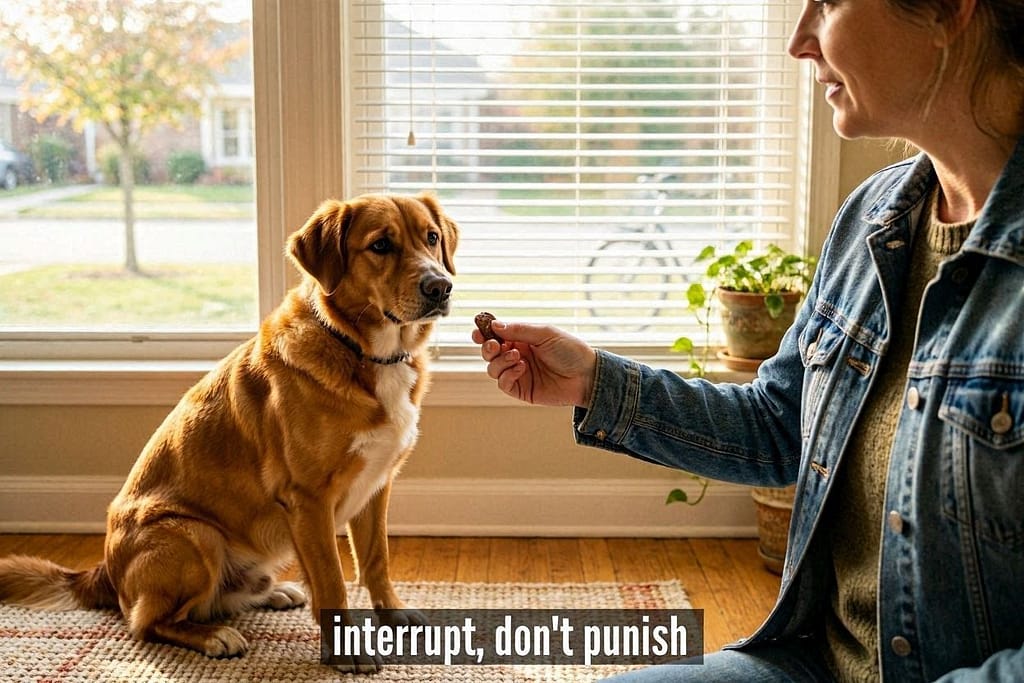
- Setup: Keep treats near barking hotspots
- Action: When they bark at something outside, calmly approach, say “Quiet,” and show a treat
- Alternative Behavior: Teach “leave it” for window watching, then reward for disengaging
Scenario 3: The Elevator/Close Quarters Encounter

- Prevention: Have treats ready BEFORE entering confined spaces
- Action: At the first sign of tension (before barking), ask for an incompatible behavior, such as “sit” or “watch me.”
- Management: If they do bark, use “quiet,” but prioritize prevention in tight spaces
Scenario 4: The On-Leash Reactivity Bark
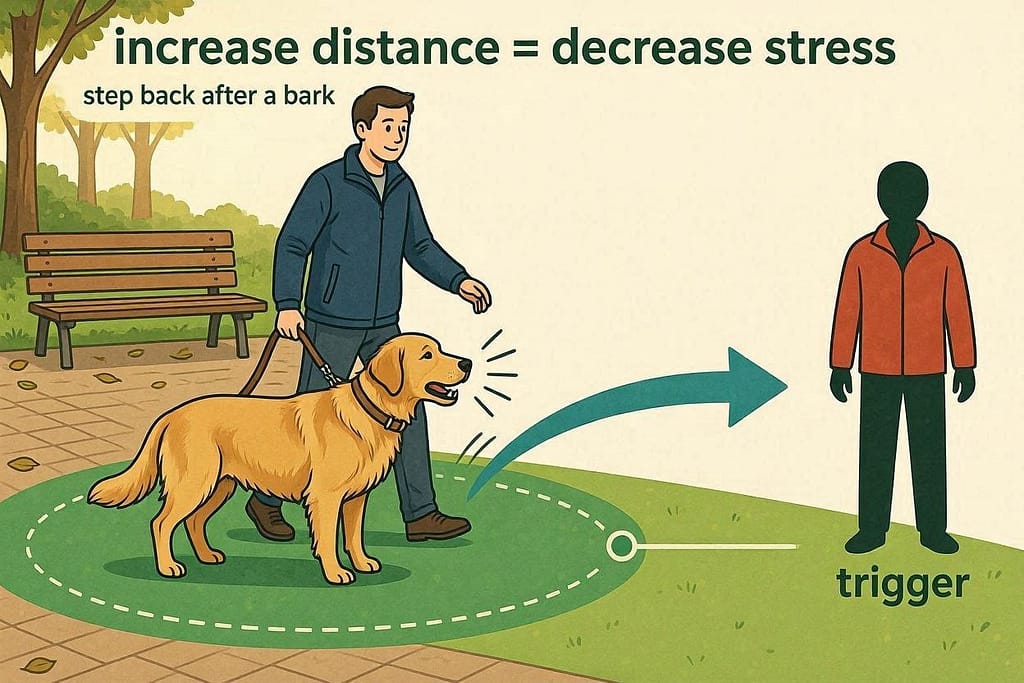
- Setup: Use high-value, smelly treats (cheese, hot dog)
- Action: At a safe distance from the trigger, before they react, ask for “watch me.”
- If they bark: Create distance, wait for a pause, then mark and reward the quiet
- Never punish: This increases anxiety and makes reactivity worse
For leash reactivity on walks, see our leash reactivity guide.
You’re making progress, but hitting some snags.
Let’s troubleshoot the most common urban training challenges.
Troubleshooting: City Dog Edition
Problem: “My dog is too overwhelmed to hear me when triggered.”
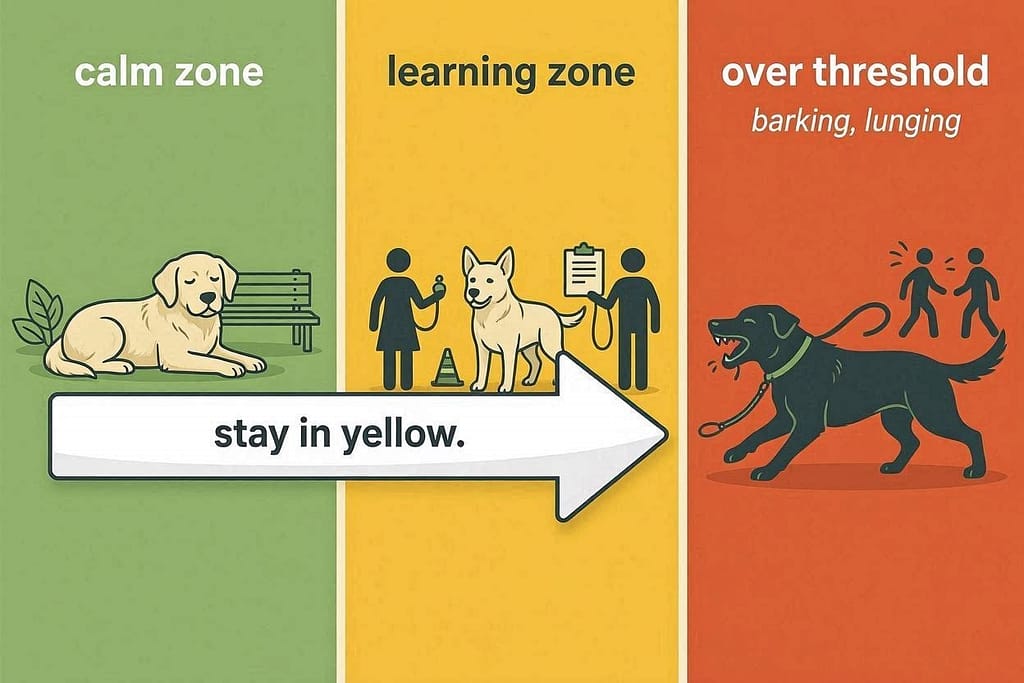
- Solution: Increase distance from the trigger. If they’re over threshold (barking, lunging, unable to respond), they’re not learning. Get further away until they can take treats, then practice there.
For stopping barking during walks, see our guide to stopping dog barking on city streets
Problem: “The ‘quiet’ works at home but not on walks.”
- Solution: Generalize the command systematically. Practice in your building hallway, then just outside your building, then on a quiet street corner, then on busier streets. Take it step by step.
Problem: “My dog stops barking but starts again immediately after the treat.”
- Solution: You’re rewarding too quickly. Work on duration. Ask for “quiet,” then wait several seconds before rewarding. Vary the timing so they learn to wait.
Problem: “My neighbors complain about the training barking.”
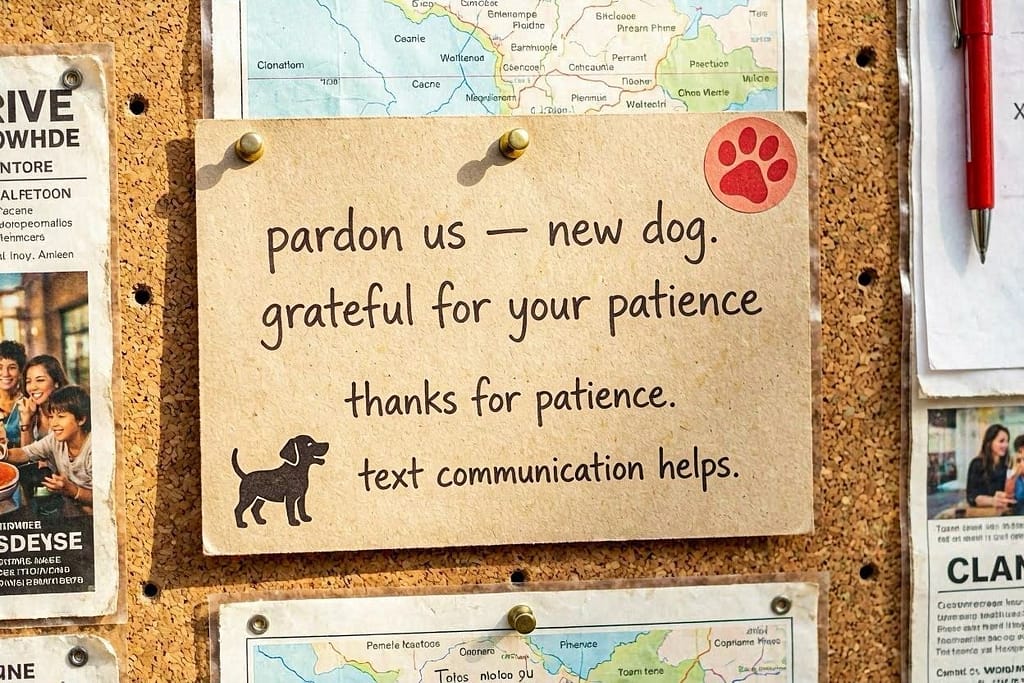
- Solution: 1) Train during reasonable hours, 2) Inform considerate neighbors you’re working on it, 3) Use the quietest possible bark triggers (like whispered “speak”), 4) Put a note on your door during training sessions
For building introductions and goodwill, see our apartment building introduction guide.
Problem: “My dog just barks more when I show the treat.”
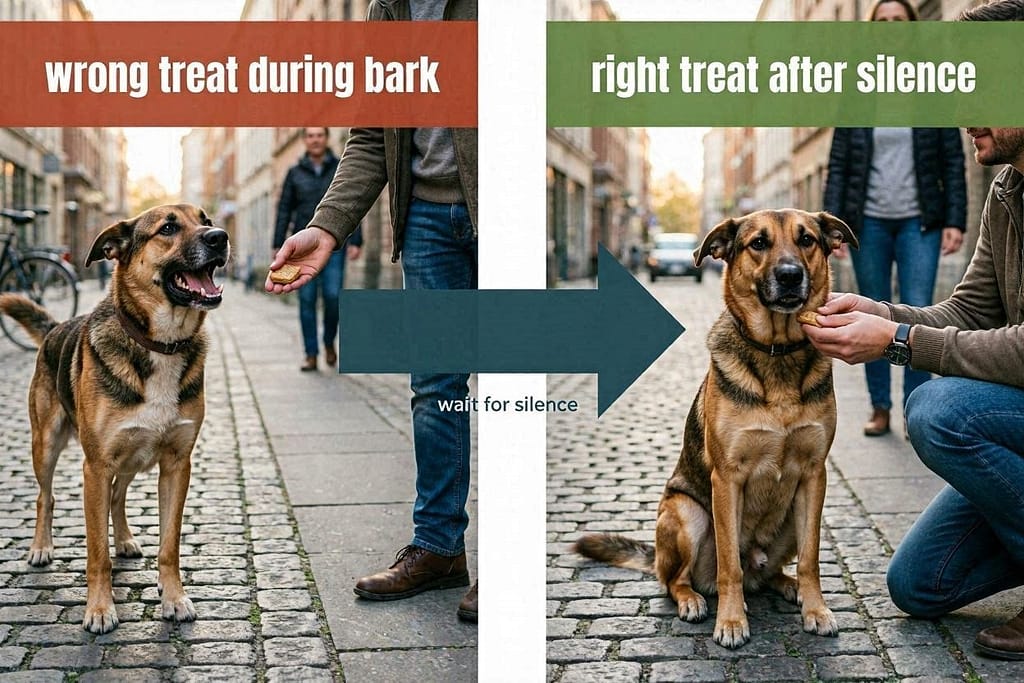
- Solution: You might be rewarding the bark rather than the quiet. Ensure you’re marking and rewarding the MOMENT of silence, not during barking. Use higher-value treats they’ll focus on.
Beyond the command itself, what supporting skills will make your urban dog truly peaceful?
The “Quiet” Support System: Essential Complementary Skills
The “quiet” command works best as part of a toolkit:
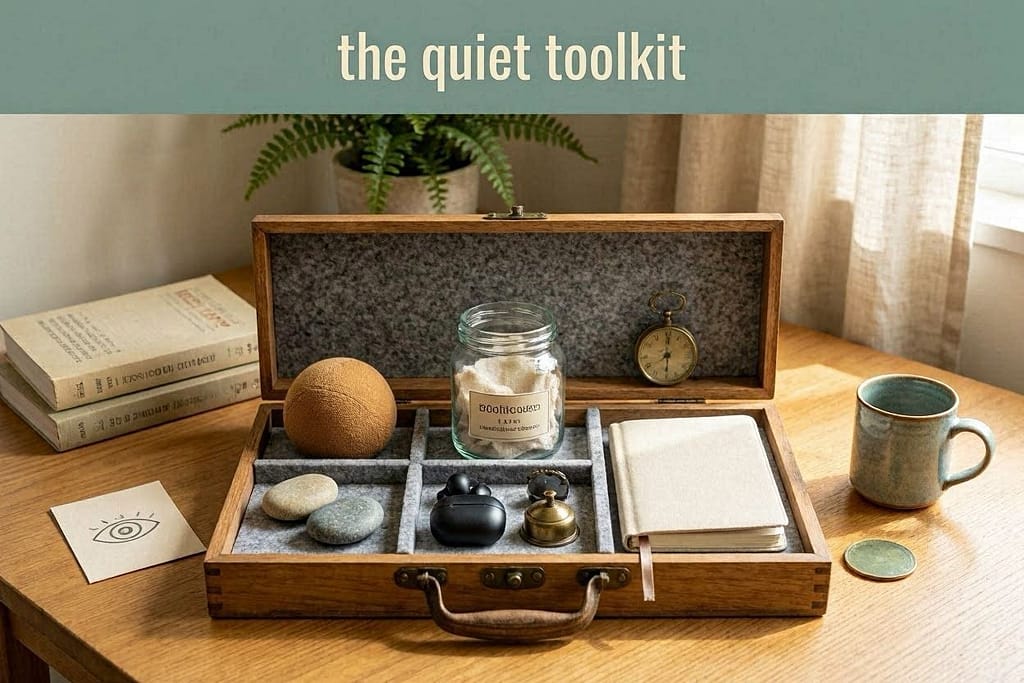
- “Watch Me” / Focus Cue: Teaches your dog to look at you instead of the trigger. Essential for redirecting attention.
- “Place” / Mat Training: Gives your dog a job (go to your bed/mat) when overstimulated. Creates an alternative to barking.
- Desensitization to City Sounds: Gradually expose your dog to recorded city sounds at low volume while feeding treats, slowly increasing volume.
- Calmness Capturing: Randomly reward calm behavior throughout the day. Reinforce not barking.
For sniffari walks that reduce reactivity, see our sniffari walk guide.
The Urban Enrichment Connection: A mentally and physically tired dog has less energy for reactive barking. Ensure your city dog gets:
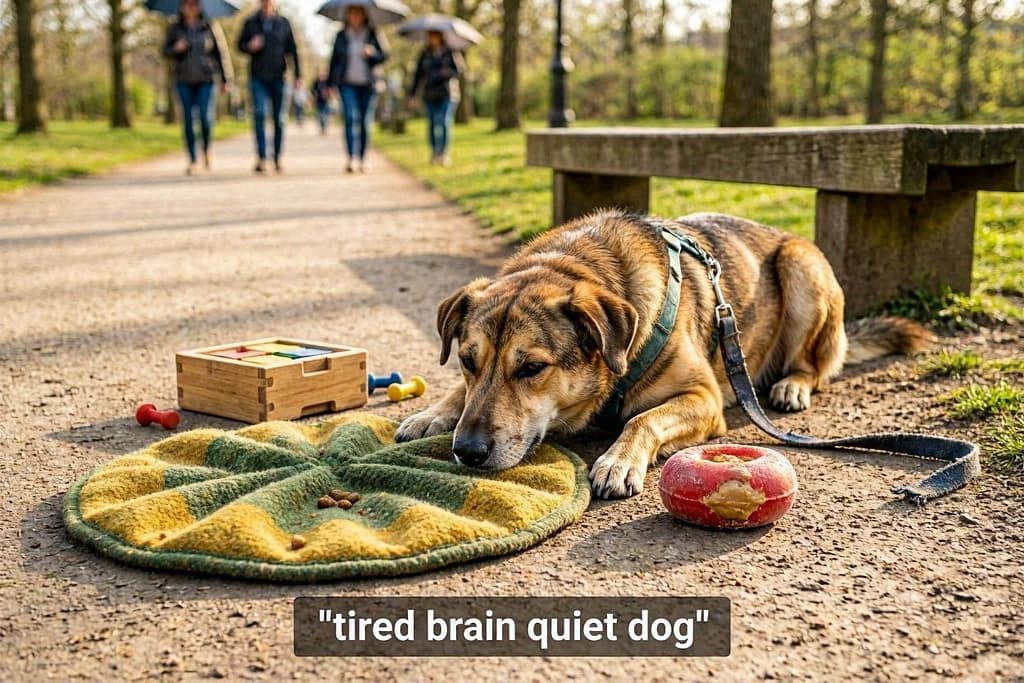
- Sniffaris (decompression walks where they lead)
- Food puzzles and interactive toys
- Training games that engage their brain
- Appropriate physical exercise
Let’s talk about the human element—because your mindset matters just as much.
The Trainer’s Mindset: Patience, Consistency, Compassion
Your Energy Matters: Dogs are emotional mirrors. If you’re tense and anxious about their barking, they’ll feel more anxious. Practice calm, confident energy during training.
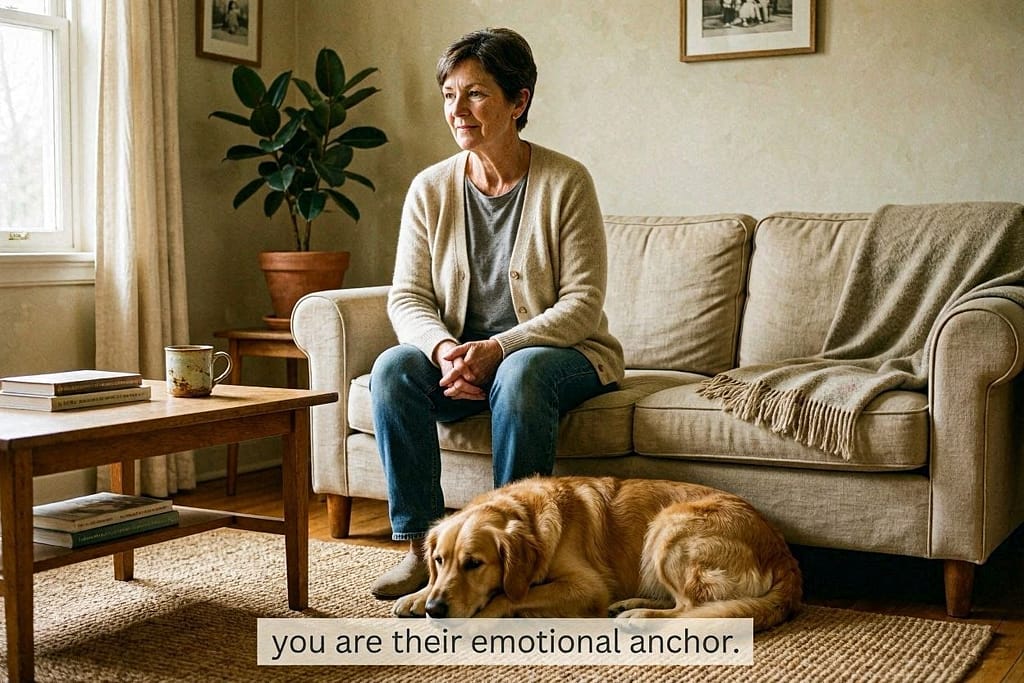
Progress Isn’t Linear: Some days will be better than others. A setback after a week of progress is normal. Look at the overall trend.
Management Is Okay: While training, it’s perfectly acceptable to manage the environment. Close blinds during peak barking times, use white noise to buffer sounds, or give a stuffed Kong during known trigger periods (like mail delivery).
Celebrate Small Wins: Three seconds of quiet instead of five minutes of barking IS progress. A glance at you instead of a full barking fit IS progress. Notice and celebrate these.
When to Seek Professional Help
Consider contacting a certified positive reinforcement trainer (CPDT-KA) if:
- The barking is accompanied by aggression (growling, snapping, lunging)
- Your dog shows signs of severe anxiety (panting, pacing, destructive behavior)
- You’ve practiced consistently for 4-6 weeks with minimal progress
- You feel overwhelmed or unsure about your training approach
You have all the tools. Now let’s create your personalized 30-day implementation plan.
Your 30-Day “Quiet Command” City Implementation Plan

Week 1-2: Foundation
- Daily 5-min sessions teaching “speak.”
- Daily 5-min sessions teaching “quiet” in a low-distraction room
- Capture and reward calmness 3x daily
- Begin desensitization to one city sound (start at a very low volume)
Week 3-4: Generalization
- Practice “quiet” in 2-3 different rooms
- Add mild distractions (radio on low, you moving slightly)
- Practice near a slightly open window
- Take “quiet” to the hallway or just outside the building
- Begin applying to one real-world scenario (choose the easiest)
Week 5-6: Integration
- Apply to 2-3 real-world scenarios
- Increase duration of “quiet” in various settings
- Practice with an increased distance from you
- Begin combining with other cues (“see dog” → “watch me” → reward)
The Sound of Urban Harmony
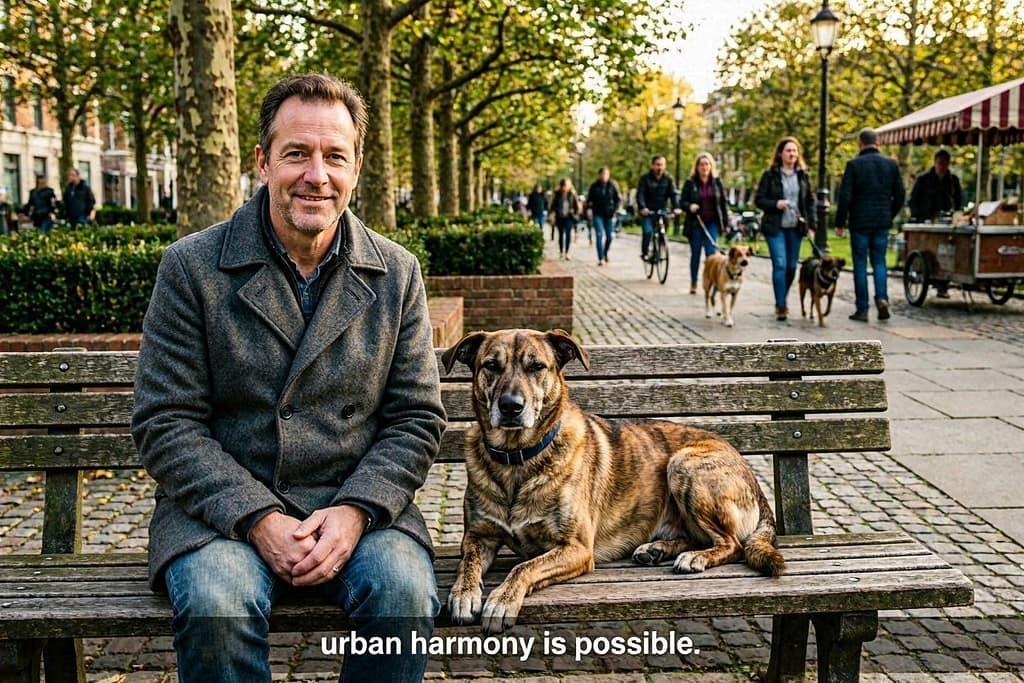
Teaching your city dog the “quiet” command is more than noise control—it’s about building communication, trust, and mutual understanding in a challenging environment.
For elevator and stairwell training, see our elevator and stairwell etiquette guide.
Every time you successfully cue “quiet,” and your dog responds, you’re strengthening your bond and creating a more peaceful urban existence.
The journey will have ups and downs.
There will be days when it feels like you’re making no progress, followed by breakthrough moments that make it all worthwhile.
Remember that you’re not just training a behavior; you’re teaching your dog how to navigate the complex urban world with confidence and composure.
Start tonight. Grab some high-value treats, find a quiet moment, and ask for that first “speak.” You’ve just begun the journey toward a quieter, more harmonious life with your urban companion.
🐾 — Apartment Dog Guide (ADG)
Living large in small spaces, one paw at a time. That’s the apartment dog life—see you in the next guide!.


