

You see that look, don’t you?
The head tilt. The pleading eyes.
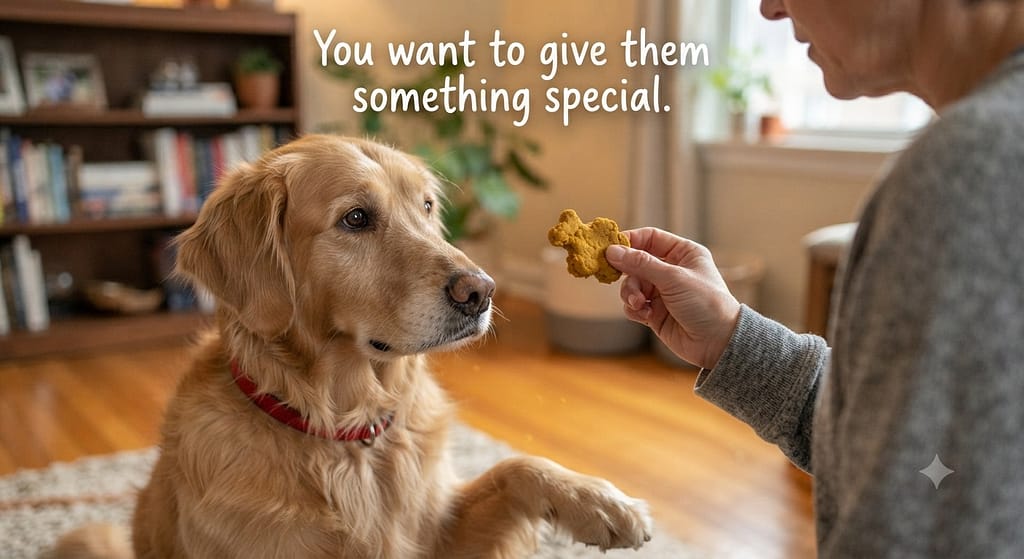
The gentle paw on your knee as you’re trying to enjoy a snack.
You want to give them a little something special, but you hesitate.
What’s really in those store-bought treats? The ingredient list is a mile long, filled with words you can barely pronounce.
What if you could reach into your pantry and whip up a batch of wholesome, tail-wagging treats in less time than it takes to watch your favorite sitcom?
What if I told you that you only need three simple ingredients?
Get ready to become your dog’s personal chef.
If you work from home, you can bake during breaks — see our work from home with a dog guide.
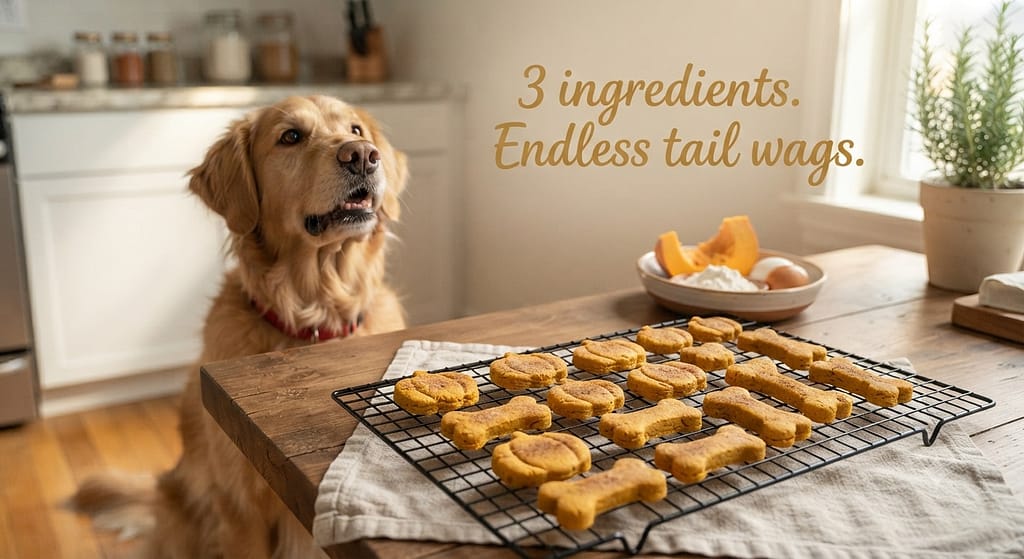
These 3-Ingredient Pumpkin Dog Treats are more than just a recipe—they’re a gateway to healthier snacking, a fun kitchen project, and a powerful way to say “I love you” in a language your dog truly understands: food.
Ready to preheat the oven and create some magic?
Let’s dive in.
Why Pumpkin? The Superfood Your Dog Secretly Craves
Before we even measure our first ingredient, let’s talk about the star of the show: pumpkin.
This isn’t just a seasonal flavor fad. Pumpkin is a genuine canine superfood.
Think of it this way…
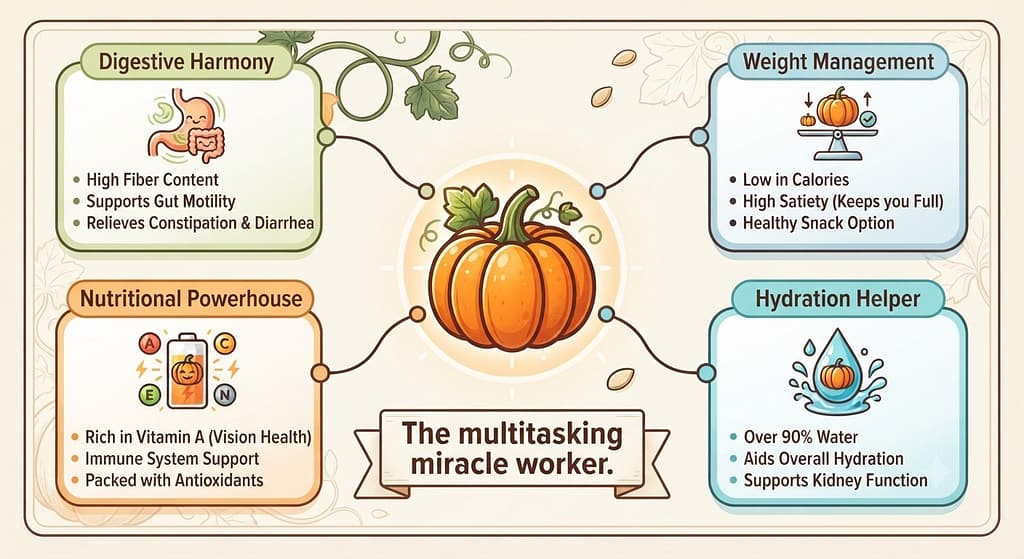
Pumpkin is like a multitasking miracle worker for your pup’s digestive system. It’s packed with soluble fiber, which acts like a gentle broom for your dog’s gut.
But that’s not all.
Here’s a quick breakdown of why pumpkin is a rockstar:
- Digestive Harmony: The fiber in pumpkin can help with both constipation and diarrhea. It adds bulk to stool and absorbs excess water, helping to get your dog’s system back on track. For a complete feeding schedule, see our apartment dog feeding schedule guide.
- Weight Management: Feeling full? The fiber in pumpkin helps your dog feel satisfied, which is great for dogs on a diet who are always begging for just one more treat.
- Nutritional Powerhouse: It’s loaded with Vitamin A for sharp vision, Vitamin C for a healthy immune system, and essential antioxidants. Choosing the right breed for your apartment starts with why size isn’t everything when choosing your apartment dog
- Hydration Helper: Canned pumpkin is about 90% water, providing a little extra hydration, especially for pups who are reluctant drinkers.
Convinced yet?
I thought you might be.
But wait—there’s a crucial detail we need to address…
A Critical Warning: Pumpkin Pie Filling vs. Pure Pumpkin
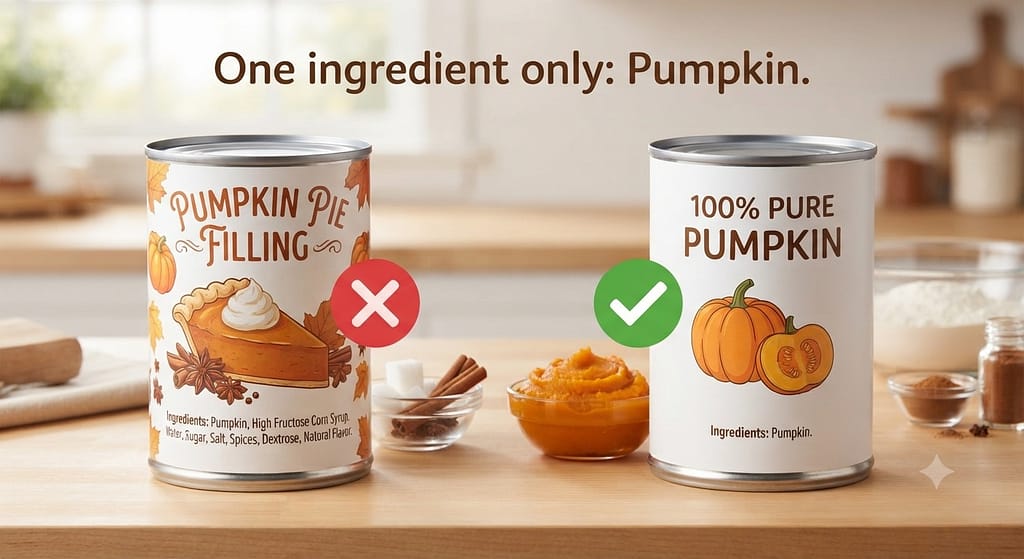
This is the most important step in the entire recipe. You must use 100% pure pumpkin puree.
Walk with me to your pantry for a second.
Do you see a can that says “Pumpkin Pie Filling” or “Mix”? Put it down. Slowly back away.
Pumpkin pie filling is loaded with sugar, spices, and additives that are dangerous for dogs. Nutmeg, a common pie spice, can be toxic in large quantities.
You need a can that has only one ingredient: Pumpkin.
See the difference? Your dog’s health depends on it.
Now that we’ve got our superstar ingredient sorted…
What about the other two players in this simple symphony?
For French Bulldogs and other flat-faced breeds, proper walking gear is essential — see our French Bulldog neck safety guide
Meet Your All-Star Cast: The 3 Simple Ingredients
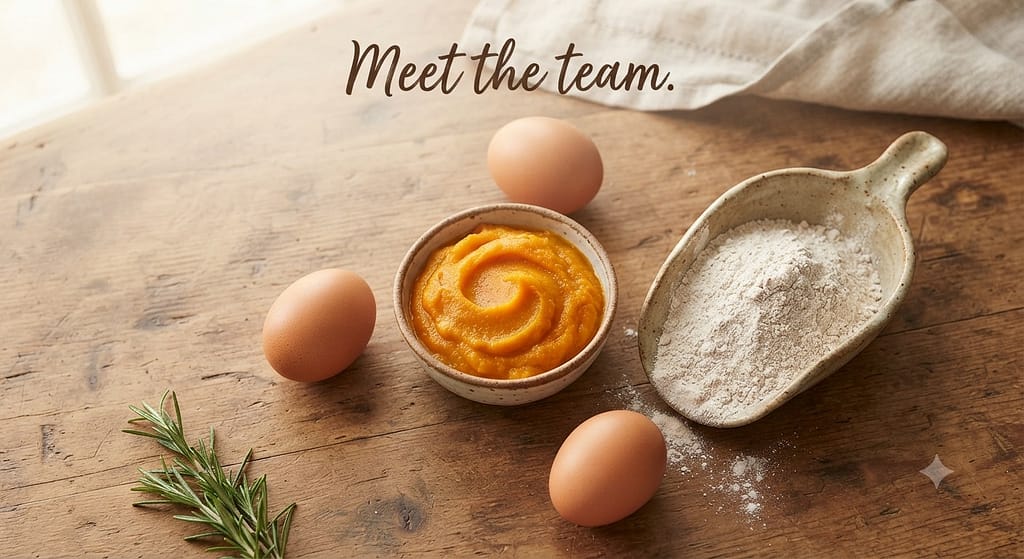
The beauty of this recipe lies in its simplicity. Each ingredient has a specific job, working together to create the perfect, crunchy treat.
Let’s meet the team:
- 100% Pure Pumpkin Puree: The moist hero! As we just learned, it’s the flavor, the fiber, and the foundation. (About 1 cup).
- Whole Wheat Flour: The structural backbone! It gives the treats their doughy texture and holds everything together. (About 2.5 cups). Worried about wheat? Don’t! We have easy substitutions coming right up.
- Eggs: The magical binder! The glue that holds the pumpkin and flour together, plus a powerful protein punch. (2 large eggs).
That’s it. Seriously.
No mystery meats. No artificial preservatives. Just pure, recognizable, wholesome goodness.
But what if your dog has a sensitive stomach?
Or what if you’re out of whole wheat flour?
I’ve got you covered.
Your Interactive Ingredient Swap Station
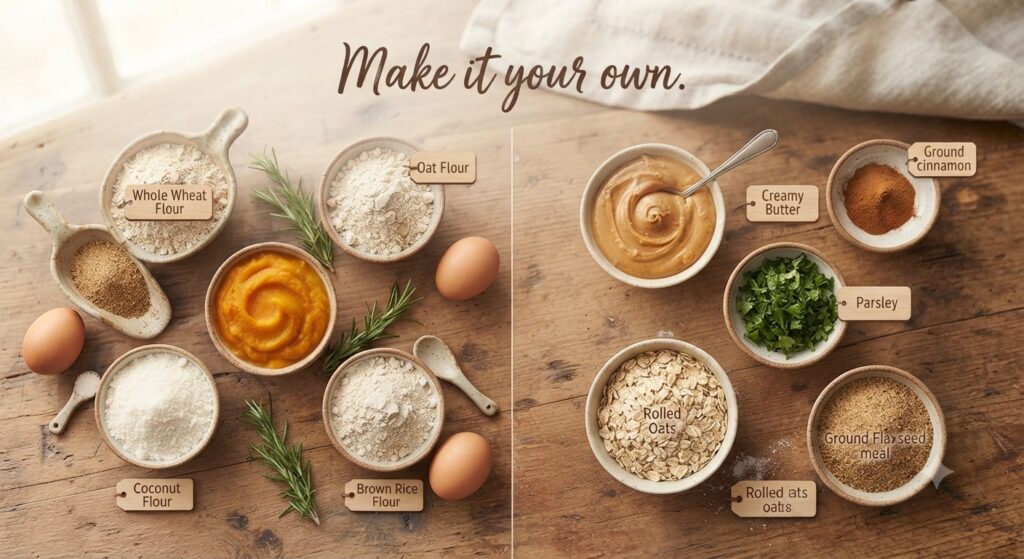
This is where you can make this recipe your own. Customize it for your pup’s unique needs!
- Flour Power Alternatives:
- For Grain-Free: Use Oat Flour (blend rolled oats in a blender until fine) or Coconut Flour. (Heads up: Coconut flour is very absorbent, so you’ll need less! Start with 1.5 cups and add more as needed.
- For a Gluten-Free Option: Brown Rice Flour or a Gluten-Free All-Purpose Blend works perfectly.
For allergy-friendly breeds, see our hypoallergenic small dog breeds
- The “Little Something Extra” Bar:
- For a Flavor Boost: Add a tablespoon of peanut butter (make sure it’s Xylitol-free!), a sprinkle of cinnamon, or even some parsley for fresh breath.
- For a Textural Twist: Mix in some rolled oats or a tablespoon of ground flaxseed for extra omega-3s.
See how easy it is to customize?
Now, are your hands ready to get a little messy?
Let’s create some dough.
The Foolproof Process: From Pantry to Puppy in 5 Simple Steps
I promise, this is so easy you could do it with your eyes closed. (But please, keep them open for safety!).
Step 1: The Great Preheat
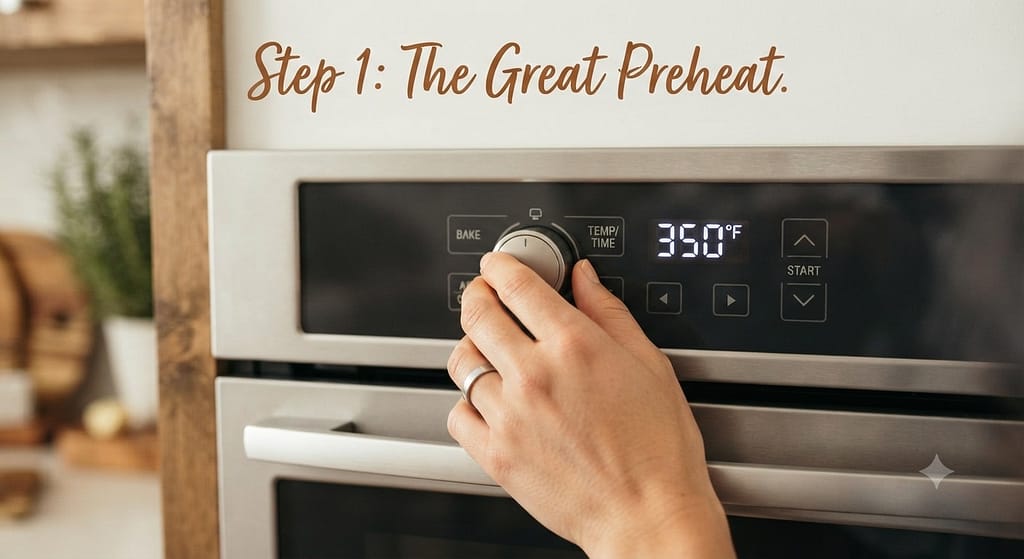
First things first, preheat your oven to 350°F (175°C).
This gives the oven time to reach the perfect, even temperature, ensuring our treats bake consistently and get that lovely, satisfying crunch.
Step 2: The Mixing Bowl Mingle
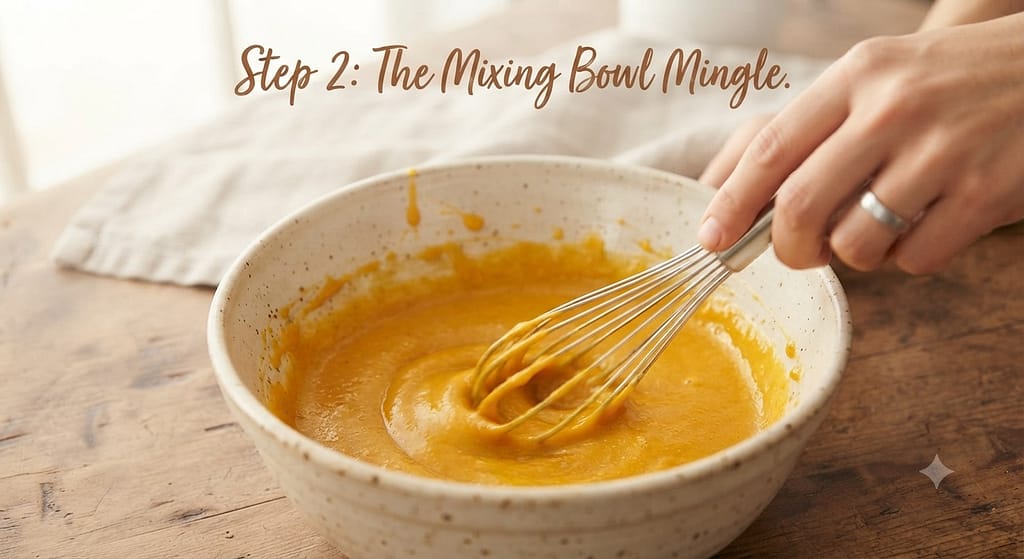
Grab a large mixing bowl. Let’s add our ingredients in stages.
Start with your wet team: plop in the 1 cup of pumpkin puree and crack in the 2 eggs.
Pro-Tip: Is your pumpkin puree looking a little watery? Give it a good stir right in the can before you measure it. Consistency is key!
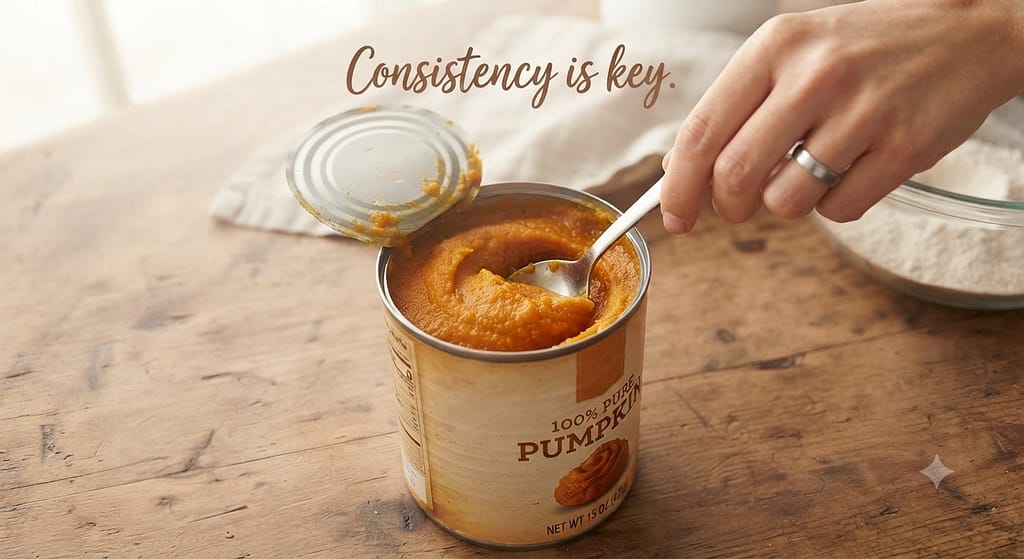
Now, take a whisk or a fork and mix the pumpkin and eggs until they’re smooth and beautifully orange.
Ready for the flour?
Step 3: The Dough Dance
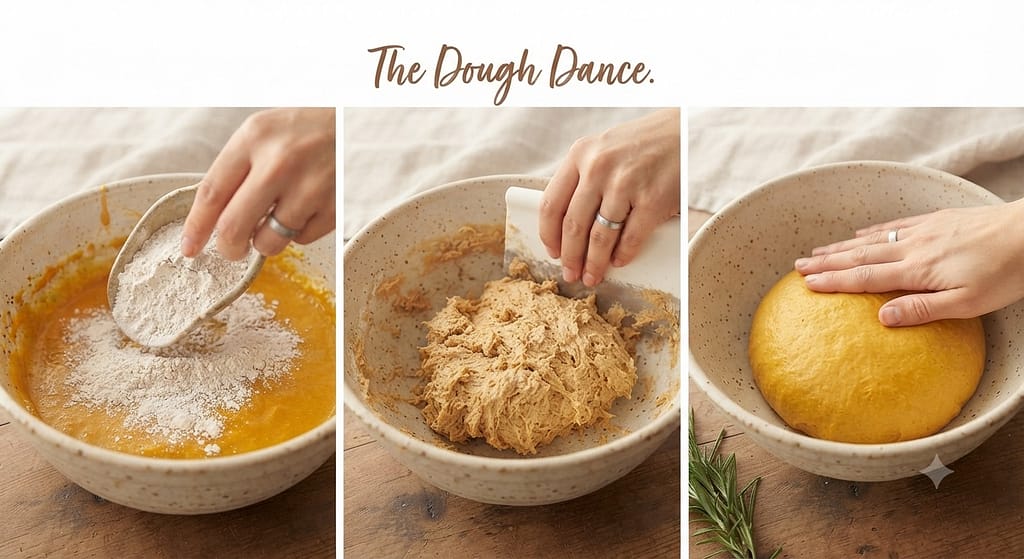
Here’s where the magic happens. Gradually add your 2.5 cups of flour to the wet mixture.
Start with one cup, mix it in. Add another cup, mix again. Add the final half cup.
You’ll notice the dough start to pull away from the sides of the bowl and form a ball. It might be a little sticky—that’s okay! That’s what we want.
If it’s too sticky to handle, add another tablespoon or two of flour until it’s a workable, soft dough.
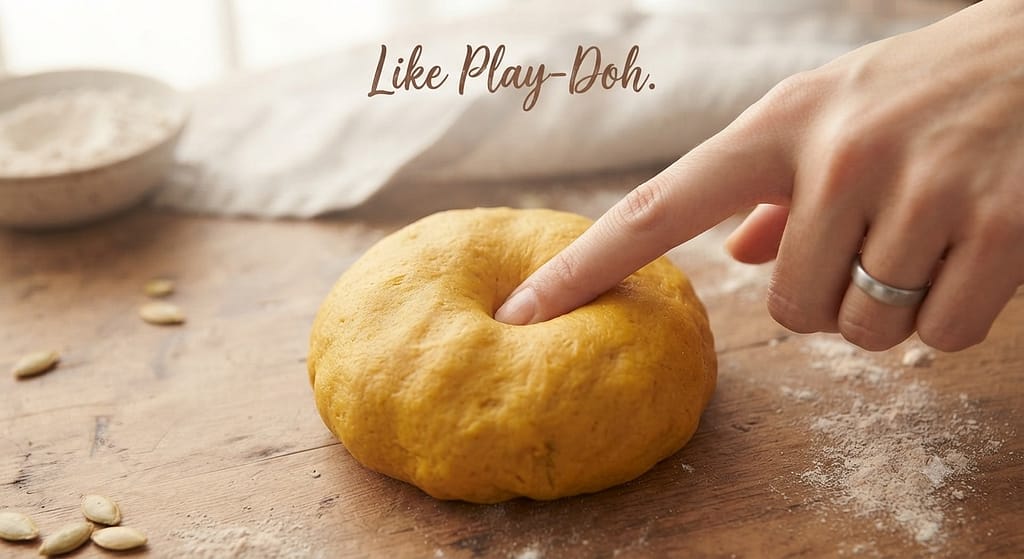
Your Interactive Check-In: Press the dough with your finger. It should be soft and pliable, like Play-Doh. If it’s crumbly, add a teaspoon of water. If it’s sticking to everything, add a dusting of flour. You’ve got this!
Step 4: Roll, Cut, and Create!
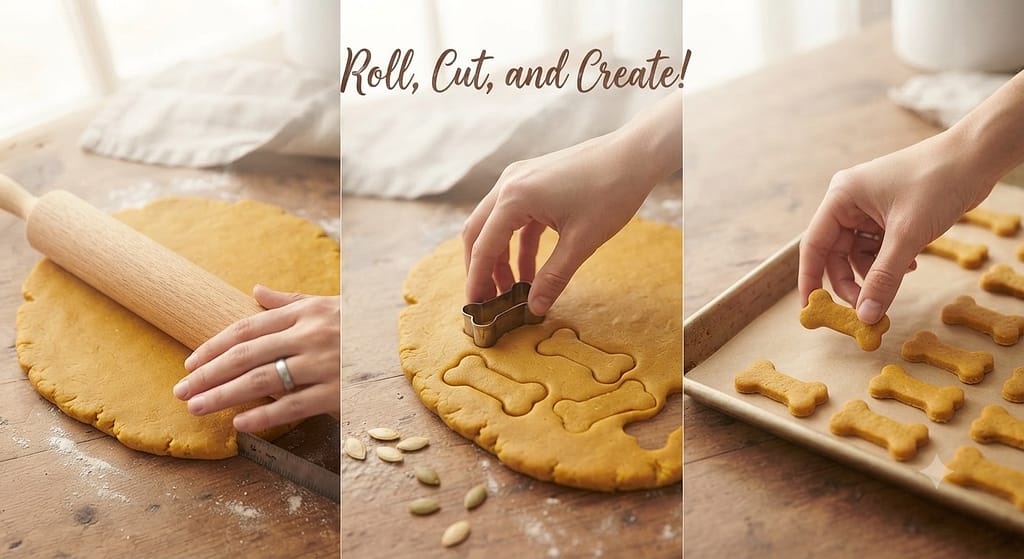
Lightly flour your countertop or a large cutting board. Place the dough ball on it and use a rolling pin to roll it out to about ¼-inch thickness.
Not too thick, not too thin. Just right for a satisfying crunch.
Now, for the fun part—shaping!
- The Classic Route: Use a knife or a pizza cutter to slice the dough into simple squares or rectangles. No cookie cutter required!
- The Fun Route: Break out the cookie cutters! Bone-shaped, paw-print, heart-shaped—let your inner artist shine. Your dog doesn’t care what they look like, but you’ll get a kick out of it.
Pro-Tip: Dip your cookie cutter in a little flour between cuts to prevent sticking.
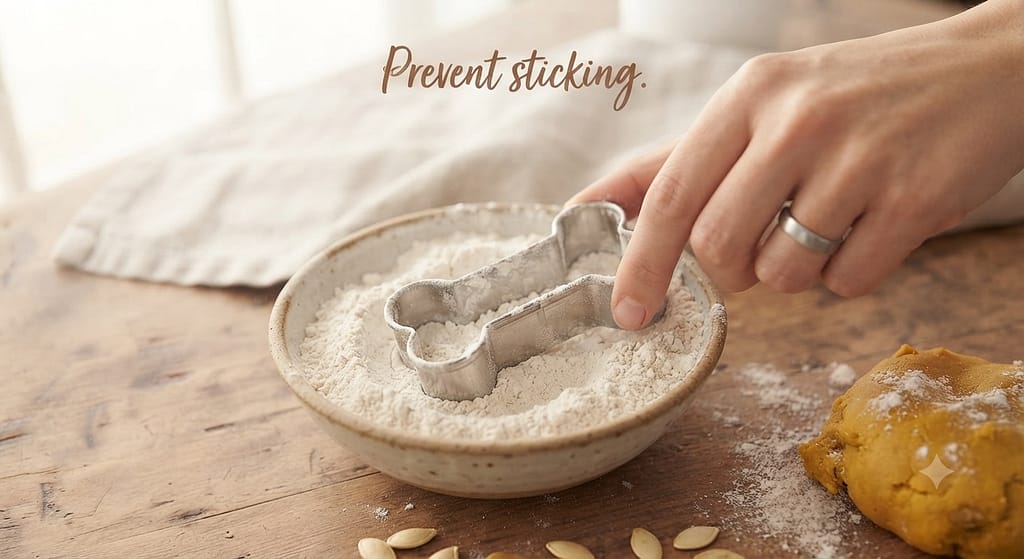
Place your beautifully shaped treats on a parchment paper-lined baking sheet. They don’t spread much, so you can place them fairly close together.
City dwellers should explore the most sociable dog breeds for city life
Step 5: Bake to Perfection
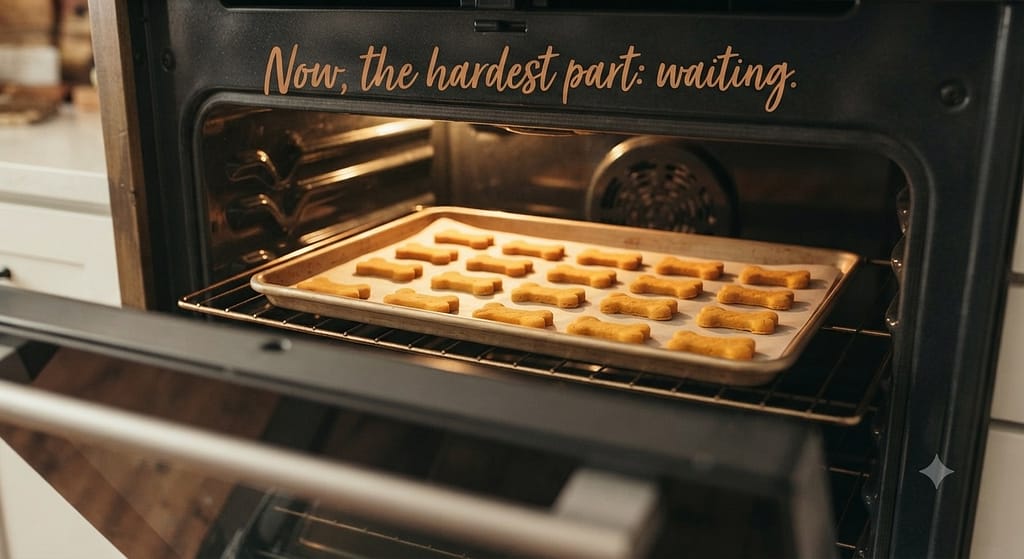
Slide that baking sheet into your preheated oven. Now, the hardest part: waiting.
Bake for 25-35 minutes.
But here’s a secret…
The exact time will depend on your oven and how thick you rolled the dough. You’re looking for a firm texture and dry edges. For a crunchier treat, bake a little longer. For a slightly softer, chewier treat, bake a little less.
See? I told you it was easy.
But what about storage?
Let’s make sure our hard work lasts.
Storing Your Homemade Masterpieces
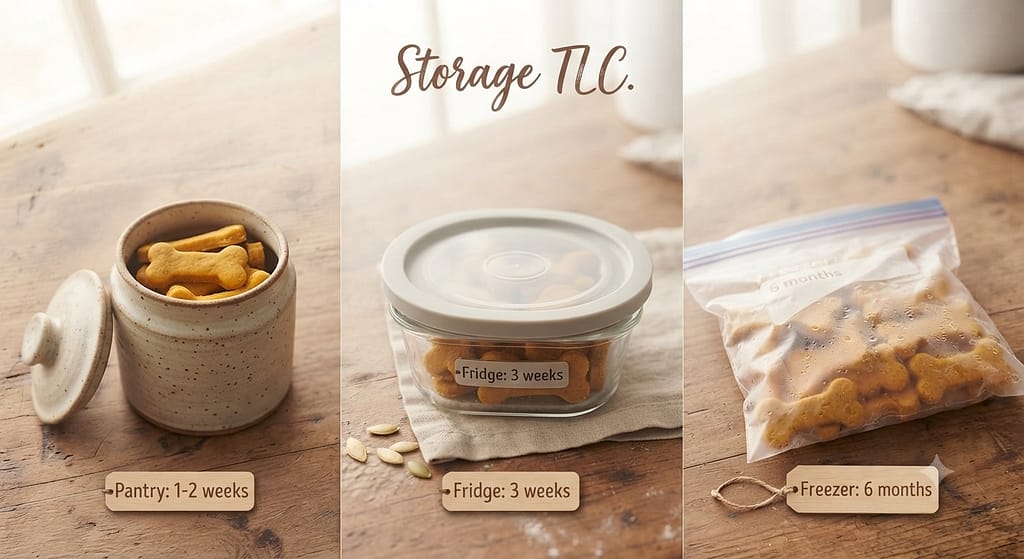
You’ve just created a batch of all-natural, preservative-free treats. That means they need a little TLC to stay fresh.
- The Pantry Method: Once the treats are completely cooled, store them in an airtight container at room temperature. They should last for 1-2 weeks.
- The Fridge Method: For a little extra insurance, you can keep them in the fridge for up to 3 weeks.
- The Freezer Method: This is my favorite hack! Place the cooled treats in a freezer-safe bag or container. They will keep for up to 6 months! Just pull out a handful whenever you need them. They thaw in minutes.
For busy owners, see our best compatibility dog breeds for busy owners.
Now, I know you might have a few questions bubbling up…
Let’s tackle those right now.
Your FAQs, Answered!
Q: Can I use fresh pumpkin instead of canned?
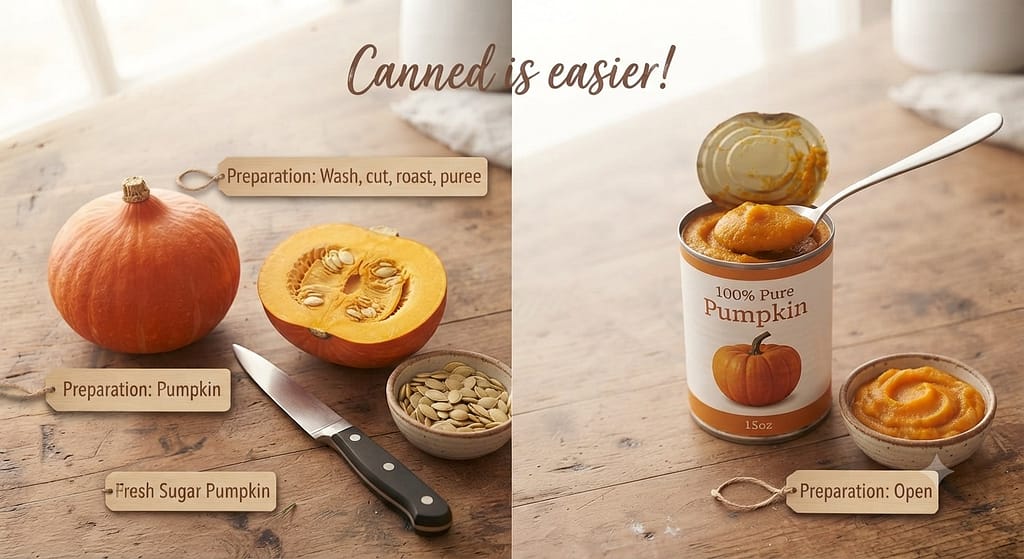
A: Absolutely! You can bake or boil a sugar pumpkin (not a giant carving pumpkin), remove the skin and seeds, and puree the flesh. Just make sure it’s thick and not watery. Canning is just easier for a quick batch!
Q: My dog loved them! How many can I give him per day?
If you work long hours, see our best small dogs for 9-5 professionals
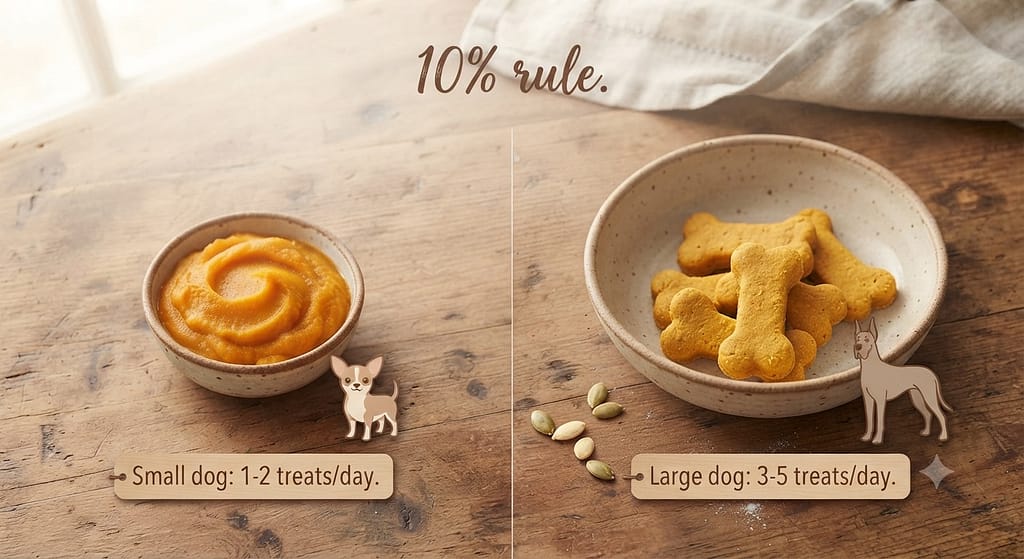
A: A great question! While healthy, these are still treats. The general rule is that treats should make up no more than 10% of your dog’s daily caloric intake. For a small dog, 1-2 small treats per day are plenty. For a larger dog, 3-5. Adjust their regular meals accordingly if you’re giving a lot of treats to avoid weight gain.
For weight management, see our small dog weight chart guide.
Q: The dough is too crumbly! What did I do wrong?
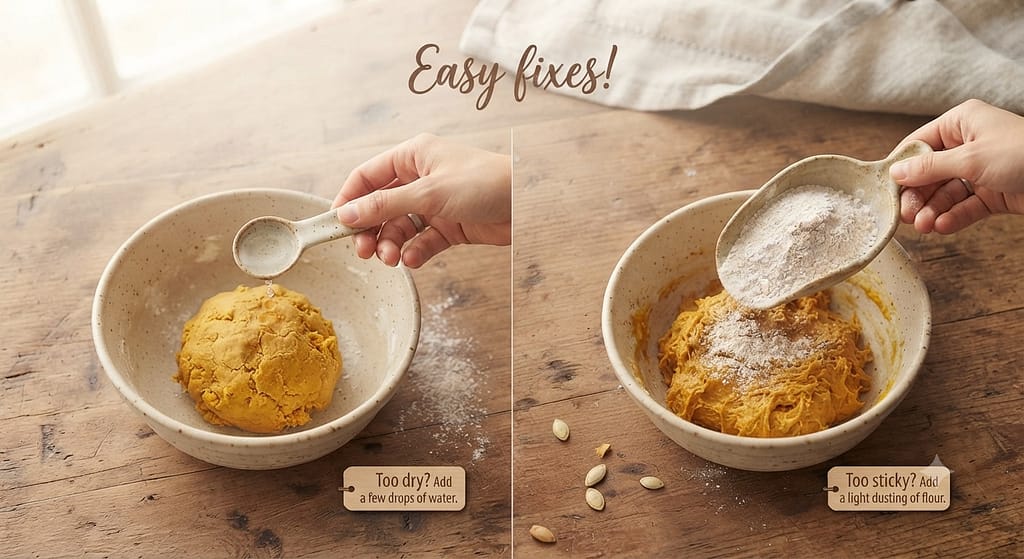
A: No worries! This usually means you need a little more moisture. Add another tablespoon of pumpkin puree or a teaspoon of water at a time until the dough comes together.
Families with kids should see the best apartment dogs for families.
Q: The dough is too sticky! Help!
A: Easy fix! Just add a light dusting of flour, one tablespoon at a time, until the dough is manageable and doesn’t stick to your hands or the rolling pin.
The Final Scoop: Why This Recipe is a Game-Changer
Look back at that moment of hesitation at the beginning—that uncertainty about what’s in your dog’s snacks.
Now, look at what you’ve created.
You took three simple, wholesome ingredients and transformed them into something made with love. You controlled the quality.
You avoided the mystery additives. And you shared a beautiful, hands-on experience that strengthens the bond with your best friend.
For the complete breed resource, see our apartment dog breeds complete compatibility guide
Every time you see that tail wag for one of your homemade treats, you’ll feel a surge of pride.
You didn’t just make a snack.
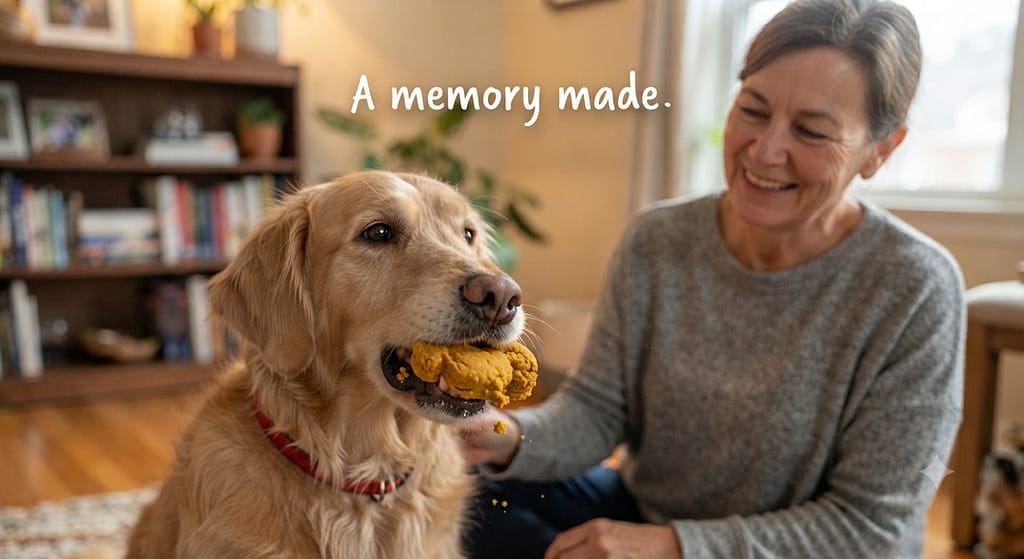
You made a memory.
For more homemade treat ideas, see our frozen dog treats recipes guide
You spoke the language of love, one pumpkin-y, crunchy bite at a time.
For complete health and wellness, see our complete apartment dog health and nutrition manual
🐾 — Apartment Dog Guide (ADG)
Living large in small spaces, one paw at a time. That’s the apartment dog life—see you in the next guide!.


