
We still remember the sound.
It’s the “Jingle of Doom.” The metallic clink of our keys in the bowl by the front door.
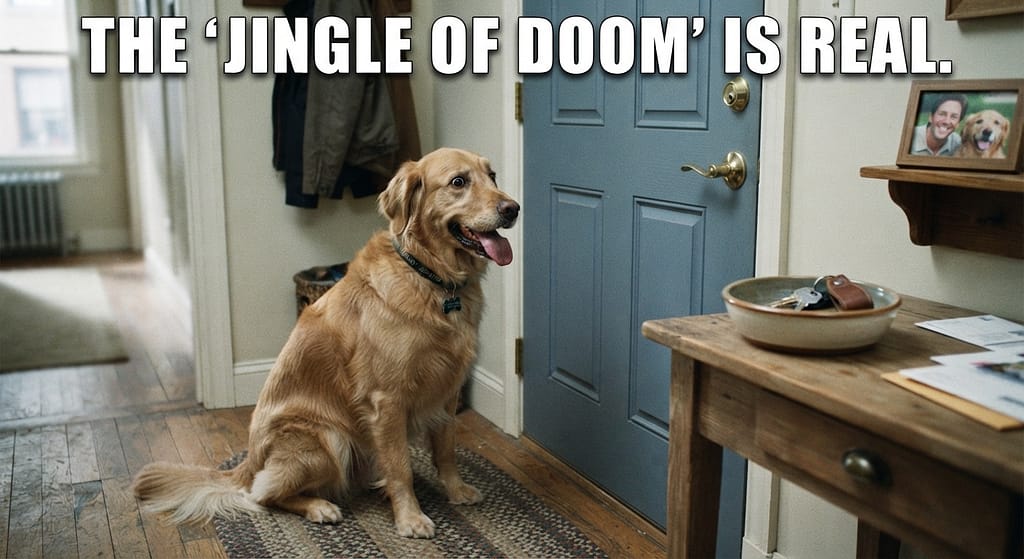
The moment those keys touched metal, our dog—a sweet, fluffy rescue named Barney—would spring to his feet like a coiled spring.
His eyes would widen. His tail would tuck. And the panting would begin.
Within seconds, the whining would start. Then the pacing.
Then the full-blown, neighbors-hate-us, building-manager-on-speed-dial barking.
We were prisoners in our own apartment. We couldn’t order takeout (the doorbell sent him over the edge).
We couldn’t take out the trash without a 20-minute strategic extraction plan.
Our lives revolved around keeping a 50-pound furball from having a meltdown every time we so much as looked at our shoes.
We tried the standard advice. “Just leave him alone; he’ll get used to it.” (He didn’t). “Just tire him out before you go.” (He ran a marathon and still panicked).
We were hopeless.
And then, we discovered the “Flitting Method.”
No, it’s not about butterflies. It’s not about moving houses.
Flitting, in the context of dog training, is the art of moving quickly and lightly in and out of your dog’s presence to break the chain of anxiety triggers.
It’s a hyper-specific, micro-step desensitization schedule that rewires your dog’s brain to think: “Ho hum, my human is leaving. Again. Whatever. Wake me up when the cheese comes back.”
This method didn’t just save our security deposit. It saved our relationship with our dog.
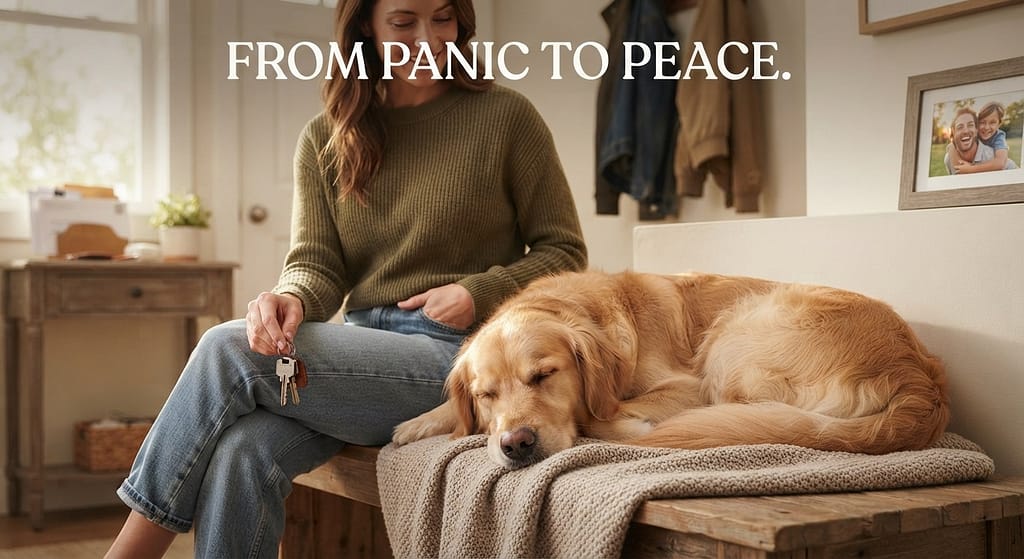
And we’re going to give you the exact, hour-by-hour, week-by-week schedule we used.
Grab a notebook. This is your new bible.
The Interactive “Panic” Check-In: Where Is Your Dog Right Now?

Before we dive into the schedule, we need to benchmark your dog’s current anxiety level. Answer these questions honestly:
1. The “Key Jingle” Test:
- A) I can jingle my keys and my dog doesn’t flinch. (Level 1 – Chill)
- B) My dog perks up their ears but stays lying down. (Level 2 – Curious)
- C) My dog stands up and follows me to the door. (Level 3 – Alert)
- D) My dog starts pacing, whining, or barking the moment they hear metal clink. (Level 4 – Panic Zone)
2. The “Shoe” Test:
- A) I can put on my shoes without a reaction.
- B) My dog watches me but doesn’t move.
- C) My dog runs to the door and sits, excited.
- D) My dog hides, trembles, or tries to block the door.
3. The “Disappearing” Test (Your Actual Absence):
- A) I can leave for 1 hour, and they just sleep.
- B) I can leave for 15 minutes, but they get restless around minute 10.
- C) I can leave for 2 minutes before they start howling.
- D) I can’t even close the bathroom door without them losing their minds.
If you scored mostly A’s and B’s, you’re here for prevention or mild tweaks.
If you scored C’s and D’s (like we did), you are in the trenches.
The Flitting Method is built for you. It’s a marathon, not a sprint, but we promise it ends at the finish line.
What the Heck is the “Flitting” Method? (The Science)
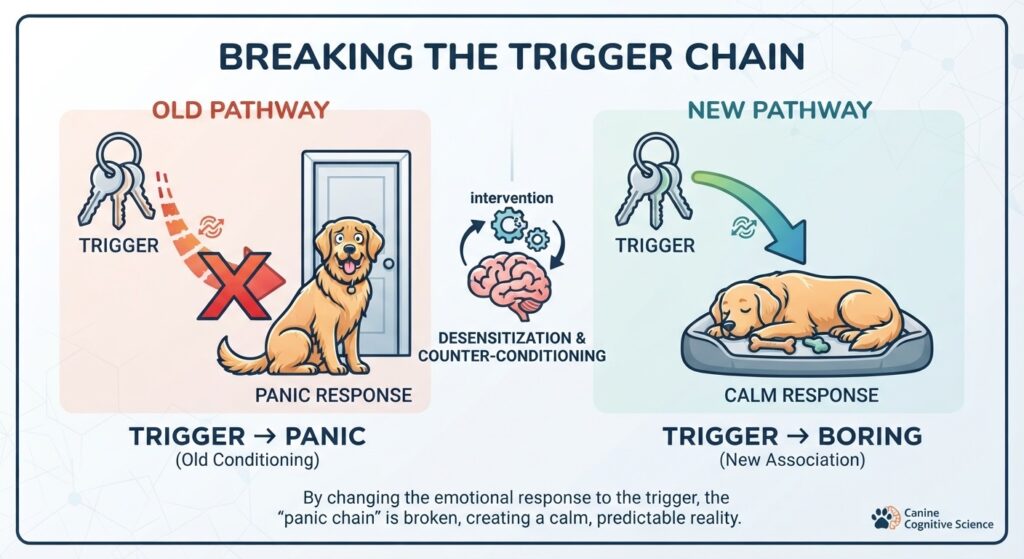
Here’s the psychological principle: Classical Conditioning.
Right now, your dog has a conditioned emotional response (CER).
The sequence is: Shoes + Keys + Door Opening = PAIN (Panic). Their brain has literally wired these triggers to the fight-or-flight response.
The Flitting Method destroys that connection.
We do this by flooding them with repetitive, low-stakes exposures that are so boring, so predictable, and so quick that their brain eventually goes, “Oh. This is nothing.”
We break down the “Departure Sequence” into the smallest possible micro-actions. We repeat each action until the dog shows zero stress.
Then, we combine them. We move from a 0.5-second absence to a 1-second absence. From a 1-second absence to a 5-second absence.
We move in increments of seconds, not minutes or hours.
This works because: Anxiety is a tsunami. If we throw them into the deep end (leaving for 8 hours), they drown.
But if we dip their toes in a kiddie pool (leaving for 3 seconds) a hundred times, they realize the water is safe.
Phase 0: The “Trigger Audit” (Before You Even Touch the Door)
You cannot start flitting until you identify every single trigger. We’re talking about the micro-movements you don’t even notice.
Our Trigger List (Yours will look similar):
- Picking up car keys.
- Putting on a jacket.
- Tying shoes.
- Picking up a purse/backpack.
- Turning off the TV/radio.
- Closing a laptop.
- Walking toward the front door.
Your Homework (Week 1 – No Leaving!):
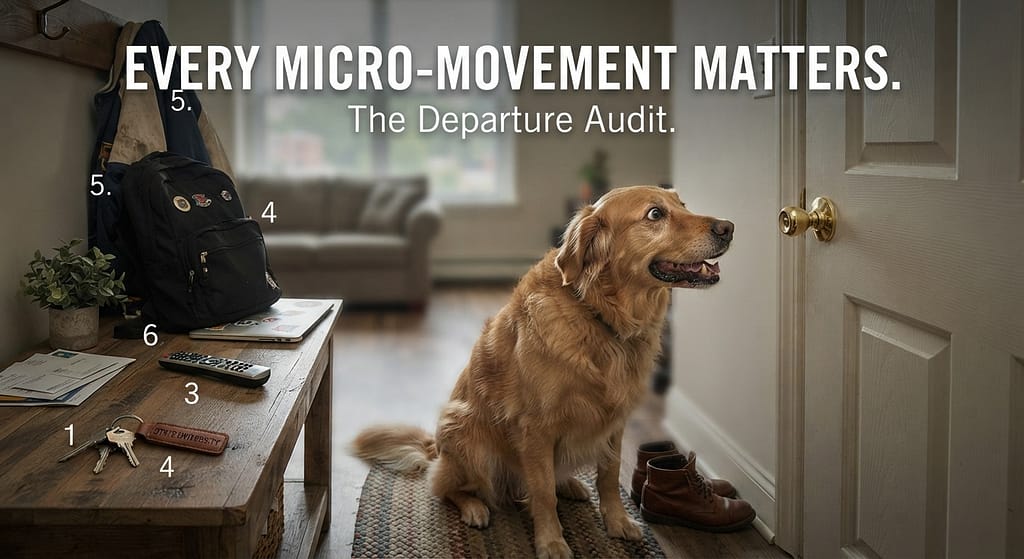
For an entire week, we do NOT leave the house without a plan. We simply “rehearse” these triggers over and over and over again.
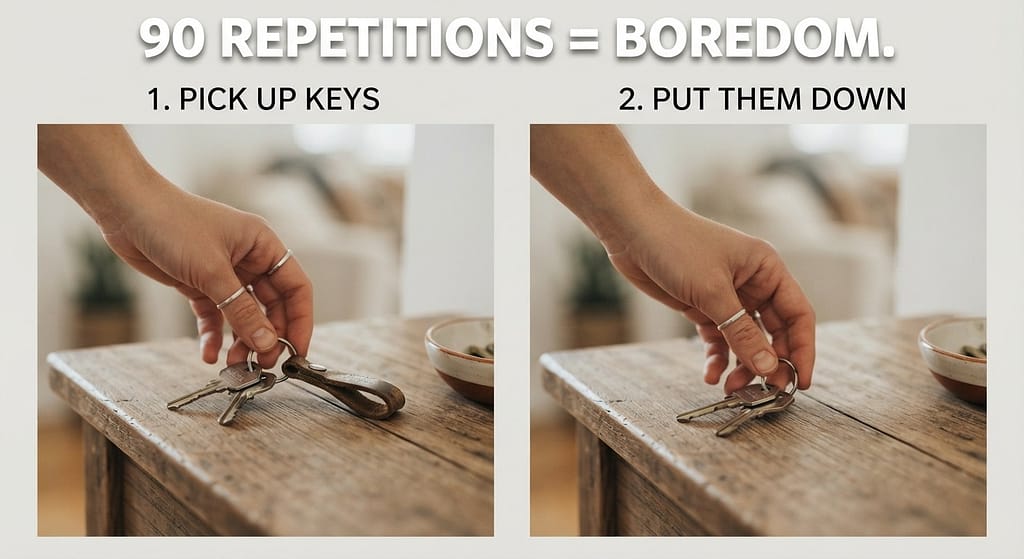
- Exercise 1: The “Key” Drop: Pick up your keys. Immediately put them down. Do this 30 times in a row, 3 times a day. That’s 90 repetitions. Your dog will look at you like you’re insane. That’s good. They stop associating keys with doom; they associate them with “my owner is being weird again.”
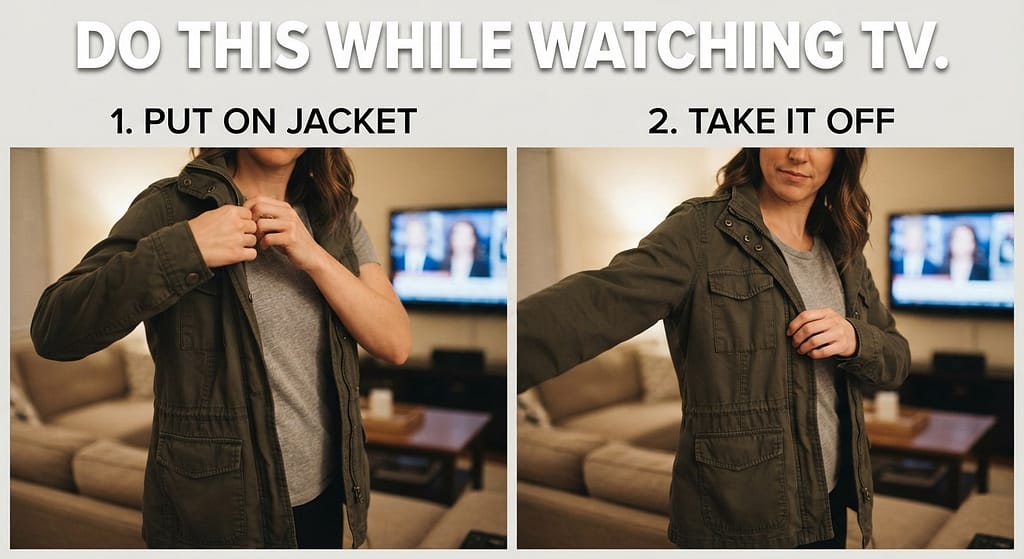
- Exercise 2: The “Jacket” Shuffle: Put on your jacket. Take it off. Put it on. Take it off. Do this while watching TV.
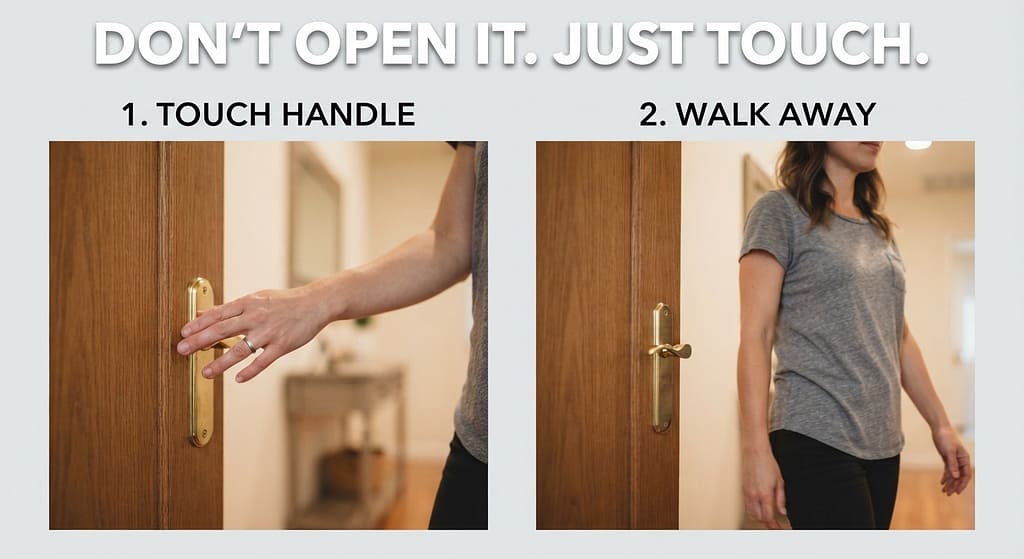
- Exercise 3: The “Door” Touch: Walk to the front door. Do not open it. Just touch the handle. Walk away. Repeat 20 times.
The Golden Rule of Phase 0: If at any point your dog’s ears perk up or they stand up, you’ve gone too far or too fast.
Reduce the intensity. Whisper the keys instead of jingling them.
Stand 3 feet from the door instead of touching it. Find their “comfort zone” and live there for a few days.
Phase 1: The “Doorway” Flits (The 0.5-Second Club)
Now that the triggers are boring, it’s time to make the action of leaving boring.
Week 2 Schedule (10 minutes, 3 times a day):
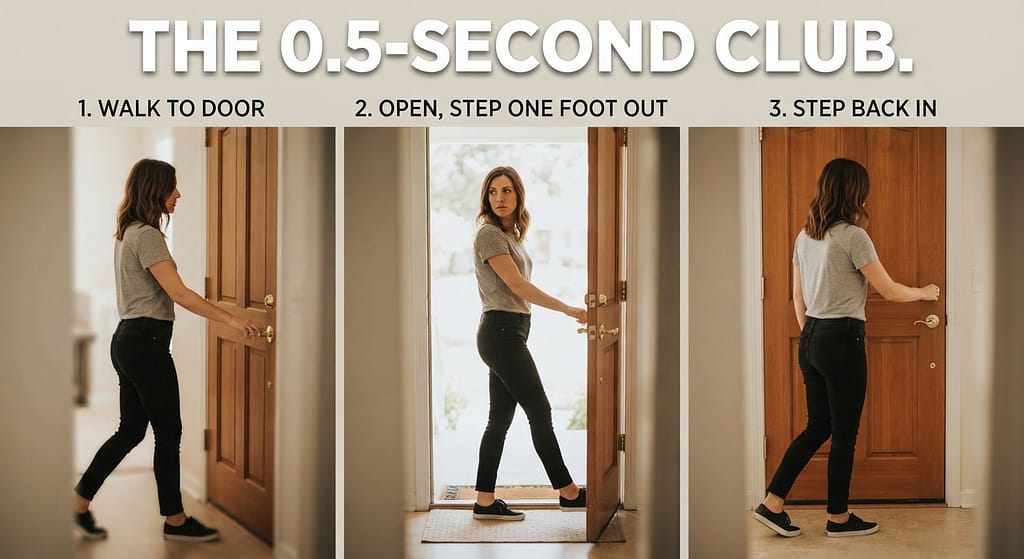
- Step 1: Walk to the door. Open it. Close it. Walk back to the couch. Give absolutely zero attention to your dog. No eye contact, no treat (yet). You want this to be the most boring event in human history.
- Step 2: Walk to the door. Open it. Step ONE foot outside. Step back in. Close the door.
- Step 3 (The “Flit”): Walk out the door. Close it. Count “1 Mississippi.” Open the door. Walk in.
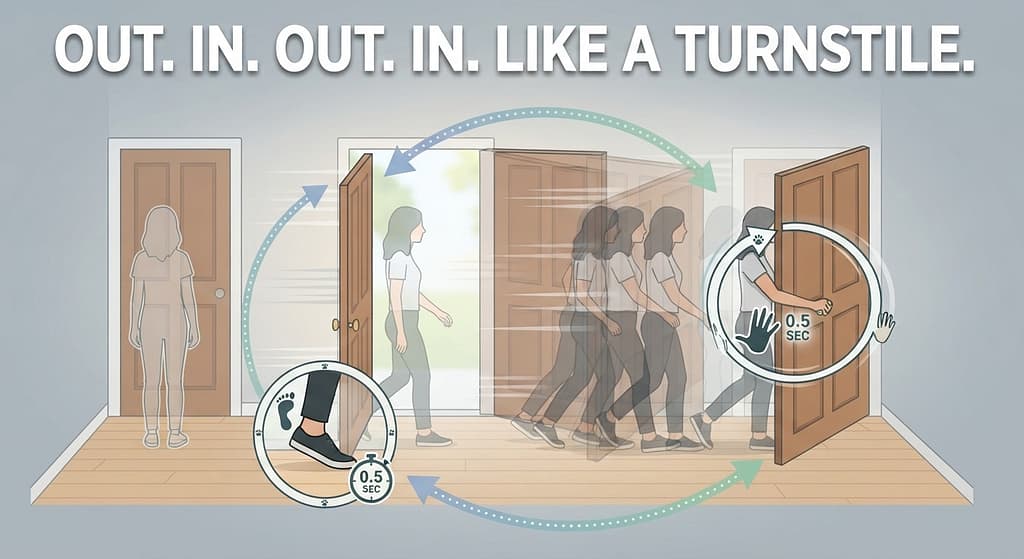
The Rate: Do these flits in rapid succession. Out. In. Out. In. Out. In. You want the door to sound like a turnstile at a subway station.
The “Threshold” Rule:
When you step out, listen. If you hear a whine or a bark before you count “1 Mississippi,” you waited too long.
You need to go faster. Your return must happen before the panic response starts.
We want “Out… back in” to be so fast that their brain doesn’t even have time to process you left.
The Treat Reward:
We don’t treat them for “tolerating” the closed door just yet. We want them to be neutral.
However, after a successful session of 10 flits, we casually drop a handful of treats on the floor as we walk away.
No drama. Just good things happen after the flitting.
Phase 2: The “Hallway” Flits (The 5-Second Zone)
Now that the front door is boring, we’re going to actually leave their line of sight. This is where the real desensitization happens.
Week 3 Schedule (15 minutes, 3 times a day):
- Step 1: Walk out the door. Close it. Wait 2 seconds (with your hand on the handle). Open it. Come back in. Do this 5 times.
- Step 2: Walk out. Close it. Walk 3 steps down the hallway (or toward the elevator). Turn around. Come back. We’re aiming for a 5-second absence.
- Step 3: Walk out. Close it. Walk to the elevator/stairs. Count “1… 2… 3… 4… 5.” Walk back. Open the door.
The “Camera” Check:
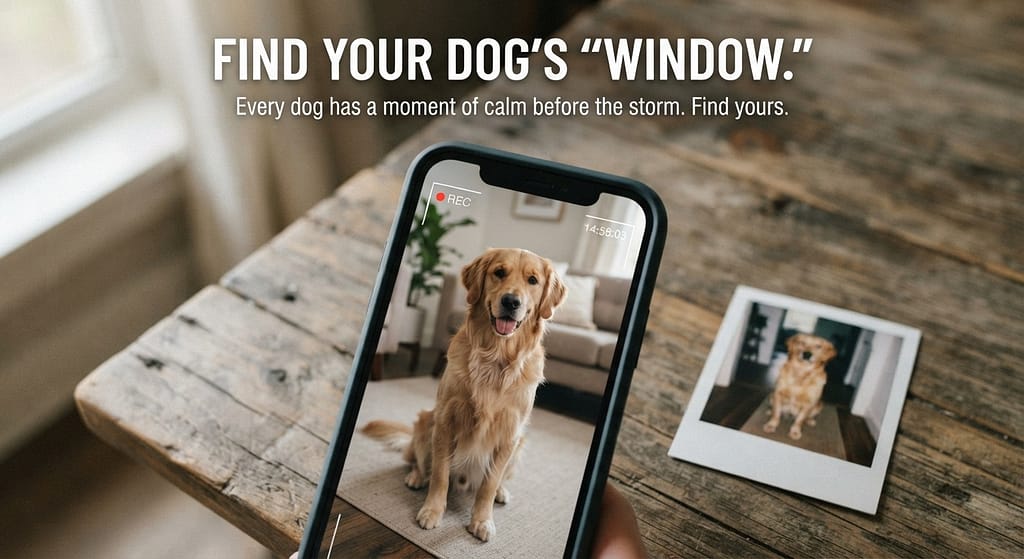
We set up a cheap webcam to watch our dog. During this phase, we discovered something huge: our dog would panic immediately after the door closed, but then stop after 2 seconds when he heard nothing.
This gave us our “window.” We always returned before the whining started. For him, that window was 4 seconds. So we never exceeded 3 seconds.
The “Boring” Return:
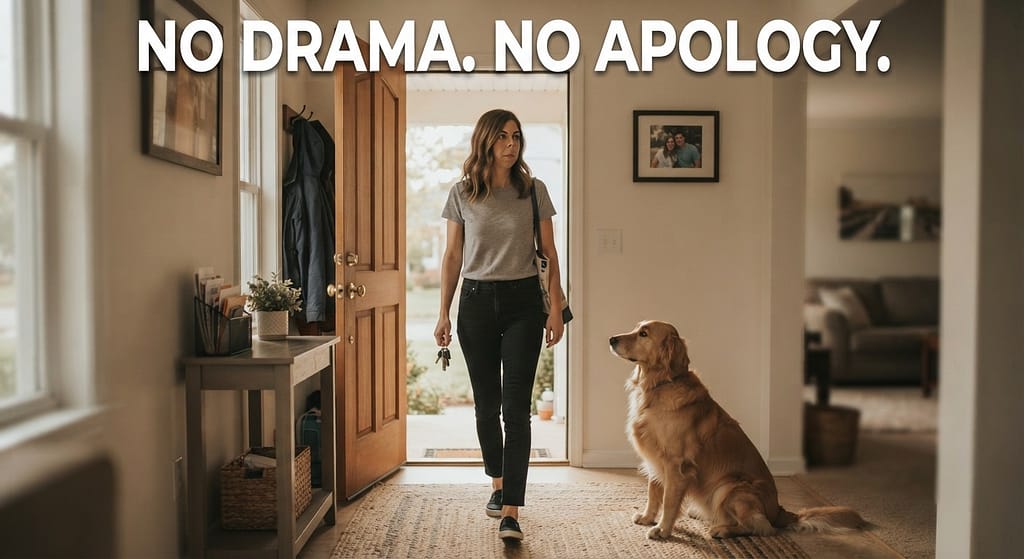
This is the hardest part for humans. When we came back inside, we wanted to scoop him up and say, “I’m so sorry!”
But that reinforces the anxiety. “Mom is worried, so I should be worried!”
Instead, we walked in, ignored him completely, took off our jacket, set down the keys, and then casually gave a calm “hello” after 30 seconds.
Phase 3: The “Elevator/Building” Flits (The 1-Minute Milestone)
You’ve conquered the hallway. Now, you’re going to break the seal of the building. This is the leap into the unknown.
Week 4 Schedule (20 minutes, 2 times a day):

- Step 1: Walk out the door. Walk to the elevator. Press the button. Don’t get on it. Watch the elevator arrive. Let the doors open. Let them close. Walk back to the apartment. Return.
- Step 2: Walk out. Get into the elevator. Let the doors close. Wait 5 seconds. Press the “up/down” button to open the doors immediately. Step out. Return.
- Step 3: Take the elevator down ONE floor. Get out in the lobby. Turn around immediately. Get back on the elevator. Come home.
The “Outside” Flit:
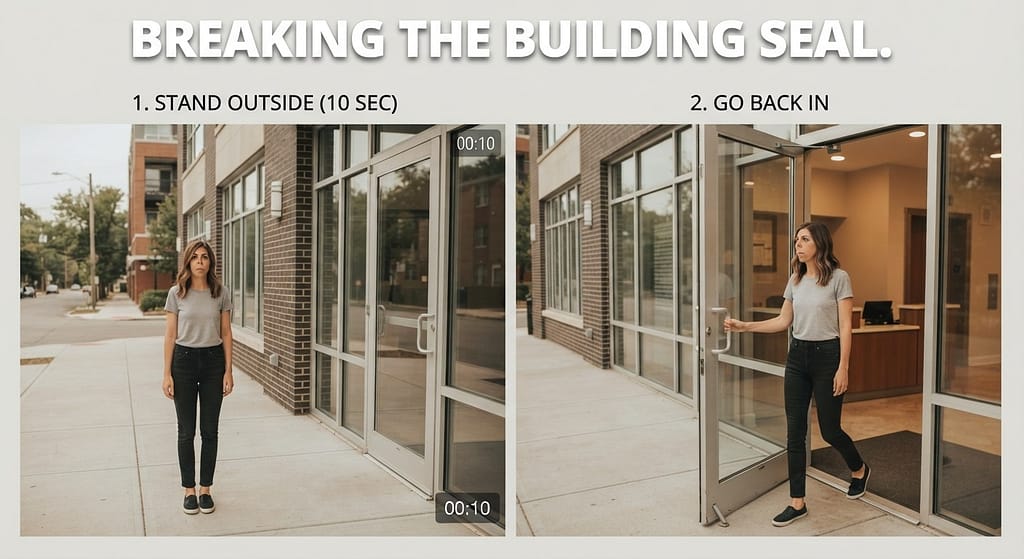
Walk out of the building entirely. Stand on the sidewalk for 10 seconds. Come back in. Do this 5 times in a row.
The Key Insight:
During this phase, we realized our dog didn’t care where we went.
He cared about the sound of the door closing and the silence that followed. By keeping the silence short and sweet, we taught his brain that silence wasn’t scary.
Phase 4: The “Neighborhood” Flits (The 5-Minute Confidence)
You’re almost there! This phase is about elongating the absences to a point where they are actually useful for real life (like running to the grocery store).
Week 5 Schedule (30 minutes, 1-2 times a day):
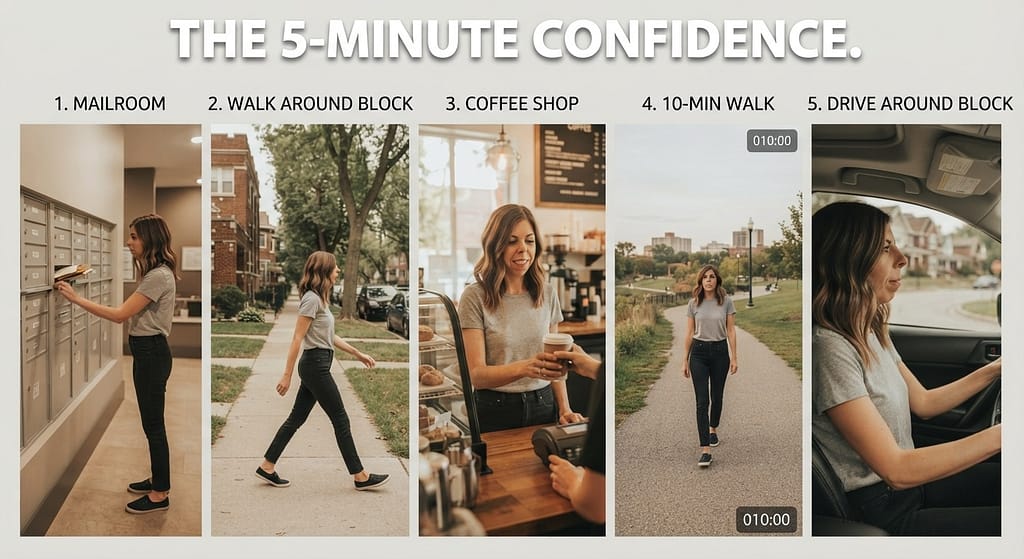
- Day 1: Walk out. Go to the mailroom (1-2 minutes). Come back.
- Day 2: Walk out. Walk around the block ONCE (3 minutes). Come back.
- Day 3: Walk out. Walk to the coffee shop. Order a coffee (without waiting for it). Come back. (5 minutes).
- Day 4: Walk out. Take a 10-minute walk around the perimeter of the building. Come back.
- Day 5: Walk out. Drive the car around the block. Park. Come back.
The “Decompression” Break:

After a 10-minute flit, we realized our dog was often more stressed for the next 30 minutes even if he didn’t bark.
So we instituted a “Decompression Treat” when we returned—a frozen Kong that took him 15 minutes to finish. This gave him a positive association with the aftermath of our return.
The “Flitting” Schedule Cheat Sheet (Printable!)

Download Flitting Schedule Cheat Sheet
We know your brain is spinning. Here is the simplified, day-by-day schedule we printed out and stuck to our fridge.
| Phase | Week | Action | Duration | Repetitions per Session |
|---|---|---|---|---|
| Phase 0 | Week 1 | Pick up keys/jacket. Touch door. | 0 seconds (don’t leave) | 30+ reps, 3x/day |
| Phase 1 | Week 2 | Open door, step out, immediately step back in. | 0.5 – 2 seconds | 10-15 reps, 3x/day |
| Phase 2 | Week 3 | Walk into hallway, close the door. | 2 – 10 seconds | 10-15 reps, 3x/day |
| Phase 3 | Week 4 | Go to elevator, ride it down, come up. | 1 – 5 minutes | 5-10 reps, 2x/day |
| Phase 4 | Week 5 | Walk out of building, around the block, or to the store. | 5 – 15 minutes | 3-5 reps, 1-2x/day |
| Phase 5 | Week 6+ | Absence length increases to 30 min – 2 hours. | 30 min – 2 hrs | Once per day (build slowly) |
The “Interactive Pause” – How Is Your Dog Feeling RIGHT NOW?
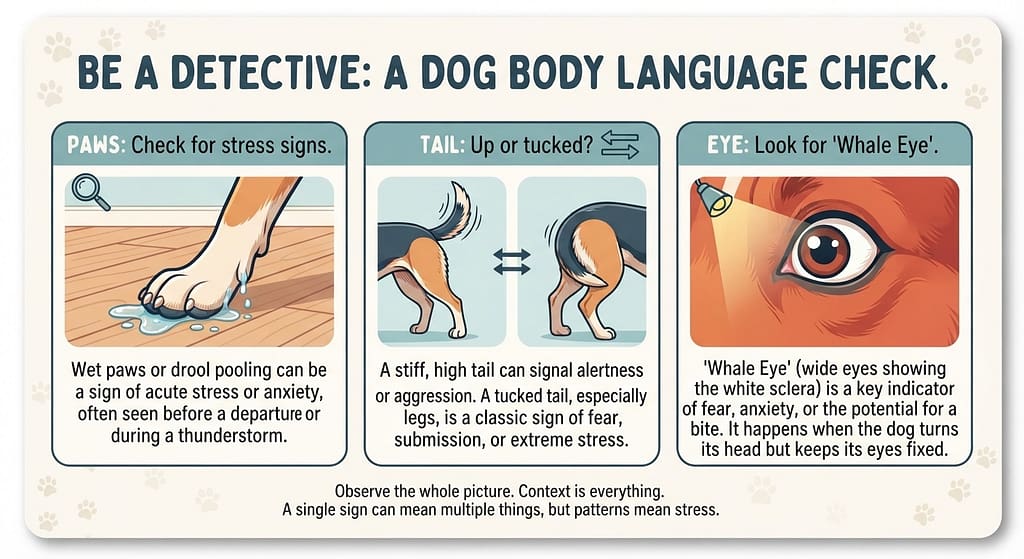
We need you to be a detective. During each flit, check these three things:
- The “Paws” Check: Are their paws wet/drooling? (Excessive drool = high stress). If they are drooling, go back a phase.
- The “Tail” Check: Is the tail up or tucked? (Tucked = scared). If it’s tucked, go slower.
- The “Eye” Check: Are they showing the whites of their eyes (“whale eye”)? That’s a stress signal. Go back a step.
We always say: “The fastest way to go forward is to go slow.” If you rush, you’ll reinforce the fear and have to start over from scratch. We learned this the hard way and had to rewind an entire week because we got cocky.
The “Golden Rule” of Flitting (Never Break This)

Never, ever, EVER open the door to “rescue” your dog if they are in the middle of a full-blown panic attack.
We know this sounds counterintuitive. We know it hurts. But here’s the logic:
If they are barking/howling/scratching at the door, and you come back in, you are saying: “Good job barking! That’s the signal that makes me come back!”
Instead, wait for a micro-second of silence. Even if it’s just a breath.
Wait for them to stop and listen. Then you walk back in. This teaches them that silence, not noise, is what brings you home.
If they can’t stop barking, and you’re stuck outside, we recommend this:
Walk far enough away that you can’t hear them anymore. Wait until they tire out (could be 5-10 minutes).
Walk back to the door, wait for 2 seconds of silence, then walk in. It’s brutal, but it’s the only way to break the cycle.
Combining “Flitting” with the Crate (From Our Last Post)
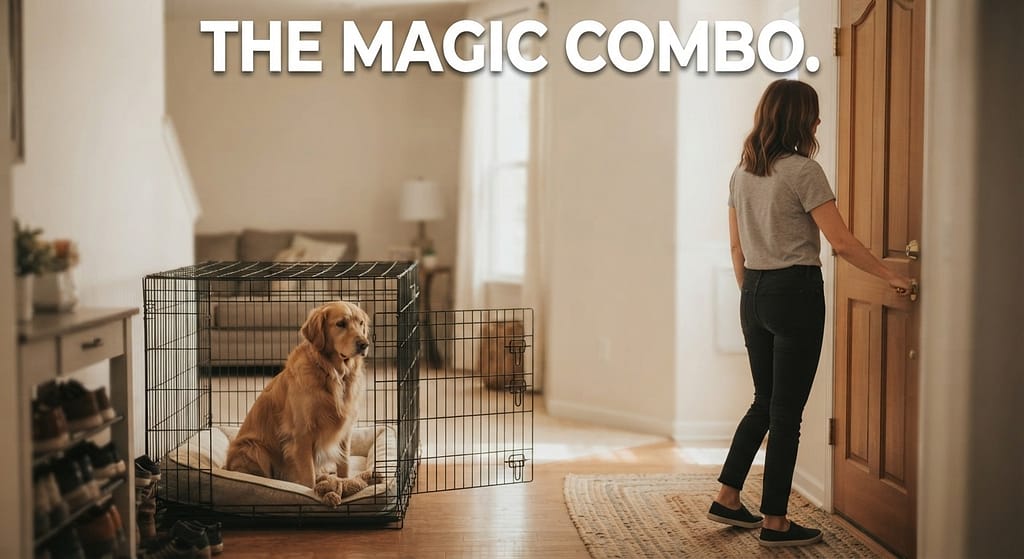
If you read our guide on crate training (and you should!), this is where the magic happens.
The “Crate + Flit” Combo:
We placed the crate in the bedroom and did our flitting from the front door. When we left, we put our dog in the crate.
When we returned, we didn’t open the crate immediately.
We came in, dropped our stuff, waited 30 seconds (calmly), and then opened the crate. This taught him that:
- The door opening doesn’t mean immediate access to mom.
- The crate is the safe zone while mom does her boring flitting.
Pro Tip: Do some flitting without the crate (letting him roam) and some with the crate. Dogs need to learn that calmness applies in any environment, not just the crate.
The “Real Life” Graduation (The Light at the End of the Tunnel)
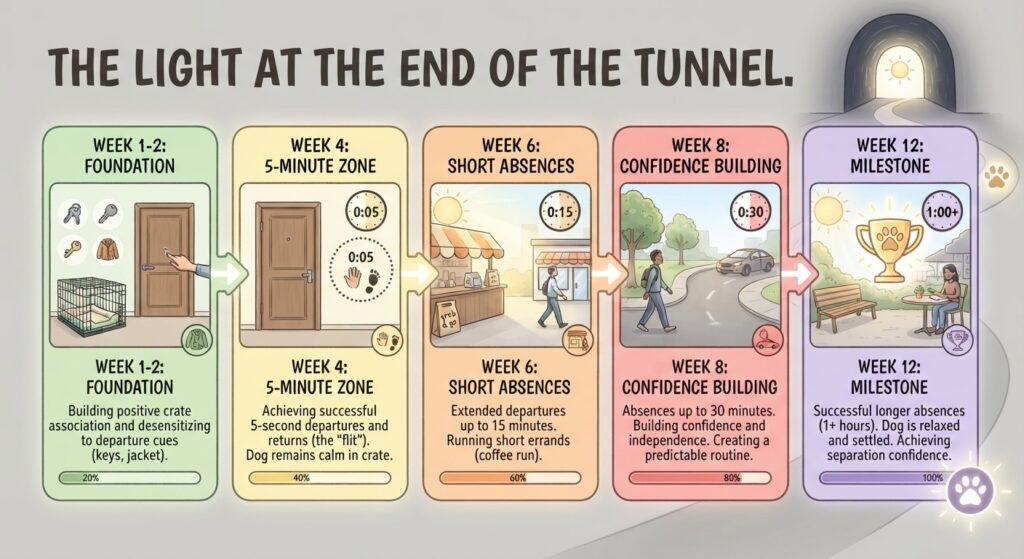
We know this seems endless. Week 5 seems like a lifetime away. But we promise you, the payoff is worth every single repetition.
By Week 6, we started seeing the cracks in the armor. Our dog stopped following us to the door.
He stopped shaking. He would look at us picking up our keys, and instead of panicking, he would just… yawn. And lay his head down.
By Week 8, we were able to leave for a full hour to go to the gym. By Week 12? We went to a 3-hour dinner. We came home to a sleeping dog, not a frantic mess.
The “Maintenance” Flit:
Even now, we “maintenance flit” once a week. We do a rapid-fire series of 5 flits (out and in within 10 seconds) just to keep the neural pathway strong. It’s like exercising a muscle.
The “Flitting” Troubleshooting Guide
Problem: My dog won’t eat treats during the flitting.
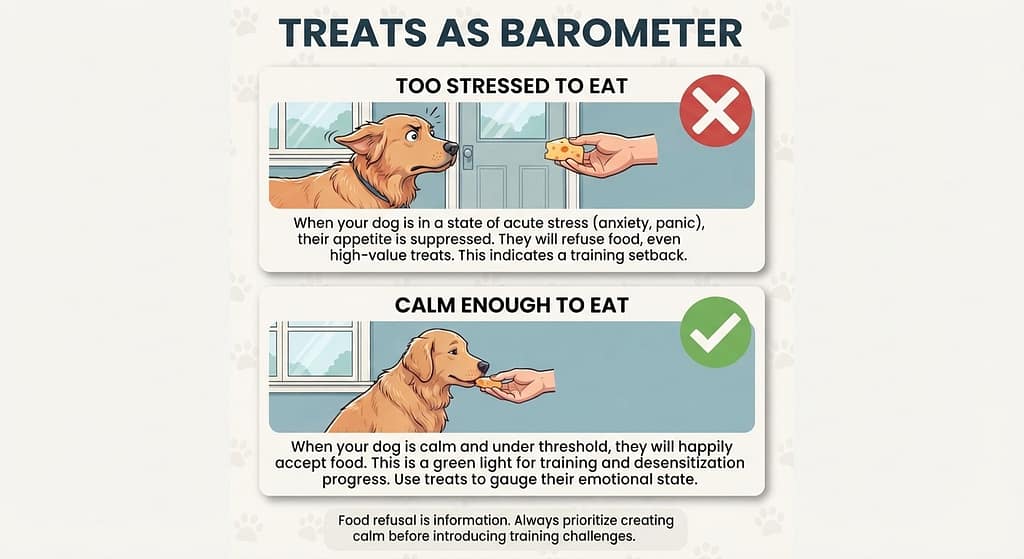
Solution: Their stress is too high. Don’t use treats as a bribe; use them as a barometer. If they won’t eat, you’re moving too fast. Back up two phases.
Problem: My neighbors are complaining about the constant opening/closing of the door during training.
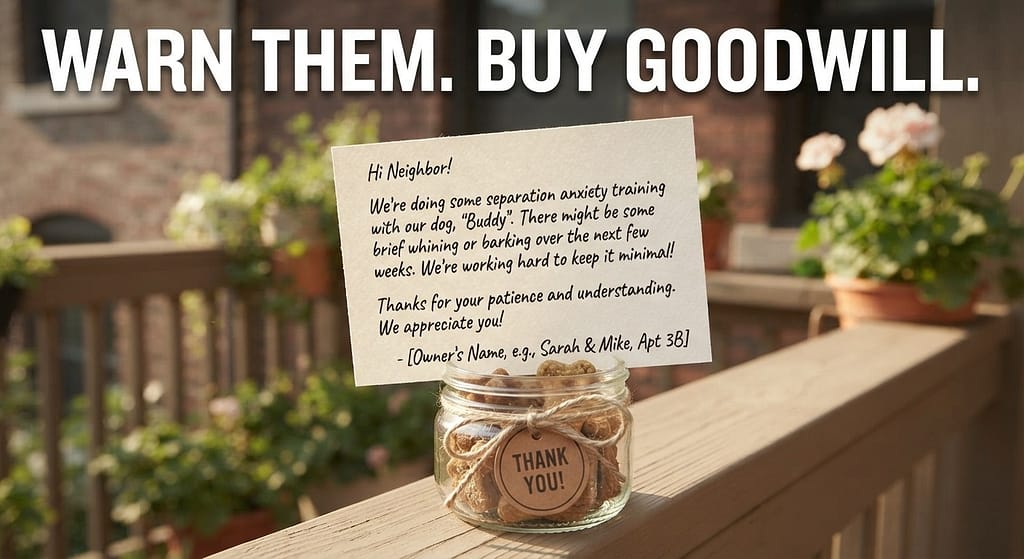
Solution: Warn them! We knocked on our neighbor’s door and said: “Hey, we’re training our dog to stop barking. For the next 2 weeks, you might hear our door opening and closing a lot. We’re doing it during the day. We promise it’ll solve the barking problem forever.” They were totally cool with it when they understood the end goal.
Problem: I work a 9-5. I can’t do 3 sessions a day.
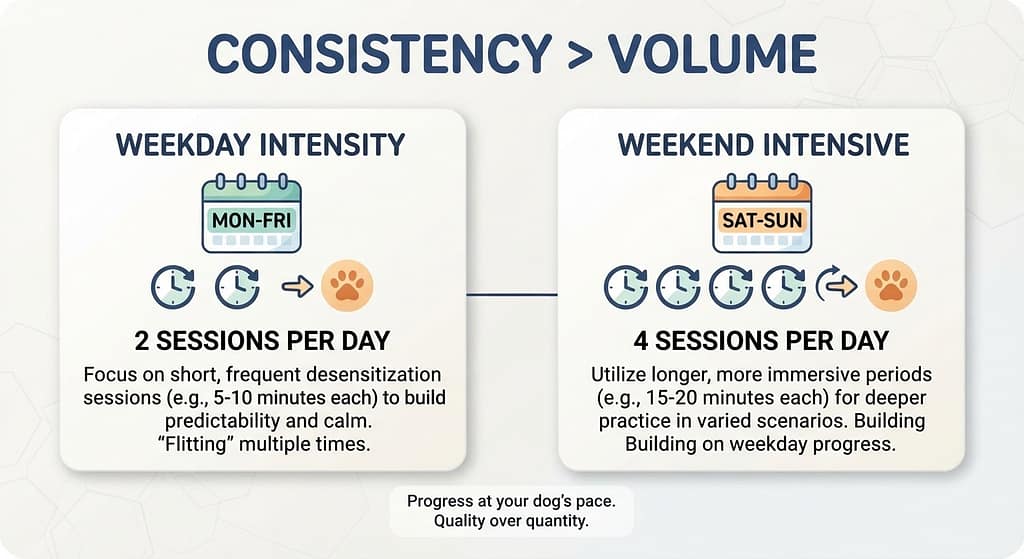
Solution: Do 2 sessions (morning and night) on weekdays, and 4 sessions (all spaced out) on the weekend. Consistency matters more than volume. Even 5 minutes of flitting is better than zero.
The Final Word: You Are the Architect of Their Confidence

Separation anxiety is one of the most heartbreaking things to witness.
It’s also one of the hardest to treat because it requires you to be both the trigger and the cure.
It forces you to be disciplined when all you want to do is comfort them.
But here’s the thing: By doing this “Flitting” schedule, you aren’t torturing them. You are teaching them resilience.
You are showing them that the world doesn’t end when you walk out that door. You are giving them the gift of independence.
And when they finally figure that out—when you grab your keys, and they just roll over for a belly rub instead of panicking—you will feel a sense of relief and pride that words cannot describe.
You’ve got this. Take it one flit at a time.
Now, go grab your keys. Walk to the door. Touch it. Walk away. And repeat.
Your calm, confident dog is waiting for you on the other side of this schedule.
🐾 — Apartment Dog Guide (ADG)
Living large in small spaces, one paw at a time. That’s the apartment dog life—see you in the next guide!.


