
Picture this:
You walk into your kitchen, and there it is—the daily pet clutter.
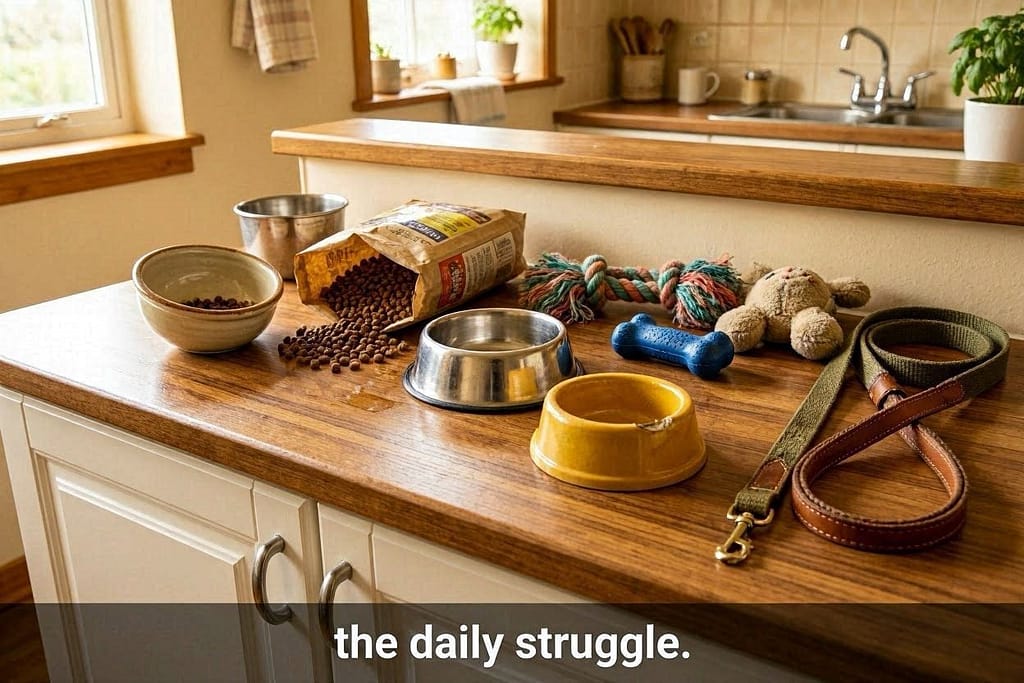
Food bowls scattered on the floor, a half-open bag of kibble leaning against the cabinet, toys strewn about, and leashes draped over chair backs.
In an apartment, this chaos isn’t just messy; it steals your precious space and disrupts your hard-earned aesthetic.
What if you could corral all that chaos into one beautiful, functional piece of furniture?

What if your dog’s dining area could be as organized as your own?
Enter the DIY dog feeding station with hidden storage.
This isn’t just another piece of pet furniture—it’s a game-changing organizational system that gives your dog a dedicated dining area while hiding all their supplies behind closed doors.
The best part?
You don’t need to be a master carpenter or spend a fortune to create it.
We’ve helped build several versions of this station over the years of living with dogs in apartments.
Through trial and error, we’ve discovered designs that work for spaces as small as a studio apartment and styles ranging from minimalist to farmhouse.
This guide will walk you through the process step by step, with options for every skill level.
Ready to transform pet chaos into organized calm?
Let’s build something amazing together.
Why a Feeding Station with Storage is an Apartment Game-Changer
Before we pick up a single tool, let’s understand why this project is worth your weekend.
The Triple Threat of Traditional Feeding:

- Space Hogging: Bowls in walkways become trip hazards in tight spaces
- Visual Clutter: Bright plastic bowls and bags ruin your decor vibe
- Inefficiency: Scattered supplies mean you’re always searching for what you need
The Hidden Storage Solution Solves All Three:
- Saves Floor Space: Consolidates everything into one footprint
- Elevates Your Decor: Looks like intentional furniture, not pet stuff
- Streamlines Routine: Everything is in one organized place
- Contains Mess: Spills and splashes are contained to one easy-clean area
The Psychology Bonus: Dogs thrive on routine and clear boundaries.
A dedicated feeding station tells your dog, “This is your dining room”—which can actually reduce food-related anxiety and grazing behavior.
Convinced of the “why”?
Perfect. Now let’s talk about the “how,” starting with the most important decision.
Choose Your Adventure: 3 Project Paths for Every Skill Level
Not everyone has a workshop full of power tools, and that’s okay! Here are three approaches, from beginner-friendly to more advanced.
Path 1: The IKEA Hacker (Beginner-Friendly)
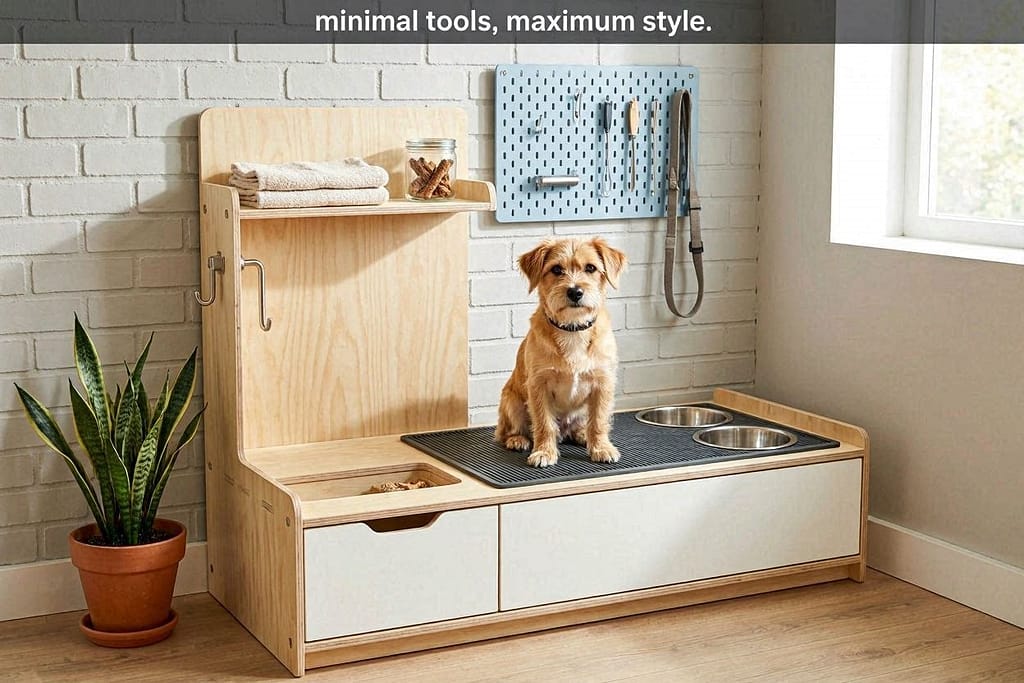
Perfect if you want a great result with minimal tools and time.
The Concept: Modify an existing IKEA piece with simple additions.
Top Candidate: The IKEA EKET cube system or KALLAX unit.
Path 2: The Ready-Made Upcycler (Intermediate)

Perfect if you: Enjoy thrifting and simple modifications.
The Concept: Transform a nightstand, small cabinet, or console table.
Path 3: The From-Scratch Builder (Advanced)
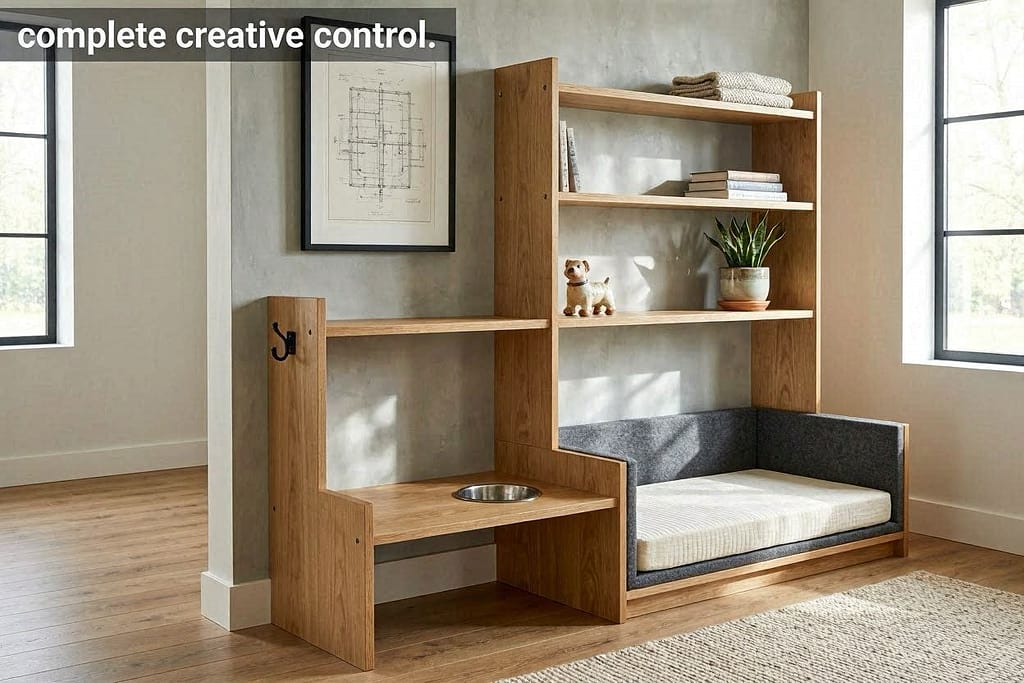
Perfect if you: Have tools and want custom dimensions/finishes.
The Concept: Build exactly what you envision from raw materials.
Let’s dive into the most popular option first—the IKEA hack that looks custom but requires minimal woodworking.
Project #1: The IKEA EKET Feeding Station (Beginner-Friendly)
This project delivers maximum style with minimum tools, perfect for apartment dwellers.

Materials List:
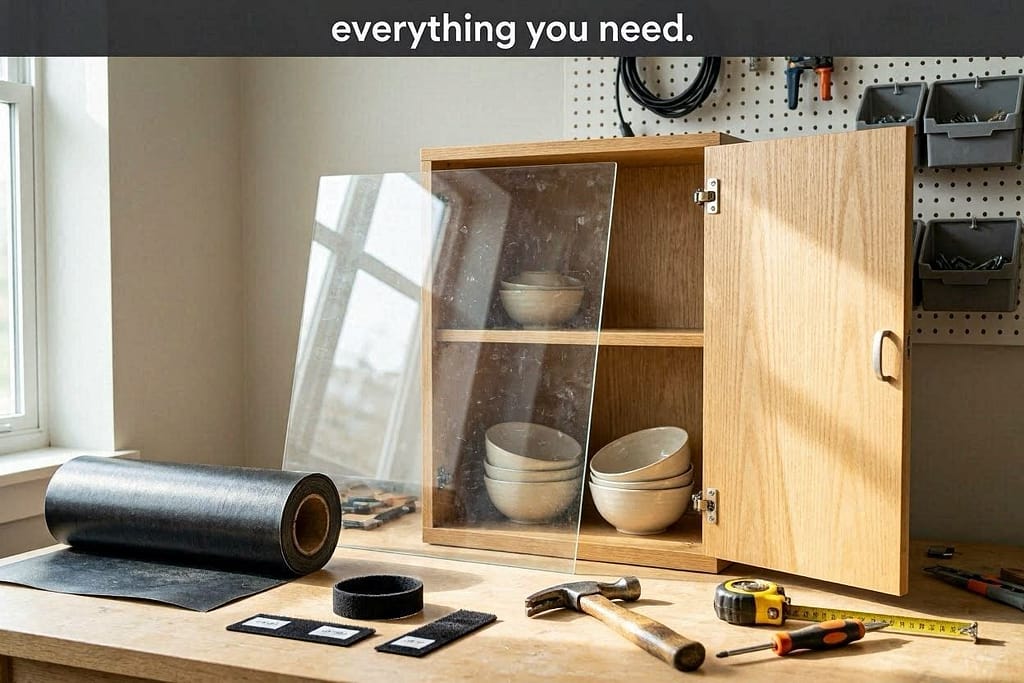
- IKEA EKET cabinet with door (35x35x35 cm or similar)
- IKEA EKET shelf (for interior)
- 2 stainless steel dog bowls
- Small piece of plexiglass or acrylic sheet (cut to fit the bottom)
- Waterproof peel-and-stick vinyl or contact paper
- 2 small L-brackets
- Strong Velcro strips
- Wood glue
- Screws
- Painter’s tape
Tools Needed:
- Screwdriver
- Drill
- Measuring tape
- Pencil
- Scissors or utility knife
- Sandpaper (fine grit)
Step-by-Step Assembly:
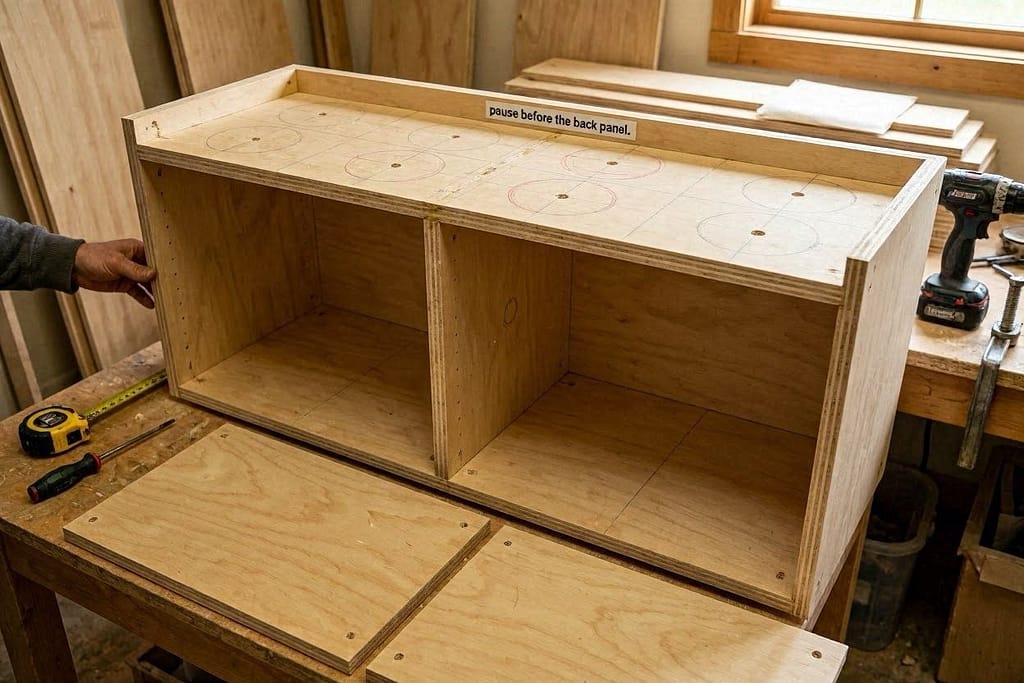
Step 1: Assemble & Modify
- Assemble your EKET cabinet according to IKEA instructions, but pause before attaching the back panel.
- Measure and mark where you want the bowls to sit on the bottom panel. They should be centered with enough space between them.
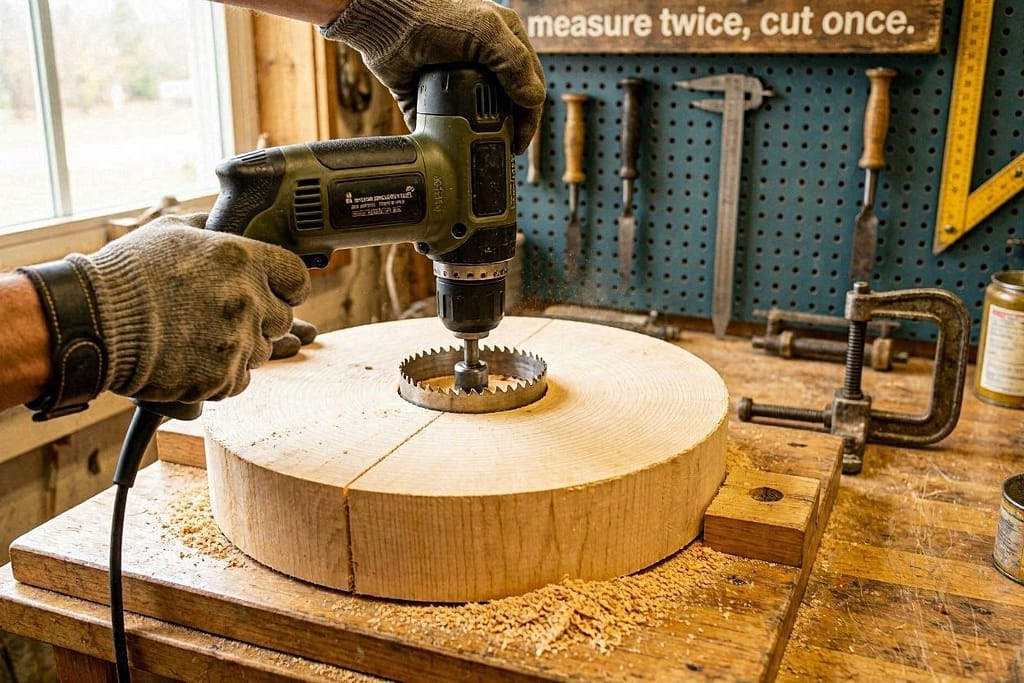
- Trace the bowls, then use a drill to create starter holes inside your circles. Use a jigsaw to cut out the holes (or ask for this cut at the hardware store when you buy materials).
Step 2: Create the Waterproof Interior
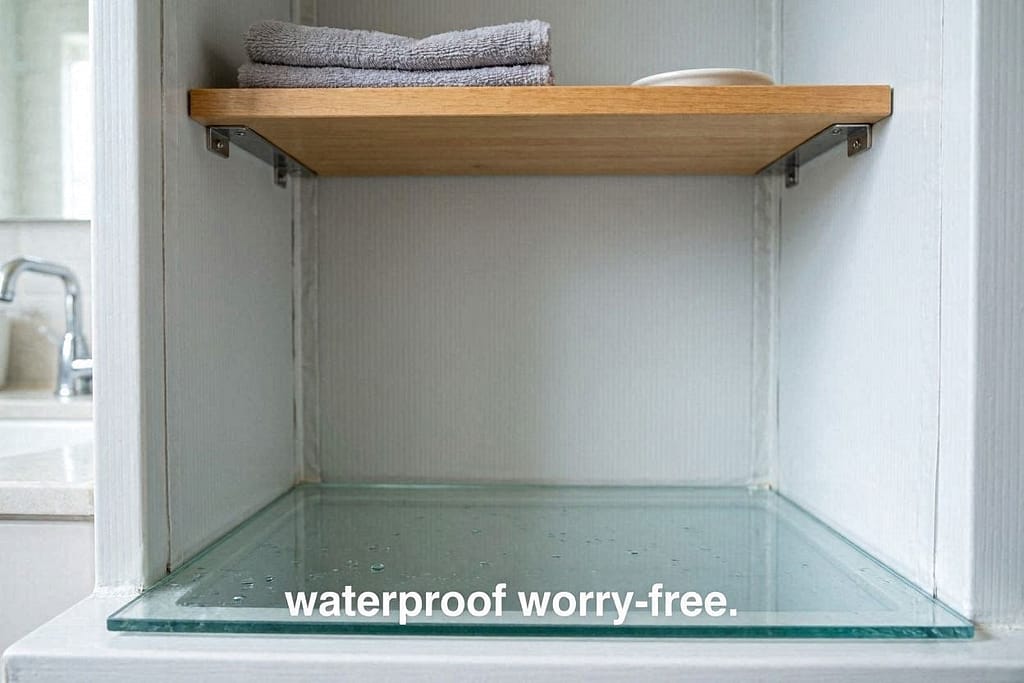
- Cut your plexiglass to fit the bottom interior. This creates a waterproof barrier.
- Line the interior walls with peel-and-stick waterproof vinyl. This makes cleanup a breeze.
- Install the interior shelf about halfway up to create storage space for treats or small supplies.
Step 3: Secure the Bowls
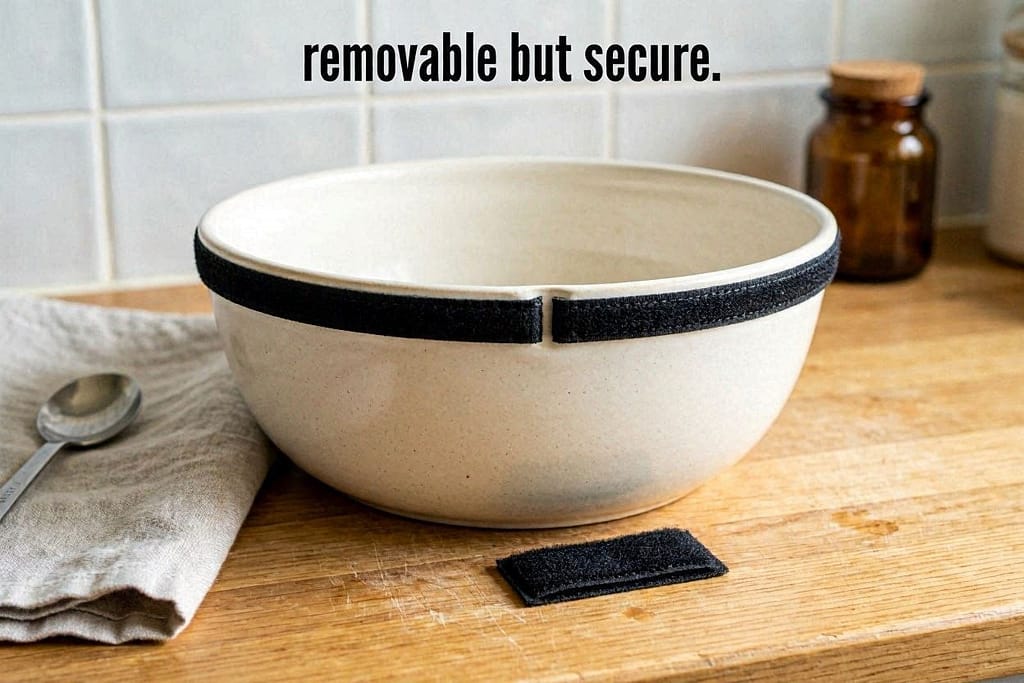
- Attach strong Velcro strips to the bottom of each bowl.
- Stick the matching Velcro pieces to the plexiglass where the bowls will sit.
- Test the hold—the bowls should stay in place during eating, but be removable for washing.
Step 4: Add the Finishing Touches

- Use L-brackets to reinforce the shelf if needed.
- Attach the back panel.
- Add adhesive felt pads to the bottom to protect your floors.
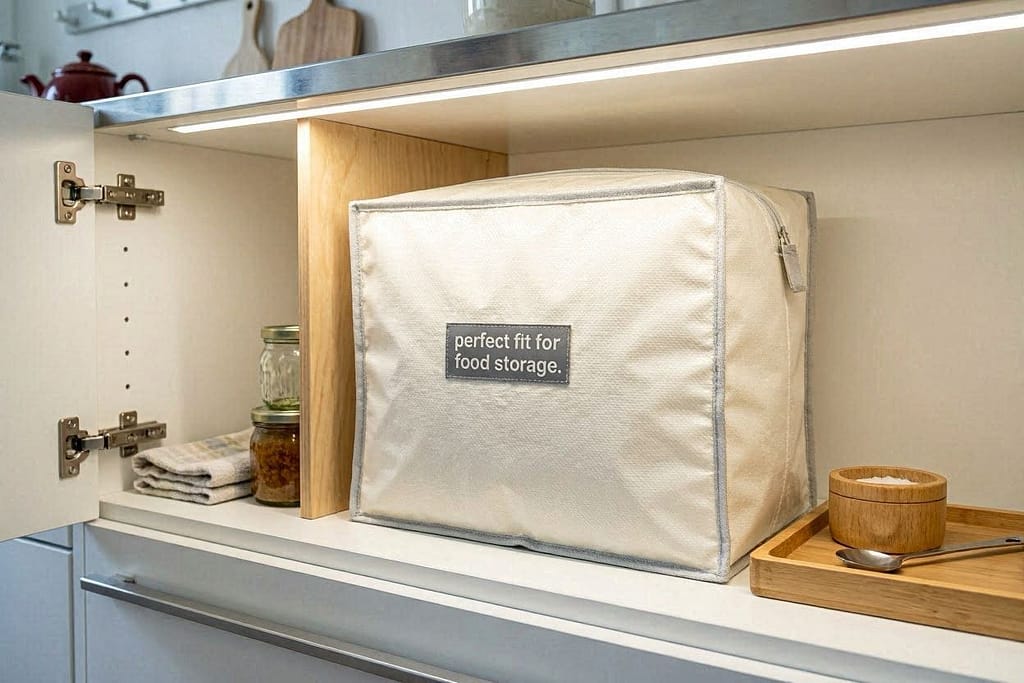
Pro Tip: Use IKEA VARIERA plastic bags inside to line the storage compartment for food—they fit EKET units perfectly and make food transfer clean and easy.
Love the IKEA hack but want something with more character? Let’s talk upcycling.
Project #2: The Thrifted Cabinet Transformation (Intermediate)
This approach lets you create a one-of-a-kind piece that matches your decor perfectly.
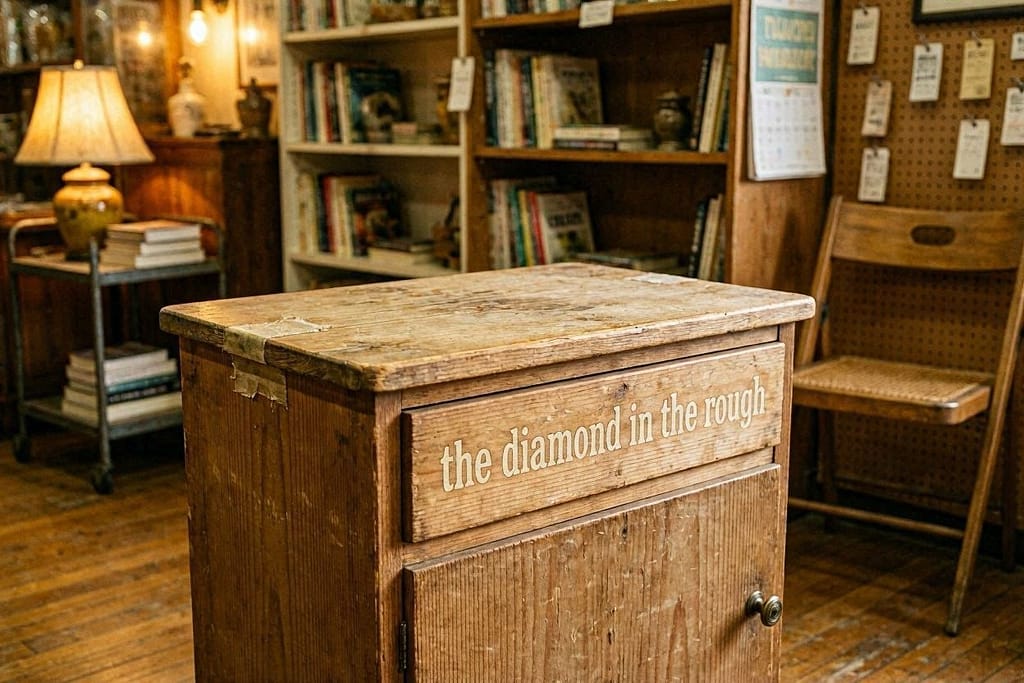
The Hunt: What to Look For
Your ideal candidate at thrift stores or marketplace apps:
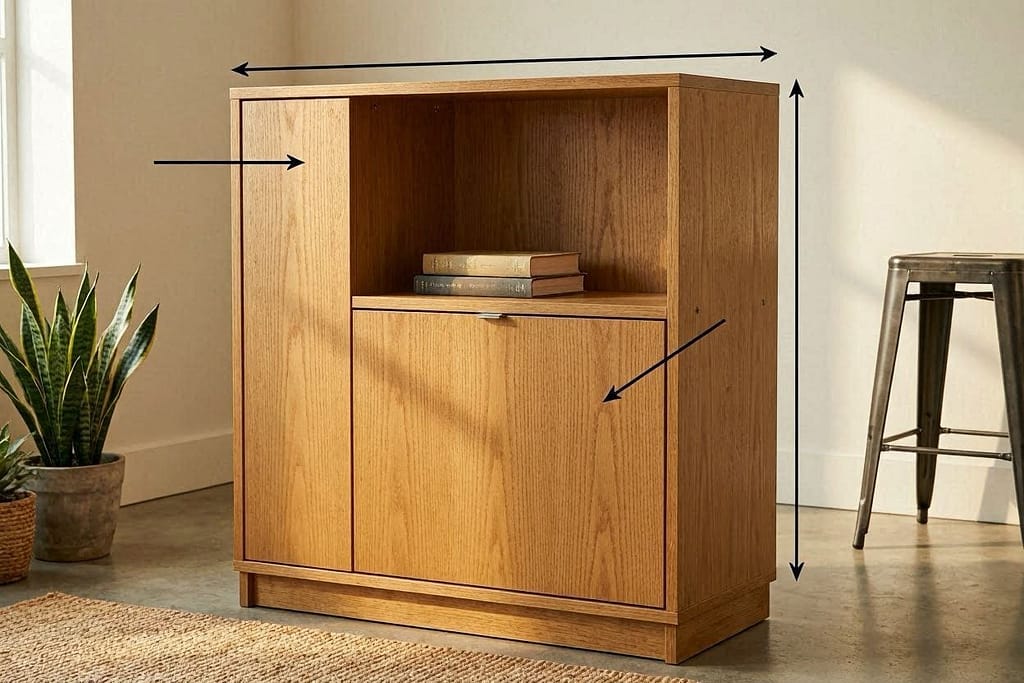
- Solid wood construction (no particleboard)
- Approximately 24-36 inches wide, 18-24 inches tall
- At least one shelf or compartment inside
- Doors that close securely
- Simple lines that are easy to modify
Great finds: Old nightstands, small dressers, media cabinets, or vintage sewing machine tables.
Transformation Steps:
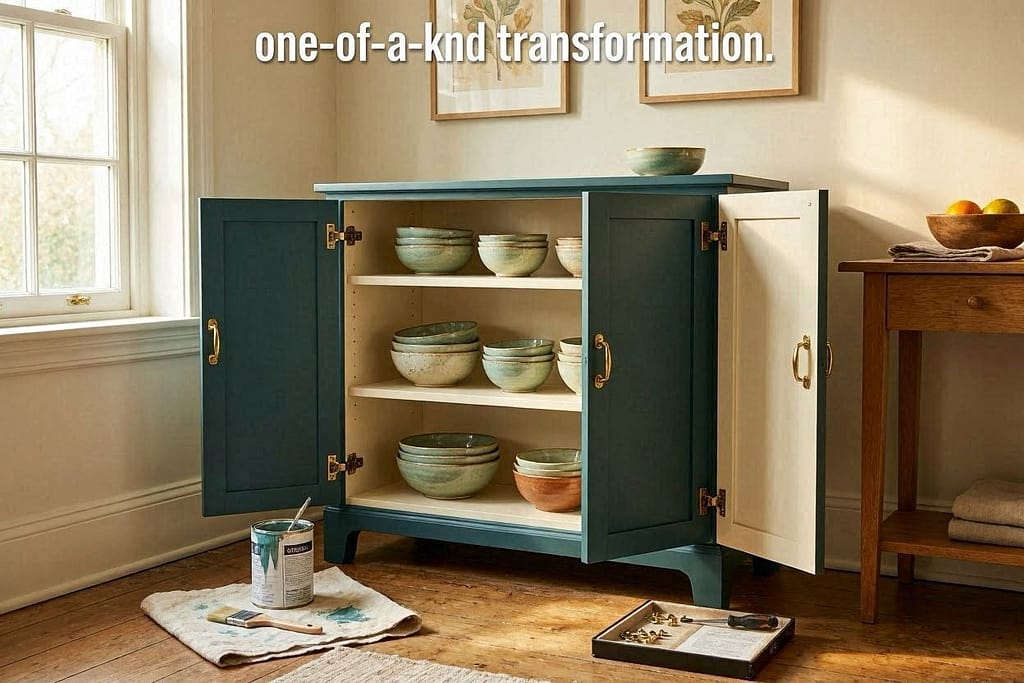
Step 1: The Deep Clean & Prep
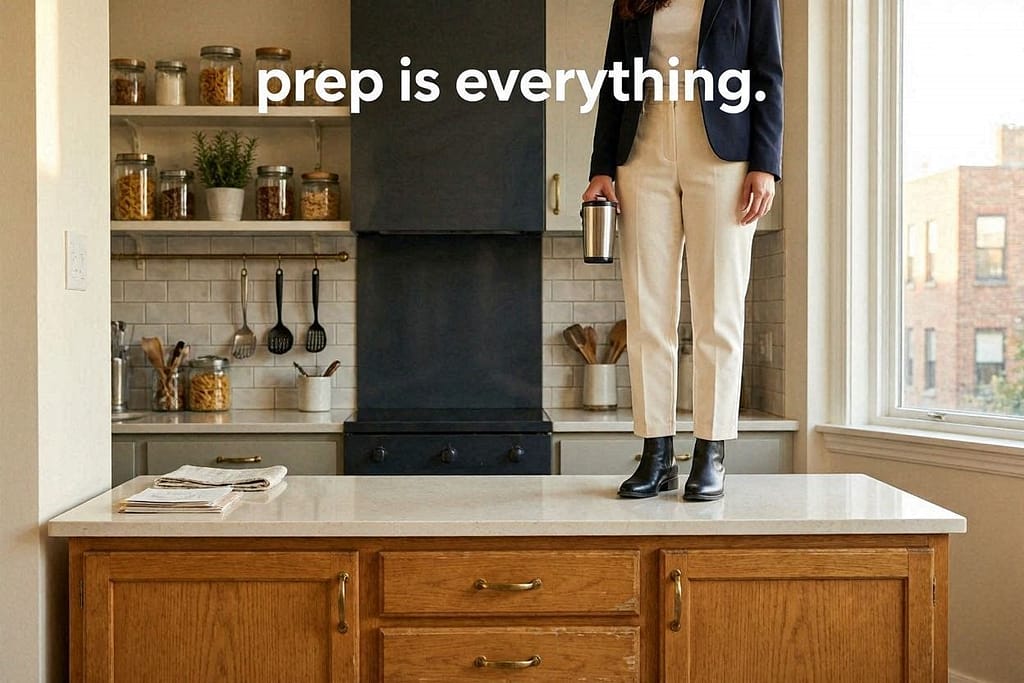
- Remove all hardware (handles, knobs, hinges).
- Clean thoroughly with a TSP substitute to remove grease and grime.
- Sand all surfaces with medium, then fine-grit sandpaper.
- Fill any unwanted holes or imperfections with wood filler.
Step 2: Create the Bowl Holes
- Measure and mark bowl placement on the top surface.
- Use a hole saw attachment on your drill for perfect circles.
- Sand the cut edges smooth.
Step 3: Add Functional Modifications

- Waterproofing: Line the bowl area with peel-and-stick vinyl flooring or sheet metal.
- Ventilation: If storing food inside, drill small ventilation holes in a discreet pattern.
- Organization: Add hooks inside the door for leashes, or install small bins for treats and toys.
Step 4: The Beautiful Finish
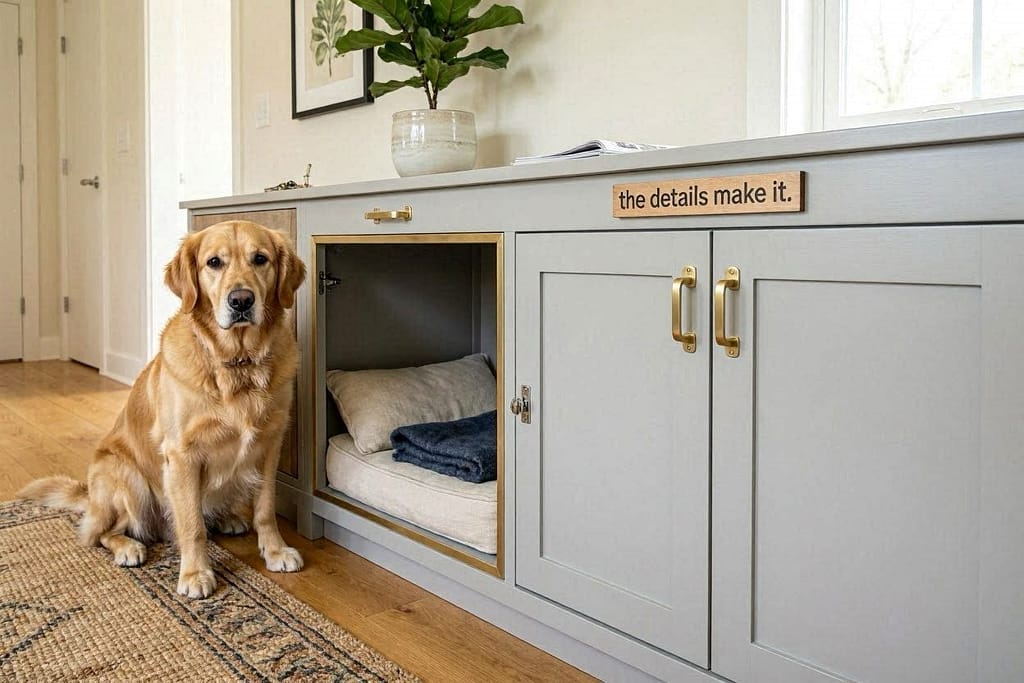
- Prime with a stain-blocking primer.
- Paint with pet-safe, durable paint (semi-gloss is easy to clean).
- Add new hardware that fits your style.
- Seal with a clear, non-toxic polyurethane for durability.
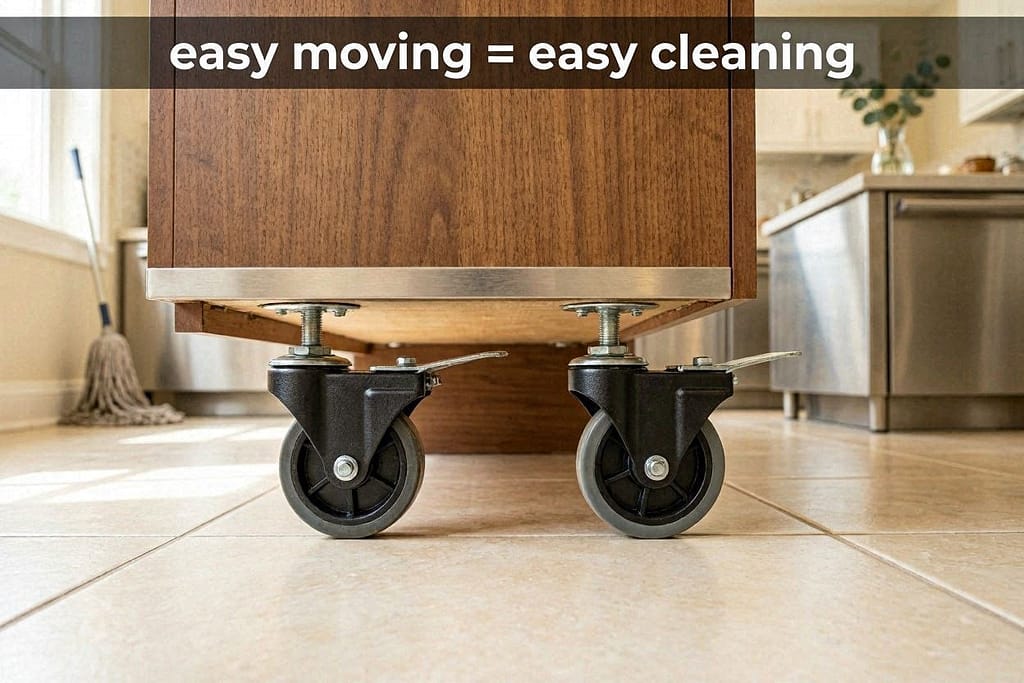
Pro Tip: Add casters or wheels to the bottom for easy moving during cleaning. Locking casters are ideal for stability during meals.
These projects are great, but what if you want to build something completely custom from the ground up?
Project #3: The Custom Built-from-Scratch Station (Advanced)
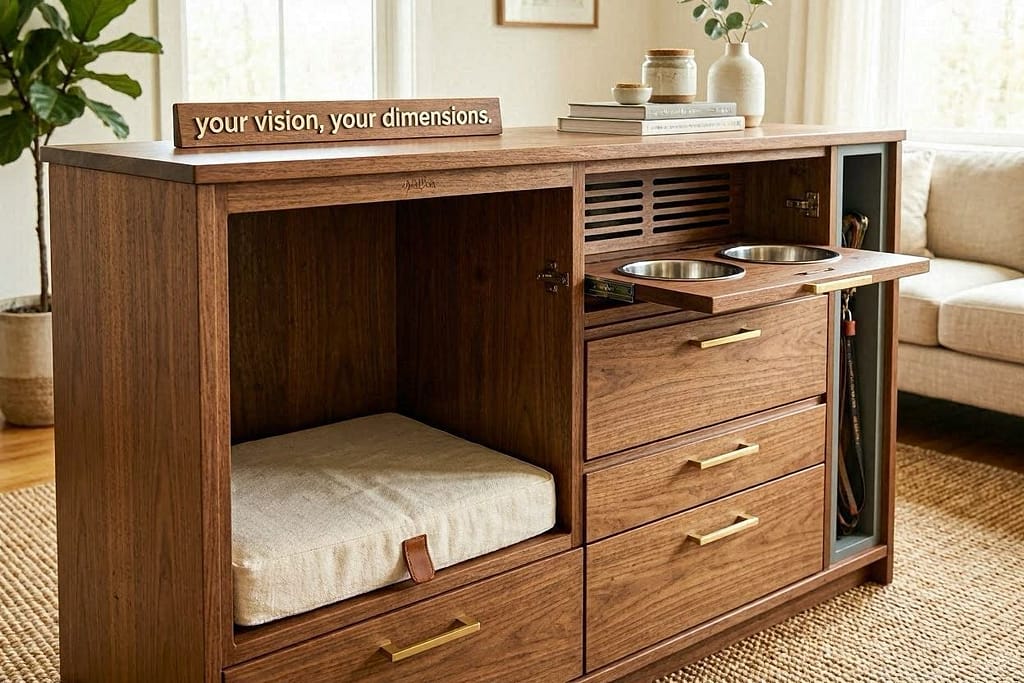
This option gives you complete control over dimensions, materials, and features.
Materials List:
- 1×12 pine or birch boards (amount depends on your dimensions)
- ½” plywood for back and shelves
- Wood glue
- 1¼” pocket hole screws
- 2 decorative door hinges
- Magnetic cabinet catch
- Knob or pull
- Wood stain or paint
- Clear polyurethane finish
- Waterproof laminate or sheet metal for the bowl area
Cut List (for a 30″W x 24″H x 12″D station):
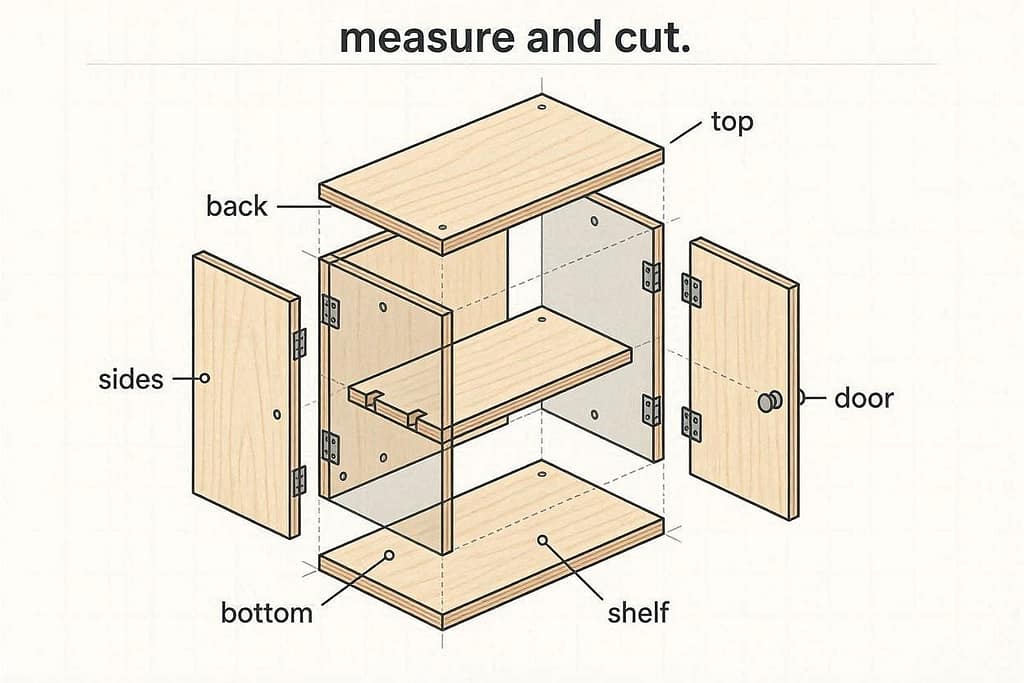
- Top: 30″ x 12″ (1×12)
- Bottom: 30″ x 12″ (1×12)
- Sides: 22½” x 12″ (2 pieces, 1×12)
- Shelf: 28½” x 11½” (½” plywood)
- Back: 28½” x 22½” (½” plywood)
- Door: 14″ x 22½” (1×12, cut to fit your opening)
Construction Steps:
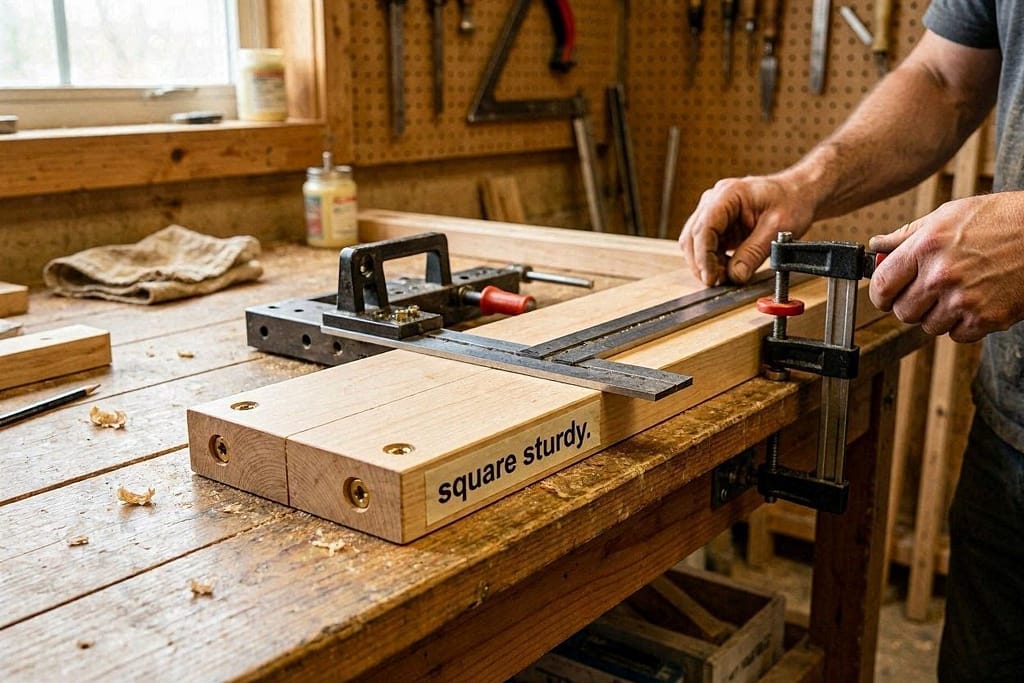
Step 1: Build the Box
- Use pocket holes to attach the sides to the top and bottom pieces.
- Check for a square by measuring diagonally—both measurements should be equal.
- Install the interior shelf at your desired height using shelf pins or cleats.
Step 2: Create the Bowl Area
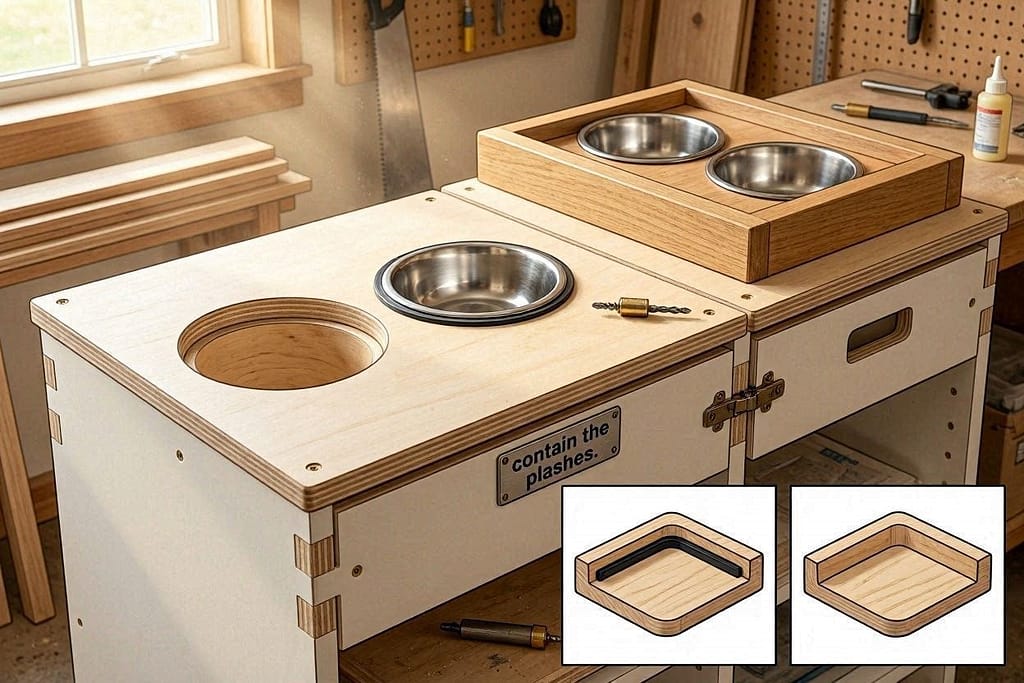
- Measure and cut bowl holes in the top piece using a hole saw.
- Create a recessed area for the bowls by routing out a ¼” deep channel or building a shallow raised frame.
- Install waterproof material in the bowl area.
Step 3: Doors & Finishing
- Hang the door using decorative hinges.
- Install a magnetic catch to keep it closed.
- Add the back panel.
- Sand thoroughly through increasing grits (120, 220).
- Apply your chosen finish, allowing proper drying time between coats.
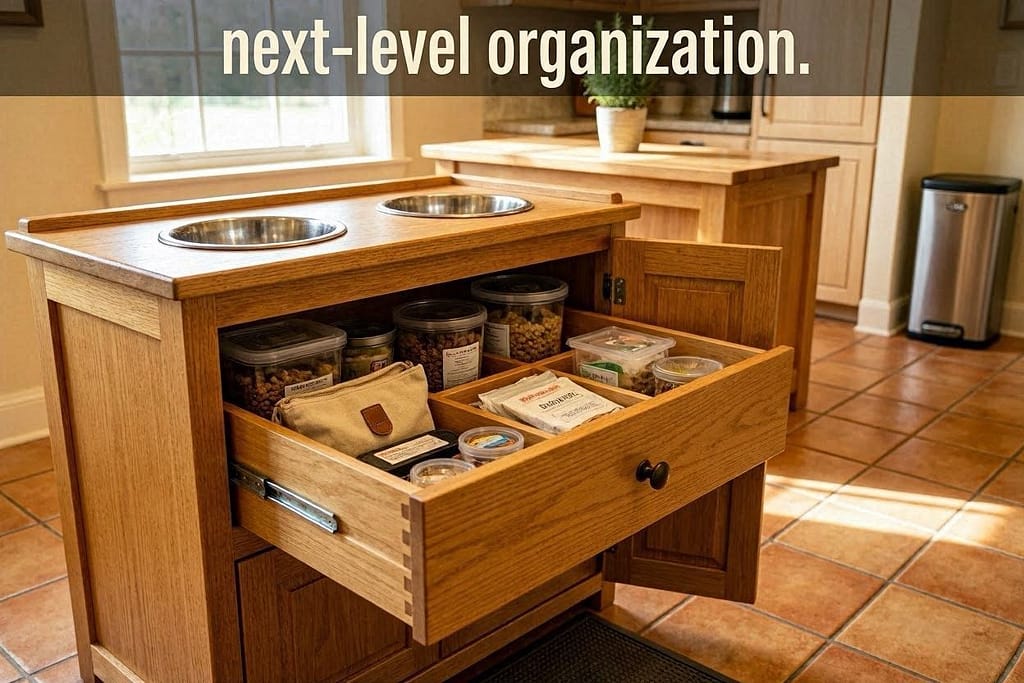
Advanced Feature Idea: Add a pull-out drawer underneath the bowls for food storage, or install a spice rack insert on the door for treat organization.
No matter which path you choose, the finishing touches make all the difference. Let’s talk safety and style.
The Essential Details: Safety, Function & Style
Pet-Safe Materials & Finishes:
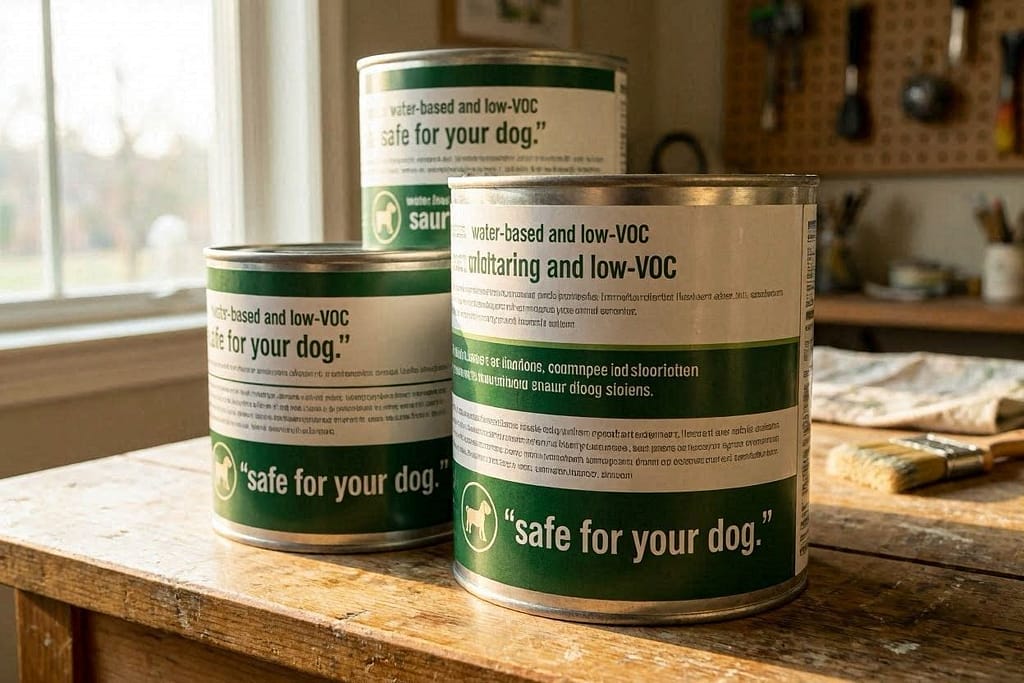
- Paint/Stain: Use water-based, low-VOC, or milk paint. Let cure completely (at least 72 hours) before use.
- Sealers: Water-based polyurethane is less toxic than oil-based.
- Avoid: Lead-based paints, toxic stains, or finishes with strong fumes.
Easy-Clean Features:
- Removable Bowls: Always design for easy removal and washing.
- Waterproof Surfaces: The bowl area must be completely waterproof.
- Wipeable Interiors: Semi-gloss paint or laminate inside makes cleanup simple.
- Food Storage: Use airtight containers inside, not the original bags.
Dog-Centric Design Considerations:
- Height: Match the station height to your dog’s shoulder for comfortable eating.
- Bowl Placement: Space bowls far enough apart for multi-dog homes.
- Stability: Ensure the station won’t tip if a dog leans on it. Add weight to the bottom if needed.
- No Sharp Edges: Round over all edges, especially around bowl holes.
Styling Your Station:
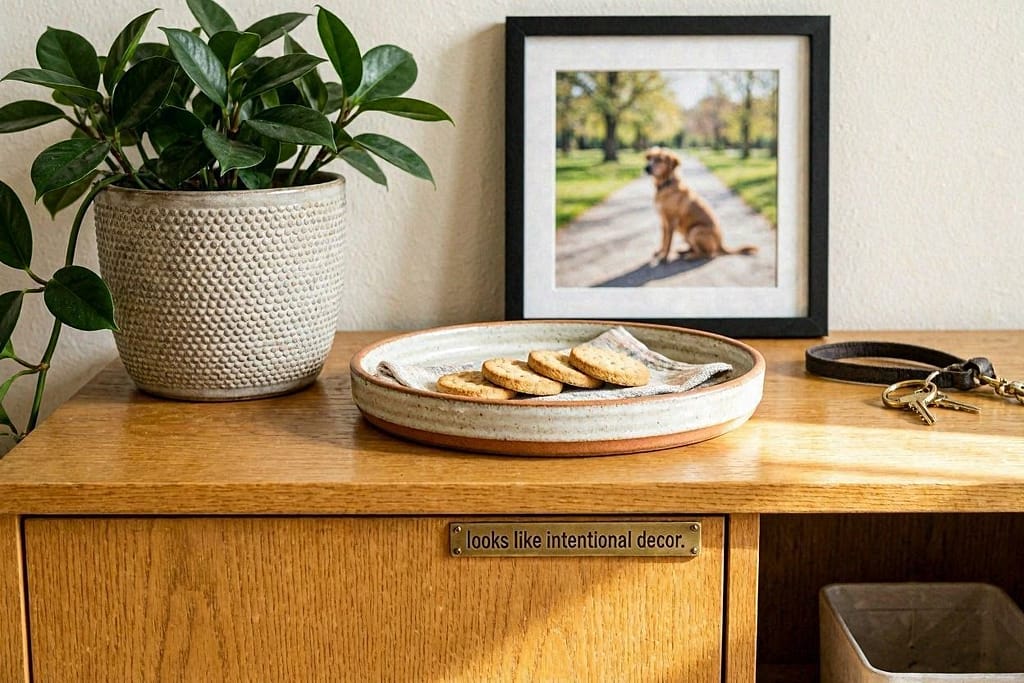
Your feeding station should look like intentional furniture. Style the top with:
- A small plant in a secure pot
- A decorative tray holding treats or waste bags
- A framed photo of your pet
- A cute sign or artwork
You’re almost ready to start building, but let’s troubleshoot common issues before they happen.
Troubleshooting & Pro Tips
Problem: My dog moves the bowls while eating.
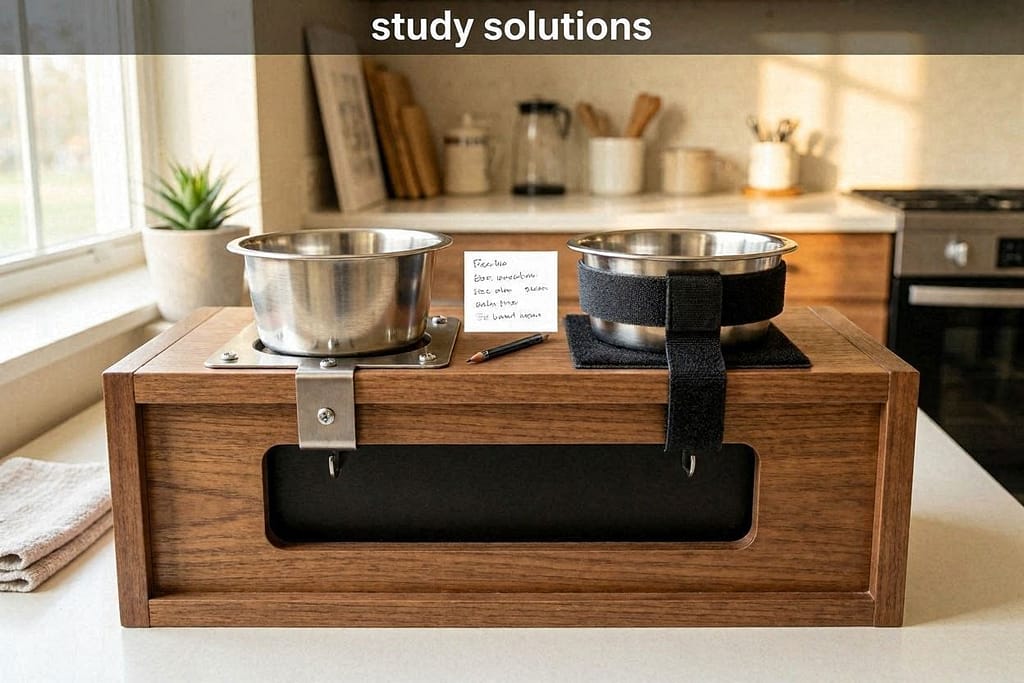
Solution: Use stronger Velcro, add non-slip mats under the bowls, or install bowl holders that screw in from underneath.
Problem: Food and water create a mess in the storage area below.
Solution: Ensure your waterproof layer has a slight lip or edge to contain spills. Add a removable drip tray that slides out for cleaning.
Problem: The door won’t stay closed with my dog nudging it.
Solution: Upgrade to stronger magnets or add a simple hook-and-eye latch.
Problem: My multi-dog household needs more space.
Solution: Build a longer station or consider a two-tier design with feeding on top and storage below.
Time-Saving Tip: Have your bowl holes cut at the hardware store when you buy materials. Most home improvement stores offer this service for free or a small fee.
Your Project Roadmap: From Planning to Perfection
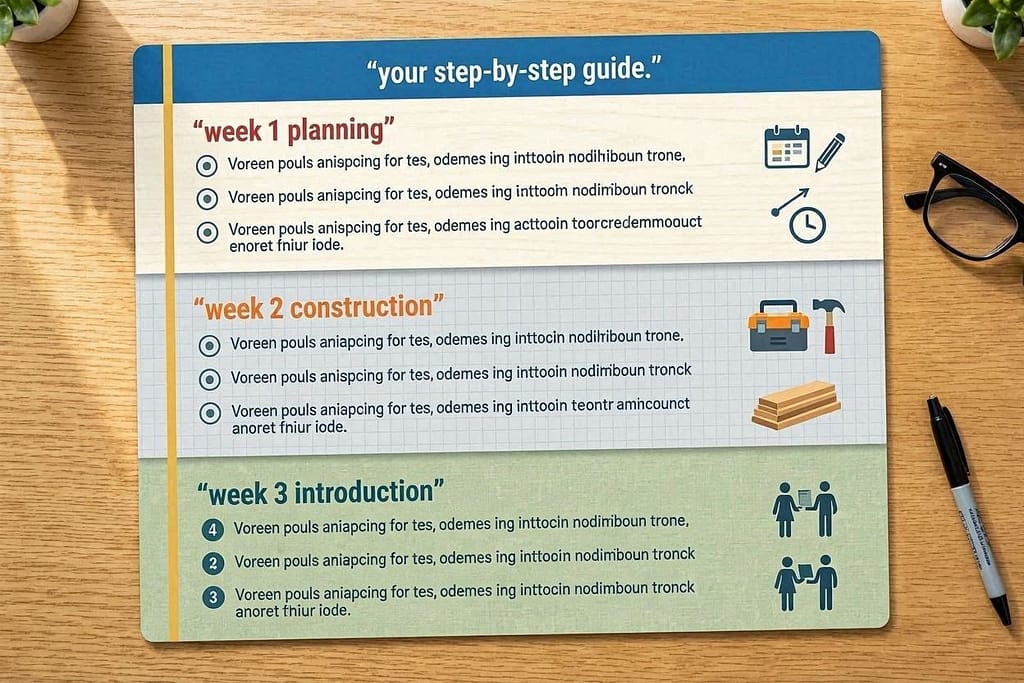
Weekend 1: Planning & Gathering
- Choose your project path
- Take measurements of your space and your dog
- Create a detailed shopping list
- Gather all materials and tools
Weekend 2: Construction
- Day 1: Cutting, assembly, and modifications
- Day 2: Sanding, painting/finishing, and installing hardware
Weekend 3: Introduction & Refinement
- Let the finish cure completely
- Introduce your dog to the new station with positive associations (treats!)
- Make any necessary adjustments based on real use
More Than Furniture—A Peaceful Partnership
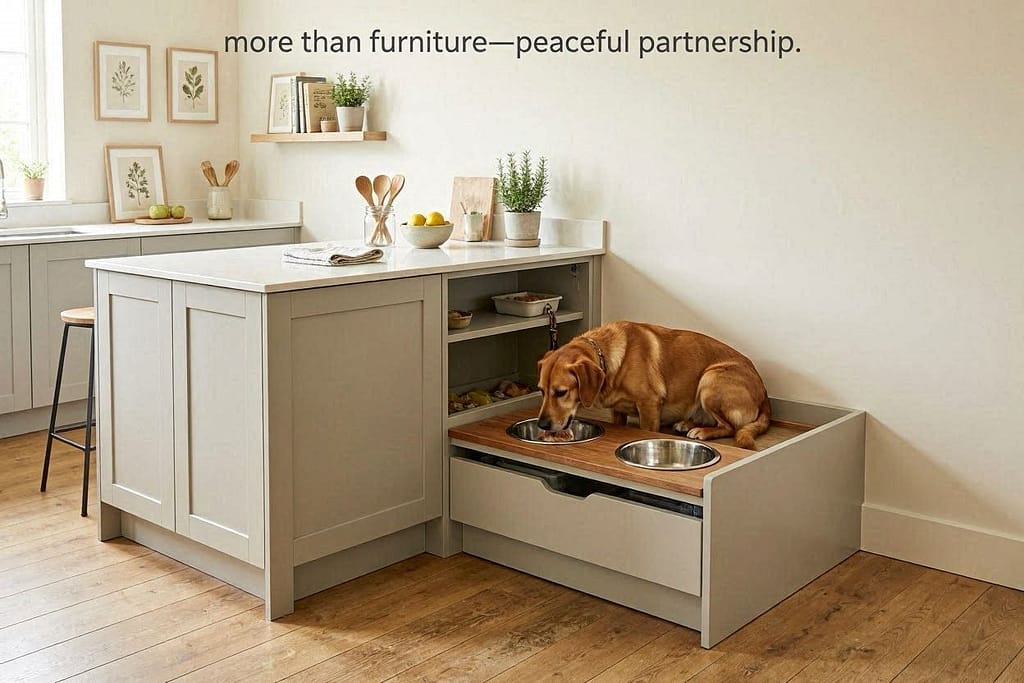
Building a DIY dog feeding station with hidden storage does more than organize your space.
It creates a ritual and a dedicated zone that benefits both you and your dog.
You gain a clutter-free home and streamlined routine.
Your dog gains predictability, comfort, and their own special place in your shared space.
The pride you’ll feel every time you use your custom creation—knowing you built it with your own hands—is just the icing on the cake.
You’re not just storing pet supplies; you’re creating a more harmonious home.
Start simple.
Maybe it’s the IKEA hack this month.
Perhaps you’ll spot the perfect thrift store find next weekend.
Whatever path you choose, you’re taking a concrete step toward a more organized, beautiful life with your dog.
🐾 — Apartment Dog Guide (ADG)
Living large in small spaces, one paw at a time. That’s the apartment dog life—see you in the next guide!.


