
Walk into any stylish, well-organized apartment, and you might spot a familiar sight: the clean lines of an IKEA KALLAX unit or the simple structure of a BILLY bookcase.
Now, imagine if those same pieces of furniture were secretly serving a dual purpose—not just holding your books and decor, but also creating a cozy den for your dog, organizing their toys, or hiding their food.

For apartment-dwelling dog owners, the struggle between human design and pet function is real.
Bulky, obvious pet crates and plastic bins can disrupt your hard-curated aesthetic.
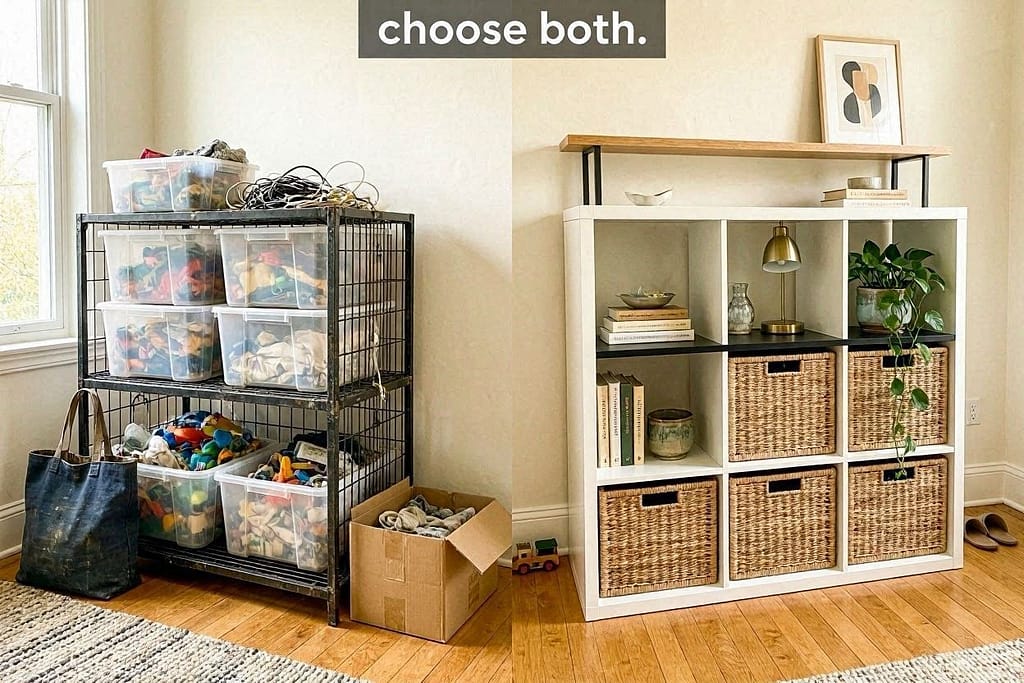
But what if you didn’t have to choose?
Enter the world of IKEA hacking—the creative art of modifying affordable, modular furniture to solve unique problems.
For dog owners, this is a game-changer. It means you can build custom solutions that are functional for your dog, stylish for your home, and kind to your wallet.
We’ve hacked our way through several apartments, transforming basic IKEA pieces into dog-friendly furniture that guests compliment without realizing its true purpose.
The best part? Most of these projects require only basic tools and a weekend of your time.
Ready to roll up your sleeves and build a better, more beautiful home for you and your four-legged roommate?
Let’s turn that IKEA catalog into your pet-friendly blueprint.
The IKEA Hacking Philosophy: Why It’s Perfect for Dog Owners
Before we dive into the builds, let’s talk about why IKEA furniture is such a fantastic canvas for pet projects.
- Modular & Adaptable: Pieces like KALLAX are designed to be reconfigured. You can leave cubes open, add drawers, or attach doors. This flexibility lets you design for your dog’s size and your space.
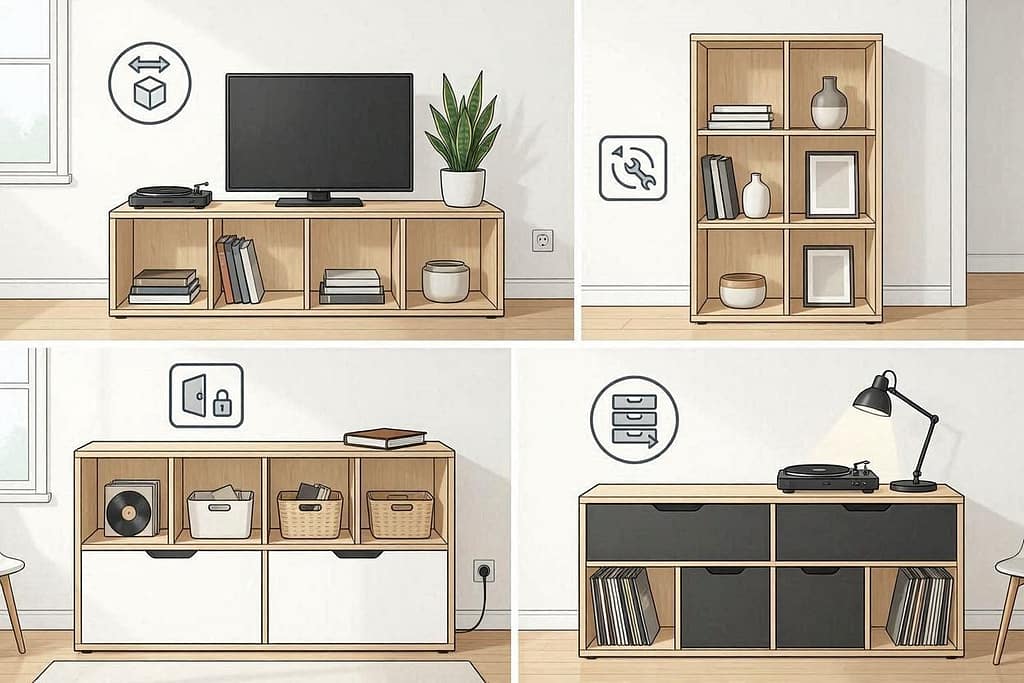
2. Consistent Sizing: IKEA’s standardized dimensions mean accessories (baskets, inserts, doors) from one line often fit another. This makes customizing surprisingly simple.
3. Affordable Foundation: Starting with a $50-$100 shelf is far cheaper than buying a custom-built piece of pet furniture. If a hack doesn’t work out, the financial risk is low.
4. Clean Aesthetic: The minimalist Scandinavian design blends seamlessly into most apartments. You’re hacking a neutral canvas, not fighting an ornate pattern.
Your IKEA Hacking Toolkit:
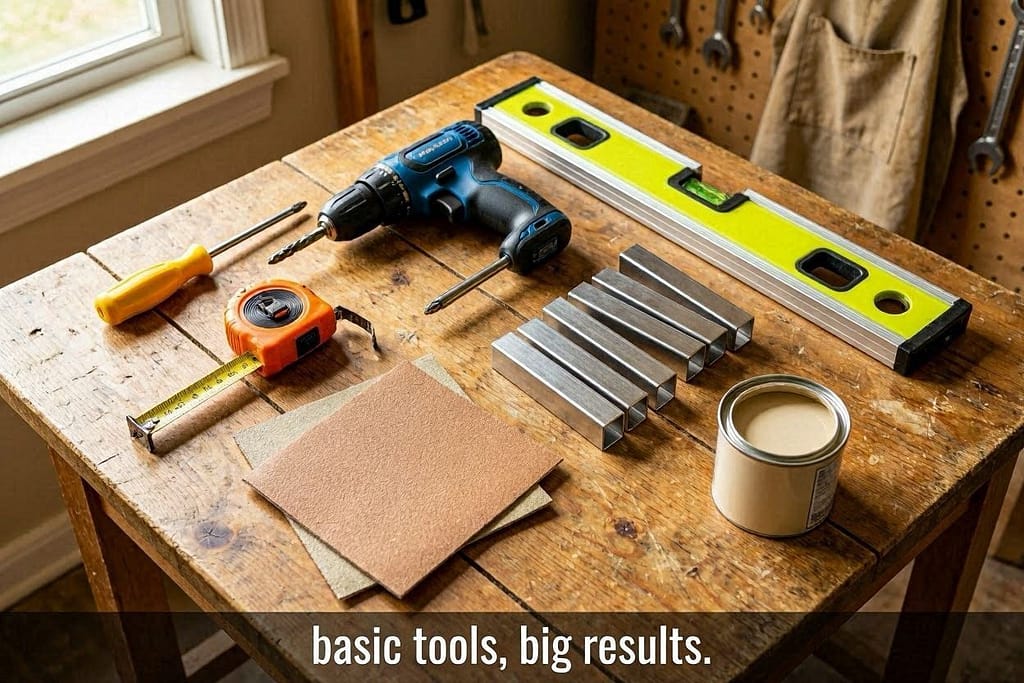
- Basic Tools: Screwdriver, hammer, drill, stud finder, level, measuring tape, pencil.
- Key Supplies: Sandpaper, wood glue, primer/paint (pet-safe when dry), screws, L-brackets, and felt furniture pads (to protect your floors from scrapes).
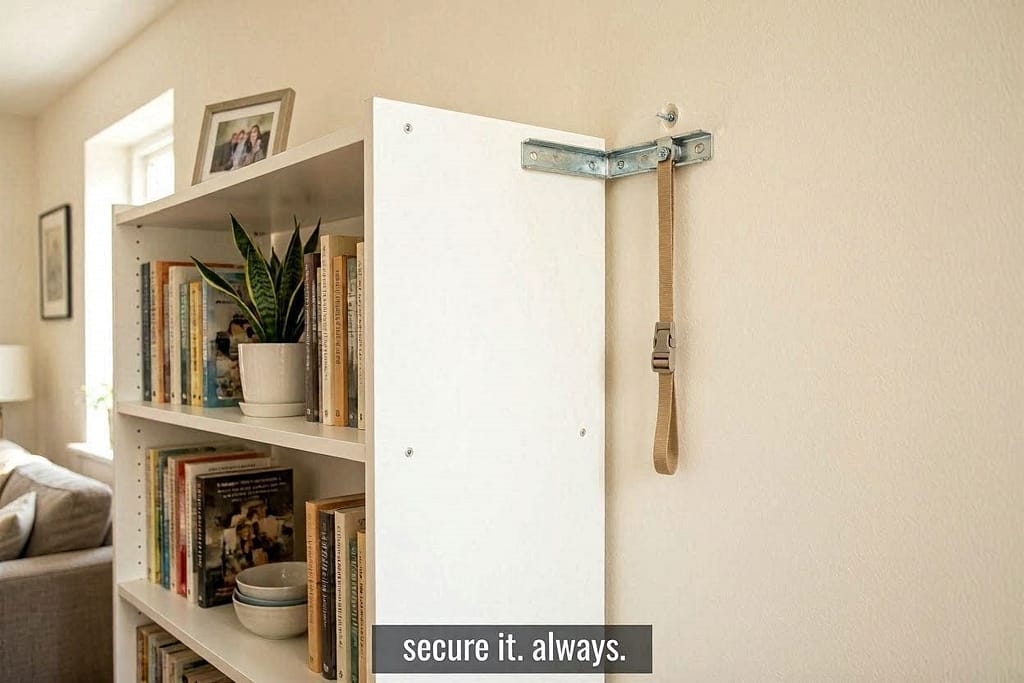
- Safety First: Always secure tall furniture like the BILLY to the wall with the provided anti-tip kit to prevent dangerous accidents.
With the right mindset and tools, you’re ready for the most popular hack of all: the multi-purpose KALLAX.
Hack #1: The KALLAX Transformers – Crate, Den & Command Center
The IKEA KALLAX shelf unit, with its iconic grid of squares, is the ultimate hacker’s playground. Here are two brilliant ways to adapt it for your dog.
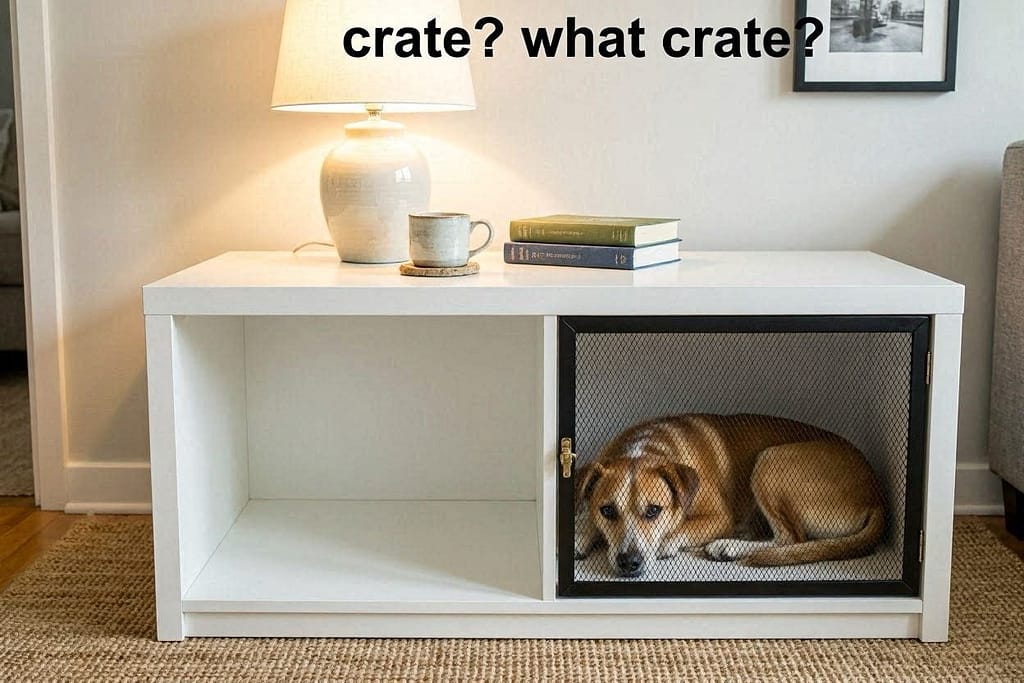
A. The Discreet Dog Crate & Side Table
The Concept: Turn a horizontal KALLAX into a secure, den-like crate by enclosing one cube, adding a door, and topping it with a tabletop.
Ideal For: Dogs who appreciate a cozy, cave-like space. It provides security, reduces anxiety, and looks like a chic console table.
What You’ll Need:
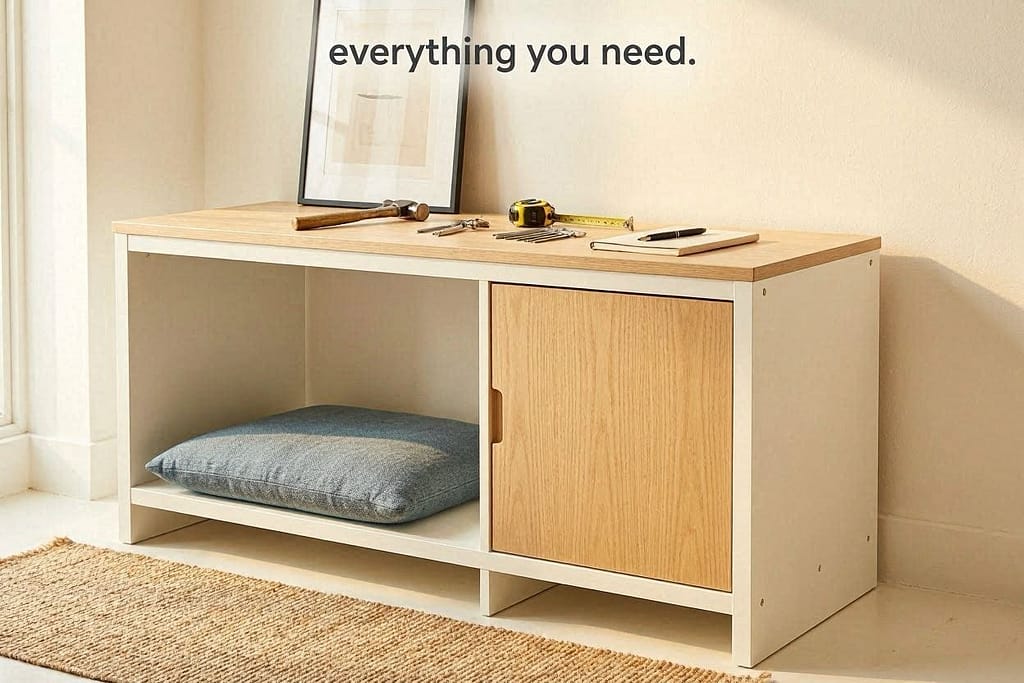
- IKEA KALLAX unit (2×4 horizontal layout is perfect)
- IKEA KALLAX Insert Door (or a custom-cut plywood panel with hinges)
- Tabletop (an IKEA countertop like the LINNMON, a cut piece of plywood, or a premade butcher block)
- Optional: A comfortable dog bed or cushion that fits the cube, trim molding for a finished look.
Step-by-Step Guide:
- Assemble the KALLAX according to instructions, but do not attach the back panel to the cube you’re designating as the crate.
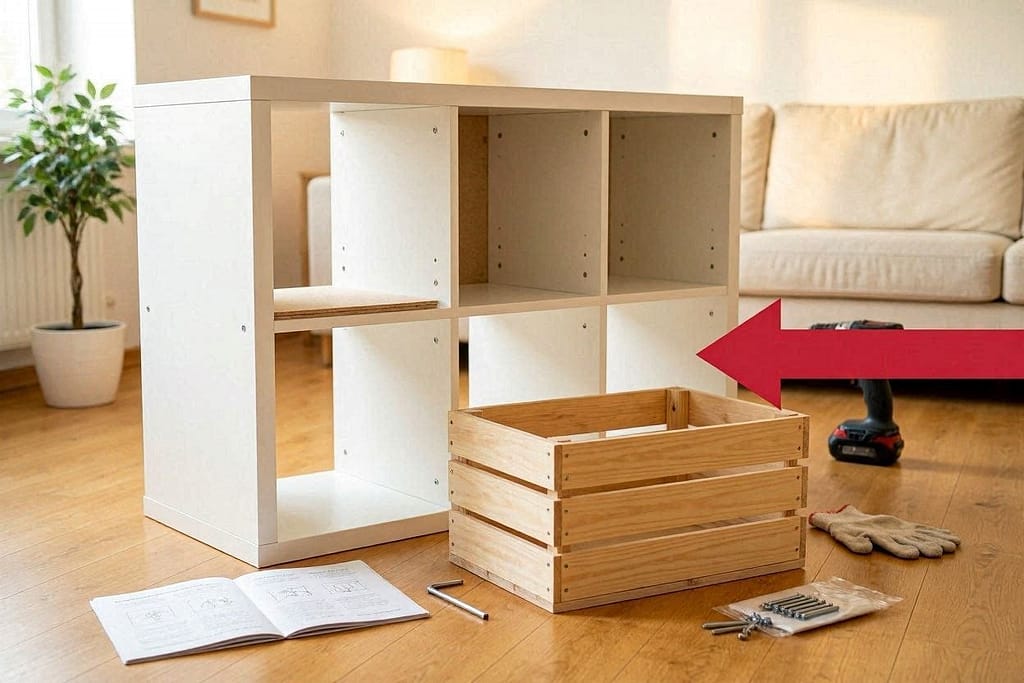
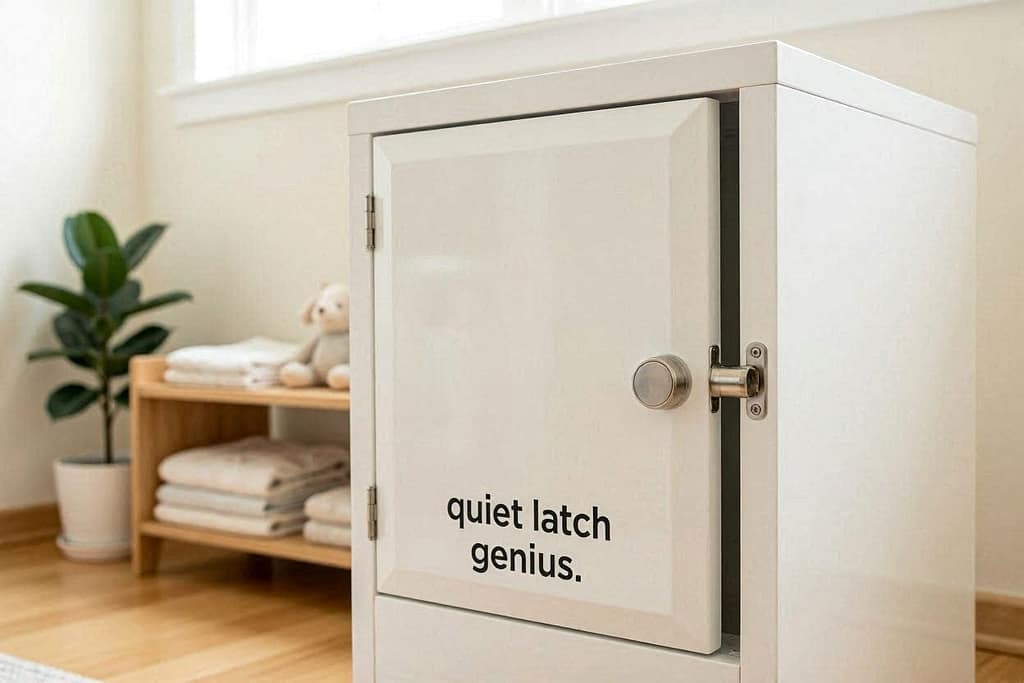
2. Prepare the Door. If using an IKEA insert door, attach it to the chosen cube. For a custom look, measure the cube opening, cut a plywood panel to size, sand the edges, and attach with inset hinges. A magnetic baby-proofing catch makes a great, quiet latch.
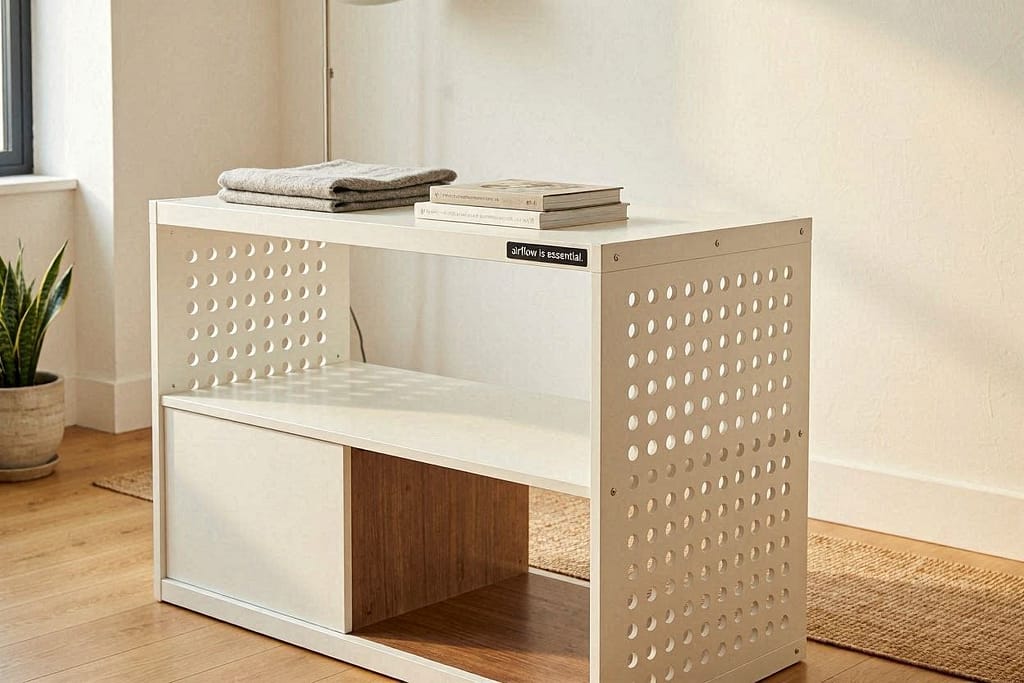
3. Create Ventilation. Drill a series of small, evenly spaced holes in the sides or back panel of the crate cube for airflow. This is crucial!
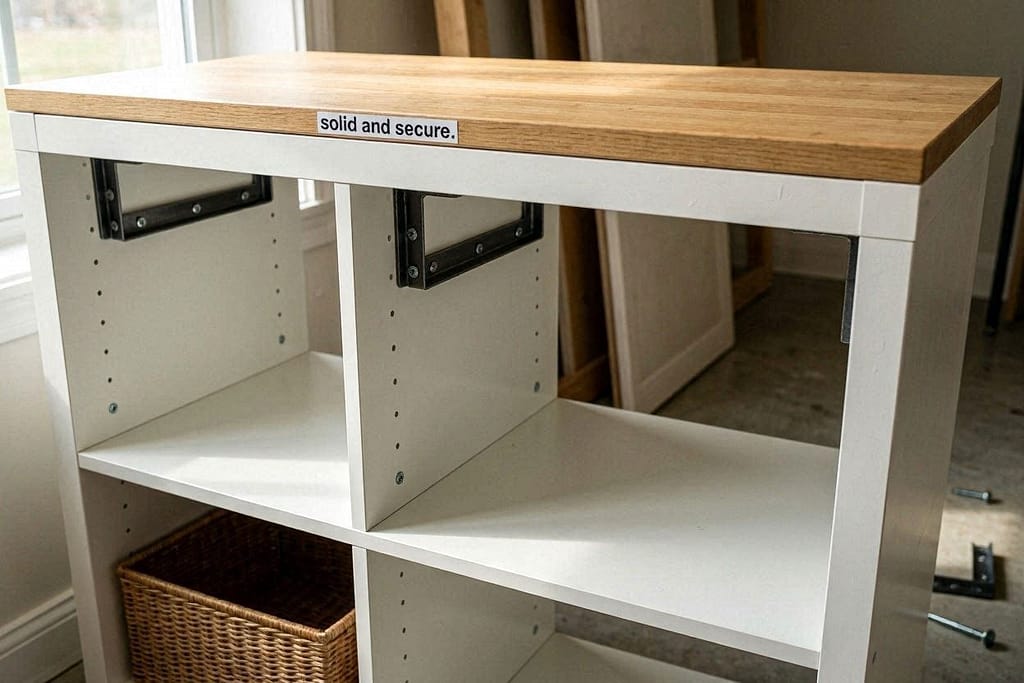
4. Add the Tabletop. Secure your chosen top to the unit using L-brackets attached from the inside. Finish by adding furniture pads to the bottom.
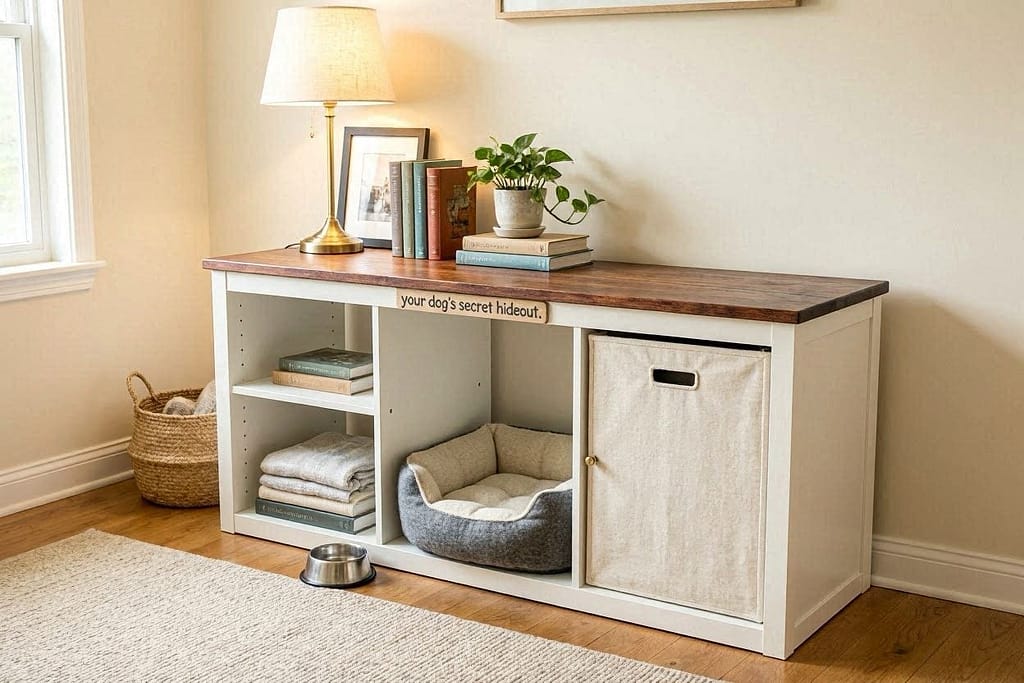
5. Style It: Place a lamp and a few books on top. Add a soft bed inside. Your dog’s secret hideout is complete.
What if your dog doesn’t use a crate, but mealtime is a messy, chaotic affair?
The KALLAX has another trick up its sleeve.
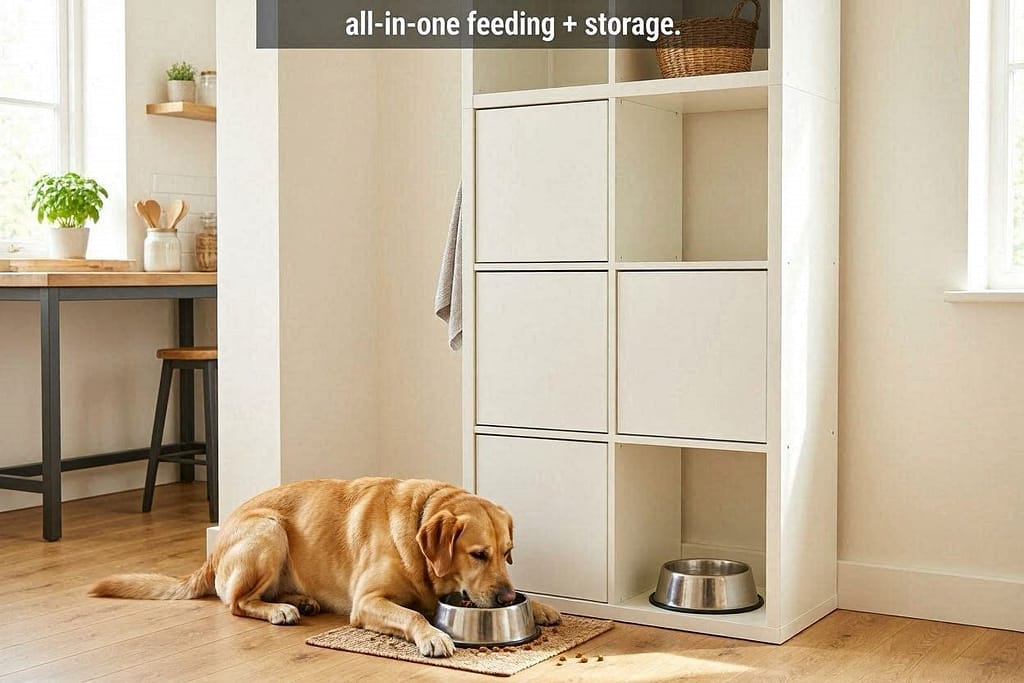
B. The All-in-One Feeding Station & Supply Cabinet
The Concept: Use the vertical cubes of a KALLAX to organize all your dog’s essentials: food, bowls, treats, and toys, tucked neatly behind doors.
What You’ll Need:
- IKEA KALLAX unit (a 1×4 or 2×4 vertical layout works well)
- A combination of KALLAX drawers and door inserts
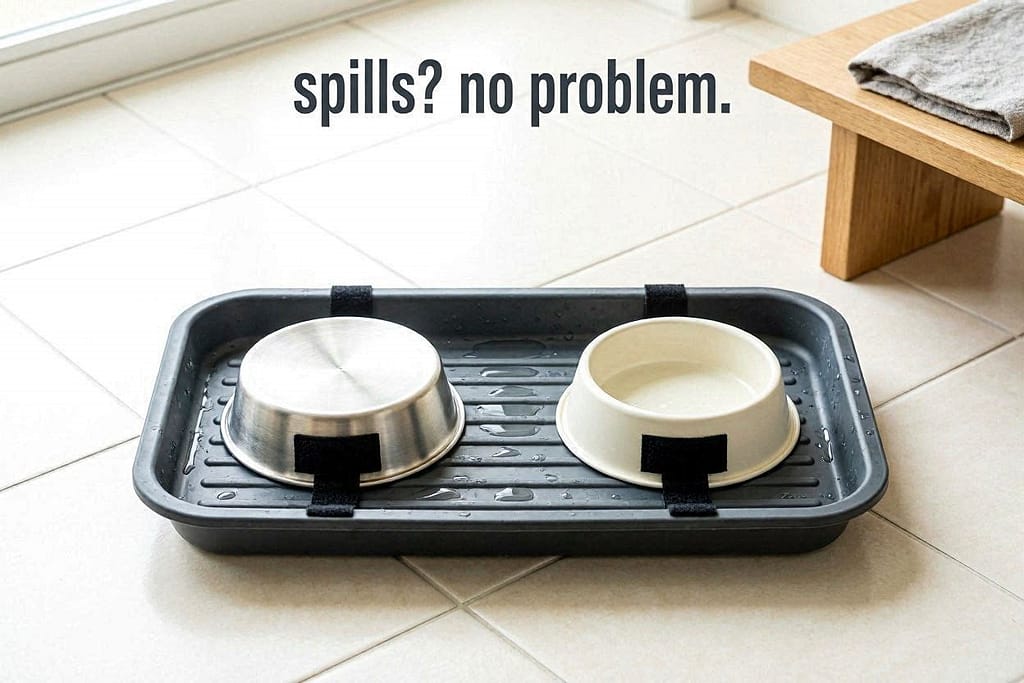
- A waterproof mat or easy-clean tray
- Stainless steel dog bowls
Step-by-Step Guide:
- Plan Your Layout. For a 1×4 vertical unit: designate the bottom two cubes for the feeding station. Install a single door that covers both cubes, or two individual doors.

2. Create the Feeding Area. In the bottom cube, do not add a shelf. This is where your dog will eat. Place a waterproof tray on the floor of the cube to catch spills. You can attach the bowls to the tray with Velcro to prevent sliding.
3. Add Storage. The cube directly above can hold food. Use an airtight container that fits the space. The top cubes can get drawers or doors for toys, grooming supplies, and leashes.
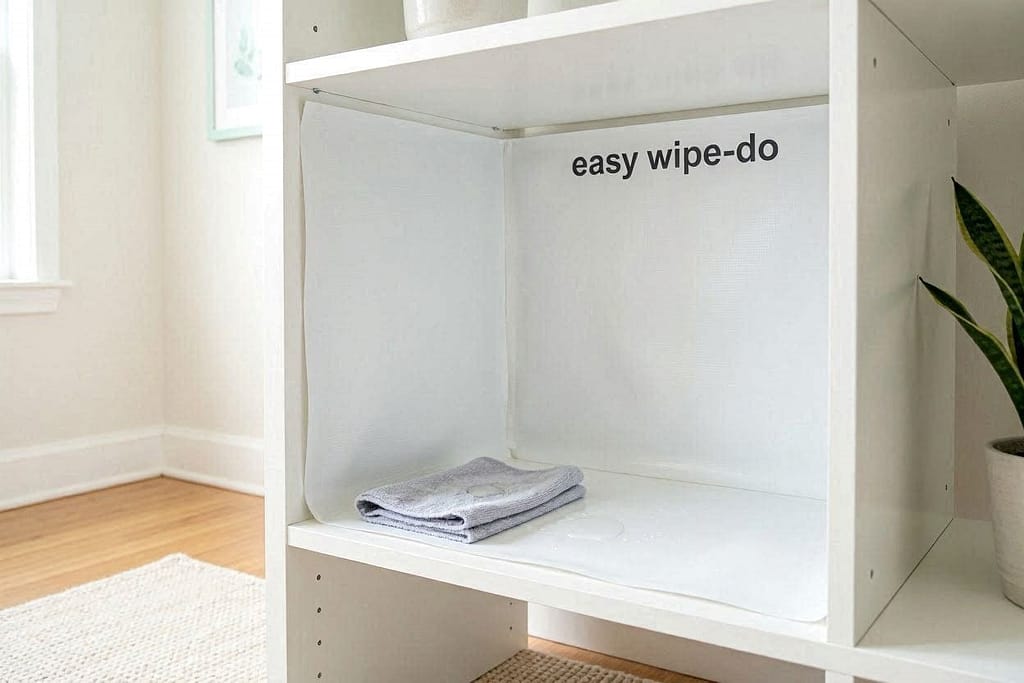
4. Finish for Easy Cleaning. Consider painting or lining the inside of the feeding cube with a peel-and-stick, waterproof vinyl wallpaper for easy wipe-downs.
The KALLAX is incredibly versatile, but for elegant, hidden storage, another IKEA classic steals the show.
Hack #2: The BILLY Bookcase – The Secret Pet Supply Pantry
The IKEA BILLY bookcase is beloved for its simplicity and height. With a few modifications, it becomes a floor-to-ceiling command center that hides all evidence of pet ownership behind beautiful doors.
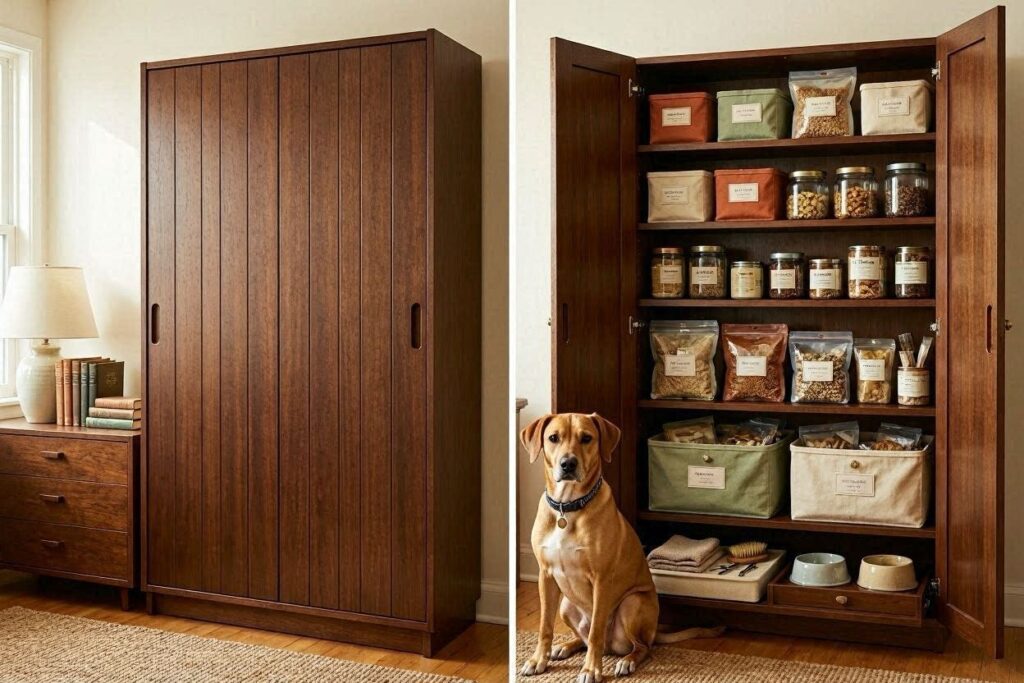
The Concept: Modify the interior shelves of a BILLY bookcase with doors (like the OXBERG) to store food, treats, medication, and grooming tools. It looks like a stylish bookshelf or display cabinet.
Pro-Tip: Use the BESTÅ system instead if you want deeper cabinets for larger bags of food. The principle is the same!
Step-by-Step Guide:
- Assemble your BILLY with OXBERG doors.
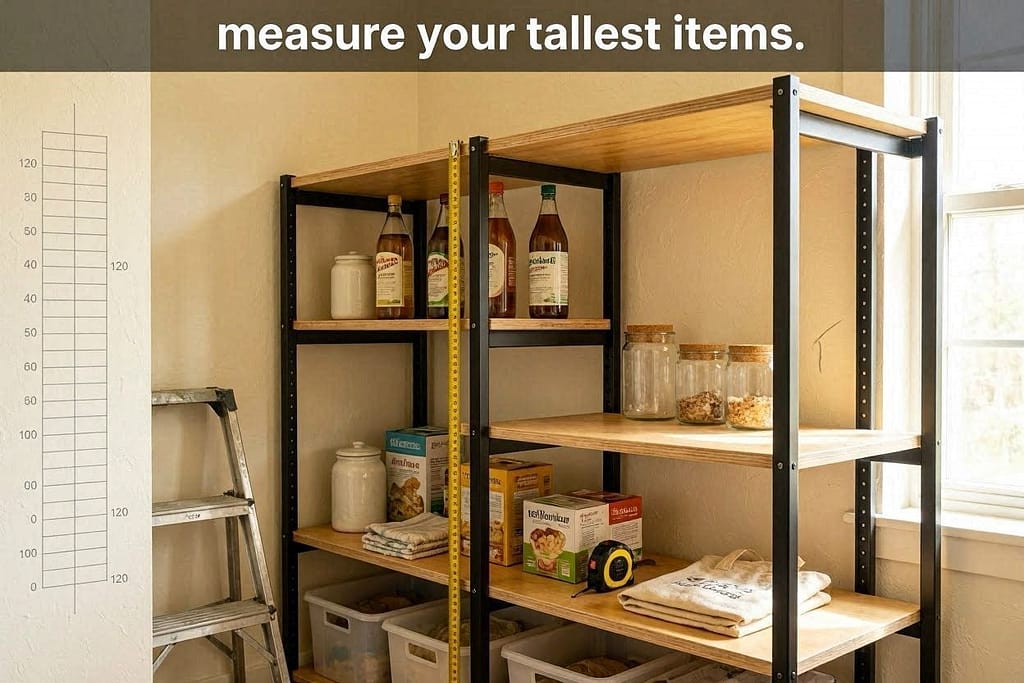
- Customize Shelf Heights. Measure your tallest items—a bag of food, a bottle of shampoo, a toy bin. Adjust the shelves to create custom compartments.
3. Add Containers for Organization. Use matching bins or baskets from IKEA’s DRÖNA or SKUBB series to group items: a bin for grooming, a bin for toys, a bin for waste bags, and accessories.
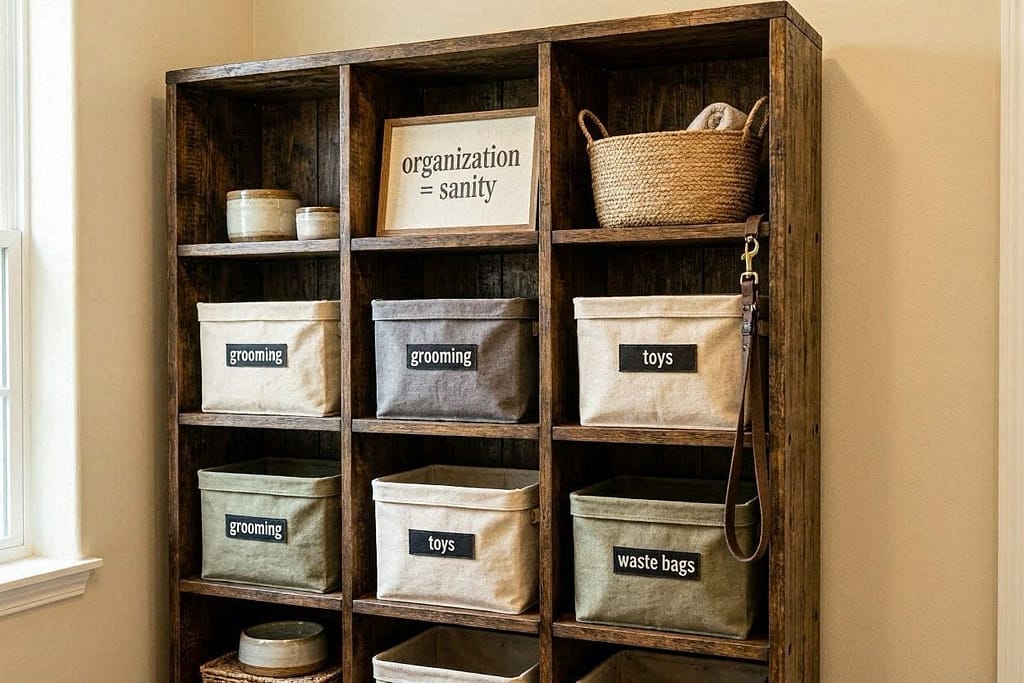
4. Label Discreetly. Use a label maker or chalkboard tags on the bins so you can find everything at a glance without opening every container.
5. The Final Touch: Style the top of the bookcase with plants, photos, and decor. No one will guess it’s your dog’s personal warehouse.

Hidden storage is solved, but what about creating new space for your dog to lounge?
Let’s look underfoot.
Hack #3: The PAX or PLATSA – Under-Bed Dog Den
If you have an IKEA PAX wardrobe or PLATSA frame, you can create the ultimate space-saving sanctuary.
The Concept: Elevate your bed using a low PAX/PLATSA frame (instead of traditional bed slats) to create a built-in “dog cave” underneath.
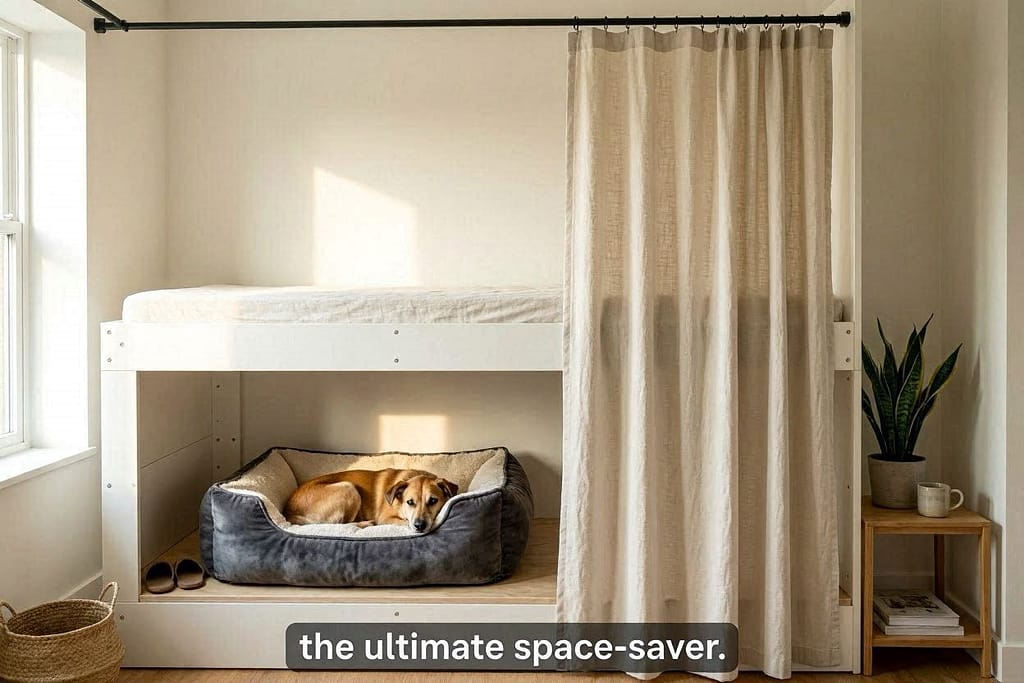
How-To: Simply assemble the wardrobe frame to the desired height (a 50cm high frame is a good start) and place your existing mattress on top.
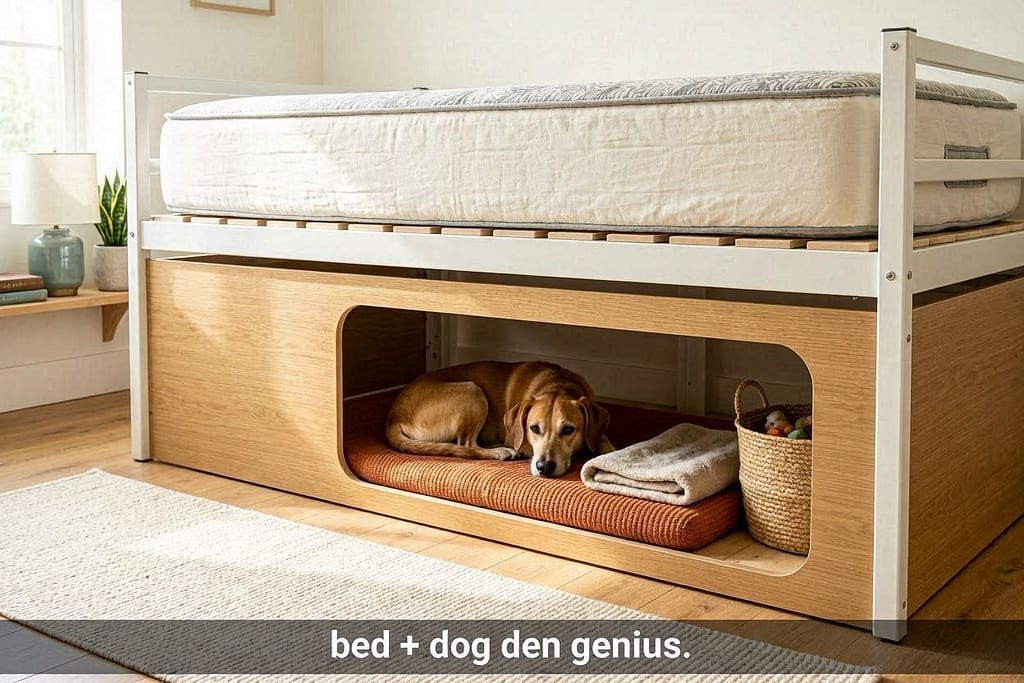
Add a soft dog bed, a favorite blanket, and perhaps a removable curtain for privacy.
This is perfect for dogs who love den-like spaces and frees up floor space in your bedroom.
From grand wardrobes to small stools, even the simplest IKEA item can be reimagined.
Hack #4: The FROSTA Stool – A Petite Feeding Stand
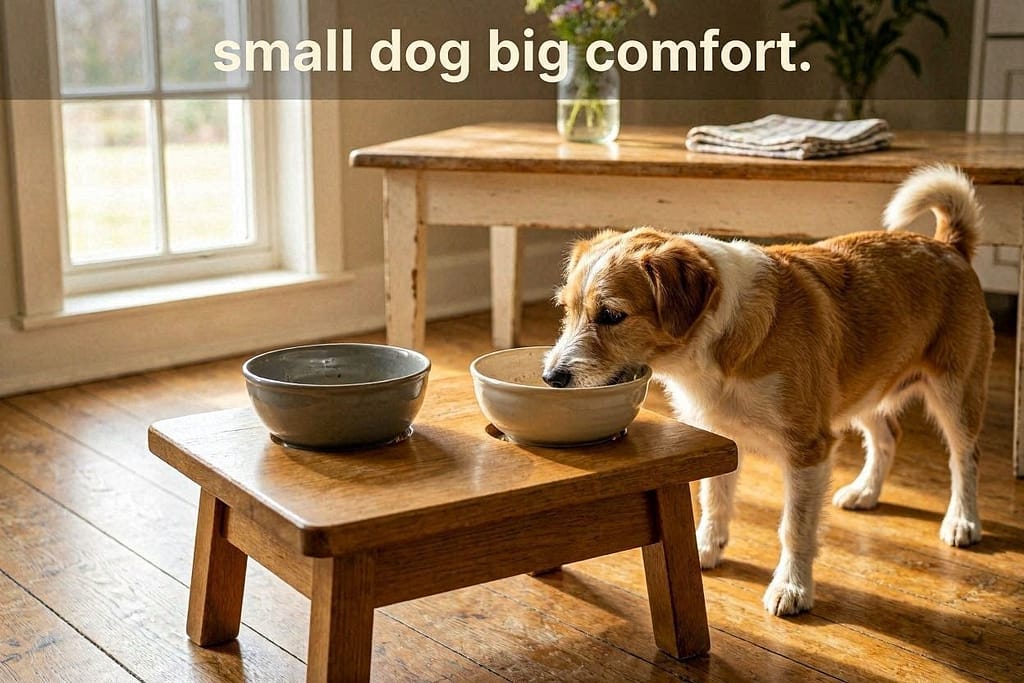
For small-breed dogs, eating from a bowl on the floor can strain their neck.
The $60+ IKEA FROSTA stool is the perfect height for a miniature raised feeder.
The How-To: Simply trace your dog’s bowls onto the stool seat. Use a jigsaw to cut out the circles, sand them smooth, and drop the bowls in.
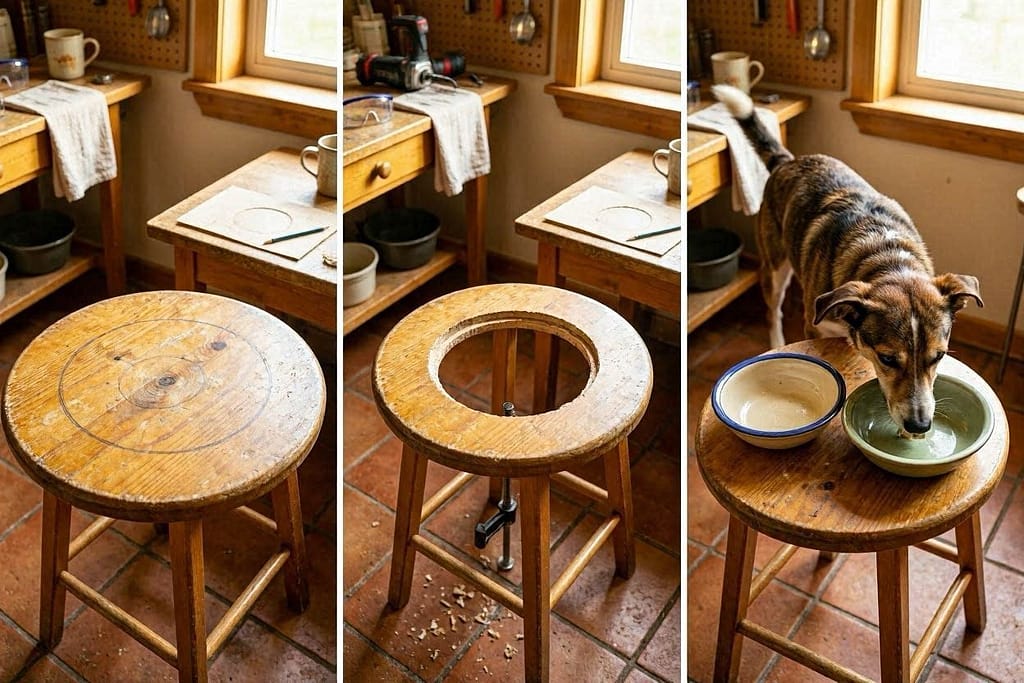
You can leave it natural or paint it a fun color.
It’s a 30-minute project with a huge impact on your small dog’s comfort.
These hacks save space and look great, but let’s talk about the final, crucial step: making them safe and durable for an actual animal.
The Finishing Touches: Safety, Durability & Style
A hack isn’t done until it’s pet-proofed.

- Safety First:
- Secure Everything: Anchor ALL furniture to the wall. An excited dog can tip over an unsecured unit.
- Ventilation is Non-Negotiable: Any enclosed space (like a crate hack) must have ample air holes.
- Check for Sharp Edges: Sand down any rough cut edges from drilling or cutting. Use corner guards if necessary.
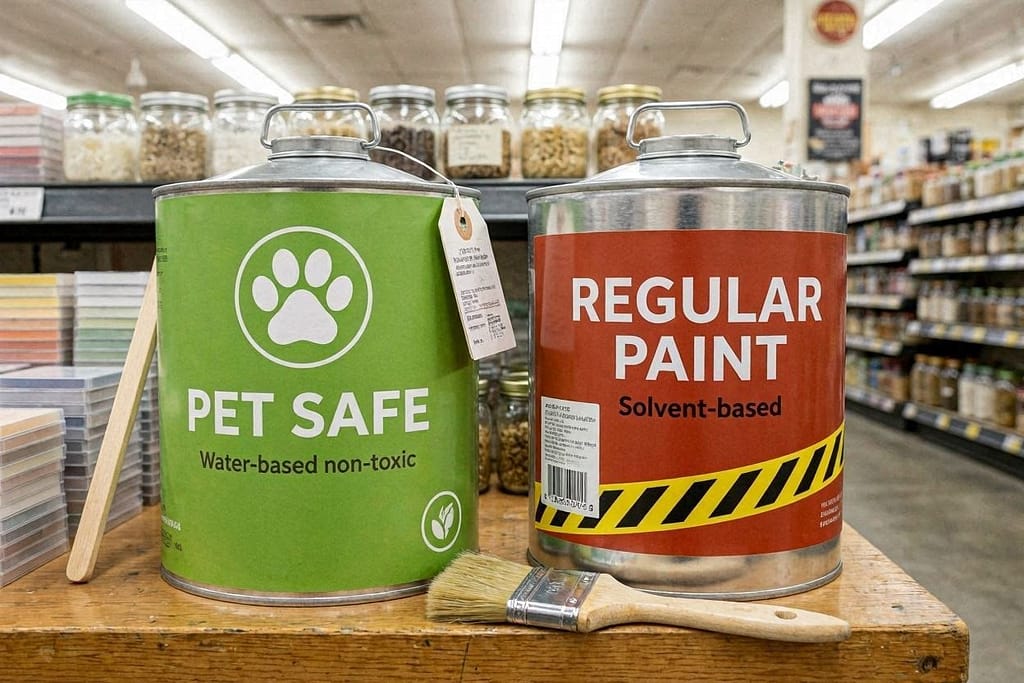
Pet-Safe Materials: Use water-based, non-toxic paints and sealants. Allow them to cure completely (off-gas) before letting your dog use the furniture.
2. Durability for Dog Use:
- Easy-Clean Surfaces: Use wipeable paint (semi-gloss is great) or adhesive vinyl on surfaces in contact with food, water, or paws.
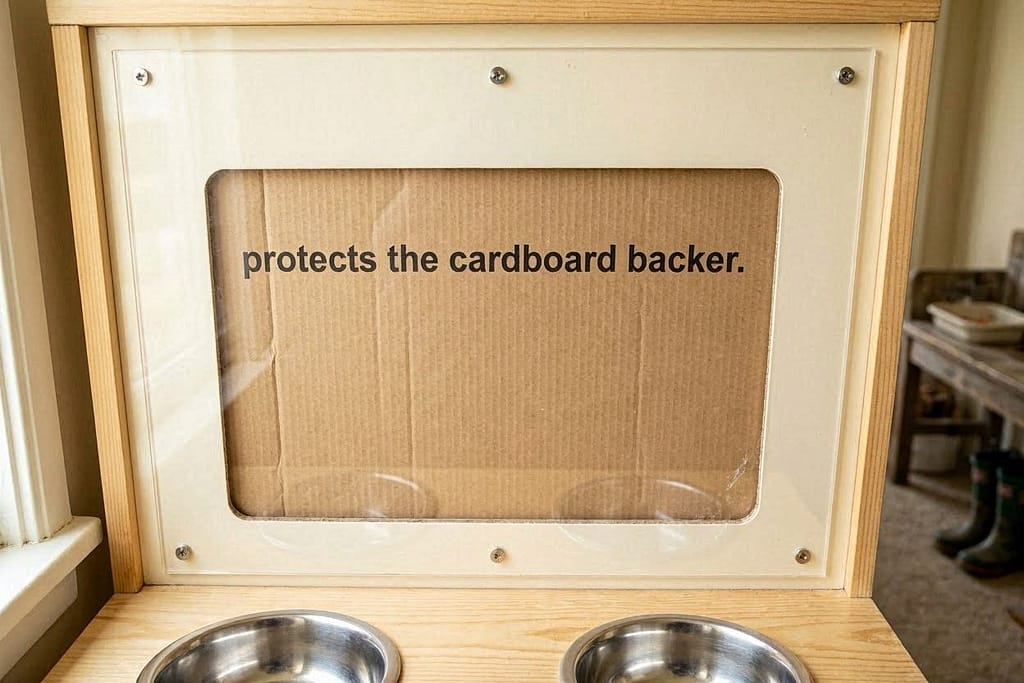
- Protect Surfaces: Attach a clear plexiglass panel to the inside back of a feeding station to protect the cardboard backer from moisture.
- Reinforce Joints: Add extra wood glue and screws during assembly for wobble-free stability.
3. Styling for Invisibility:
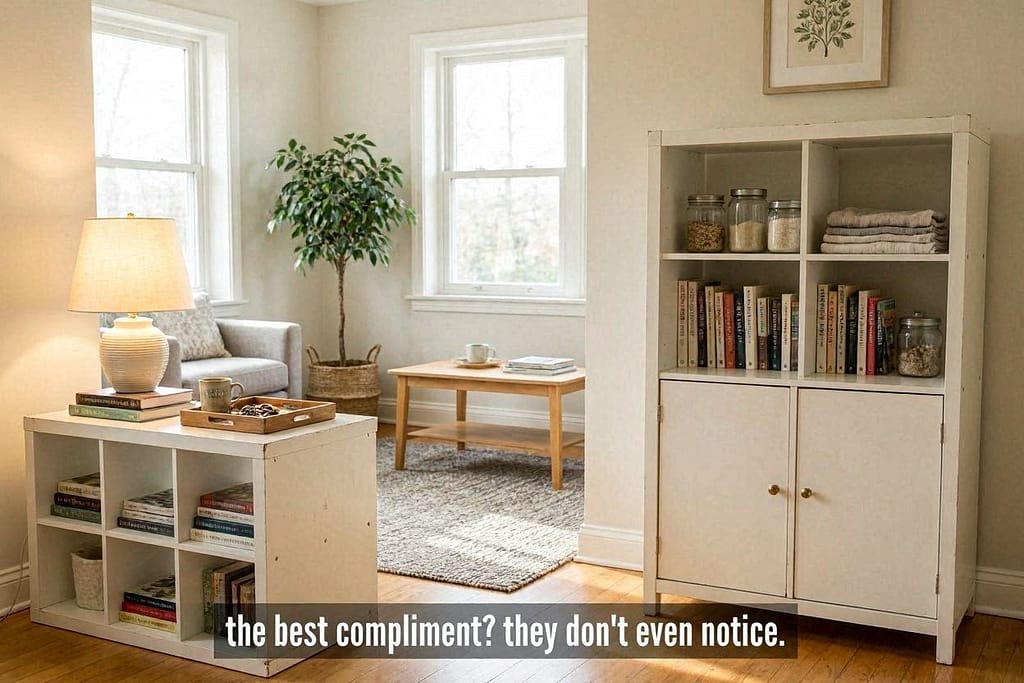
- The key to a successful hack is that it doesn’t scream “dog furniture.” Style the top with lamps, books, and decor. Choose door and drawer fronts that match your room’s style.
- Let the hack serve its purpose quietly. The best compliment is when a guest says, “What a great side table!” and you reply, “Thanks, it’s also Bruiser’s bedroom.”
Your Home, Co-Designed
IKEA hacking for your dog is the ultimate act of co-designing your home.
It acknowledges that your dog is a fundamental part of your life and deserves a home that works for them, without asking you to sacrifice your own sense of style and order.
Start with one project.
Maybe it’s the FROSTA stool for your Chihuahua or the KALLAX feeding station to end kitchen clutter.
The process of measuring, building, and creating something uniquely suited to your furry friend is incredibly rewarding.
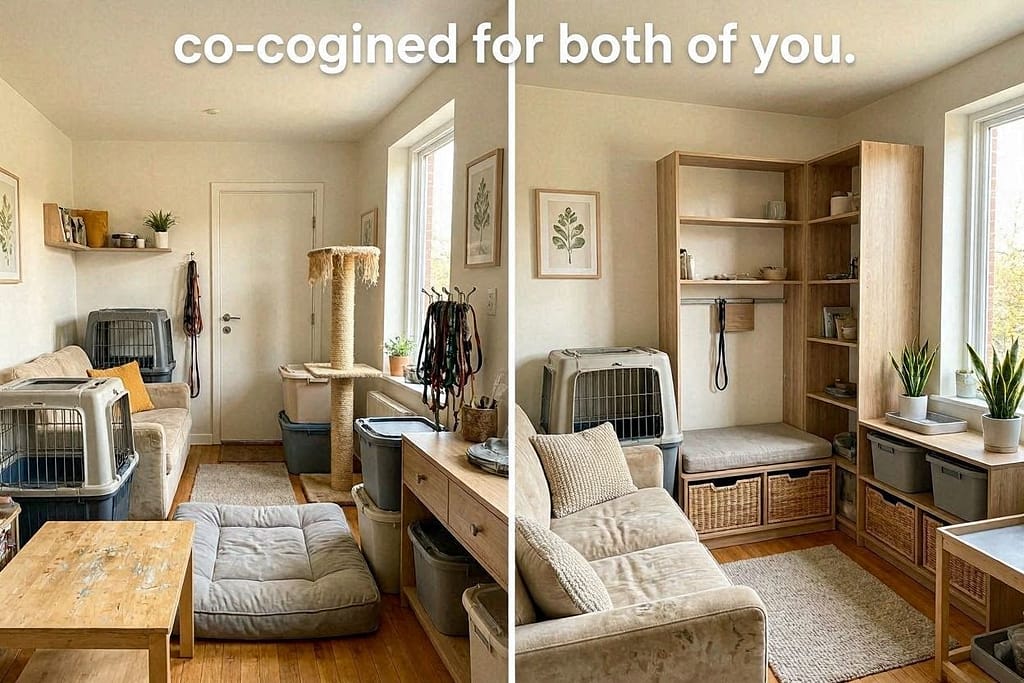
You’re not just building furniture; you’re building a more integrated, harmonious, and clever home for the whole family—paws included.
🐾 — Apartment Dog Guide (ADG)
Living large in small spaces, one paw at a time. That’s the apartment dog life—see you in the next guide!.


